If you’re thinking of getting into self-hosting, Tailscale is a great networking solution that furth 2026-10-5 07:30:8 Author: hackernoon.com(查看原文) 阅读量:1 收藏
If you’re thinking of getting into self-hosting, Tailscale is a great networking solution that further boosts your privacy and security. Think of the last time you took a photo with your phone. What happens to that photo when it gets sent to Google or iCloud? In many instances, cloud storage companies can scan that image and add it to their databases, while you don't have much say over your privacy.
Alternatively, self-hosting allows you to keep your things on hardware you own and manage. This can include personal information, photos, data, and more. Tailscale can then securely connect to your self-hosted storage. In this tutorial, we’ll start by picking out hardware and installing Proxmox.
Selecting a computing device
In the past, people commonly used a device called a Raspberry Pi for self-hosting. It’s a single-board computer with a CPU, RAM, network ports, and USB. However, some Raspberry Pi models can be slow and difficult to connect to devices. Hard drives can only be attached using USB, and bandwidth is shared between the USB and Ethernet, hampering performance.
Given those limitations, I recommend using a small form factor PC from Dell for your storage device. I’m specifically using a fully-fledged x86 PC because it has a lot of backward compatibility and is also very expandable. You can find similar devices here for a reasonable price.
Flashing Proxmox to your USB
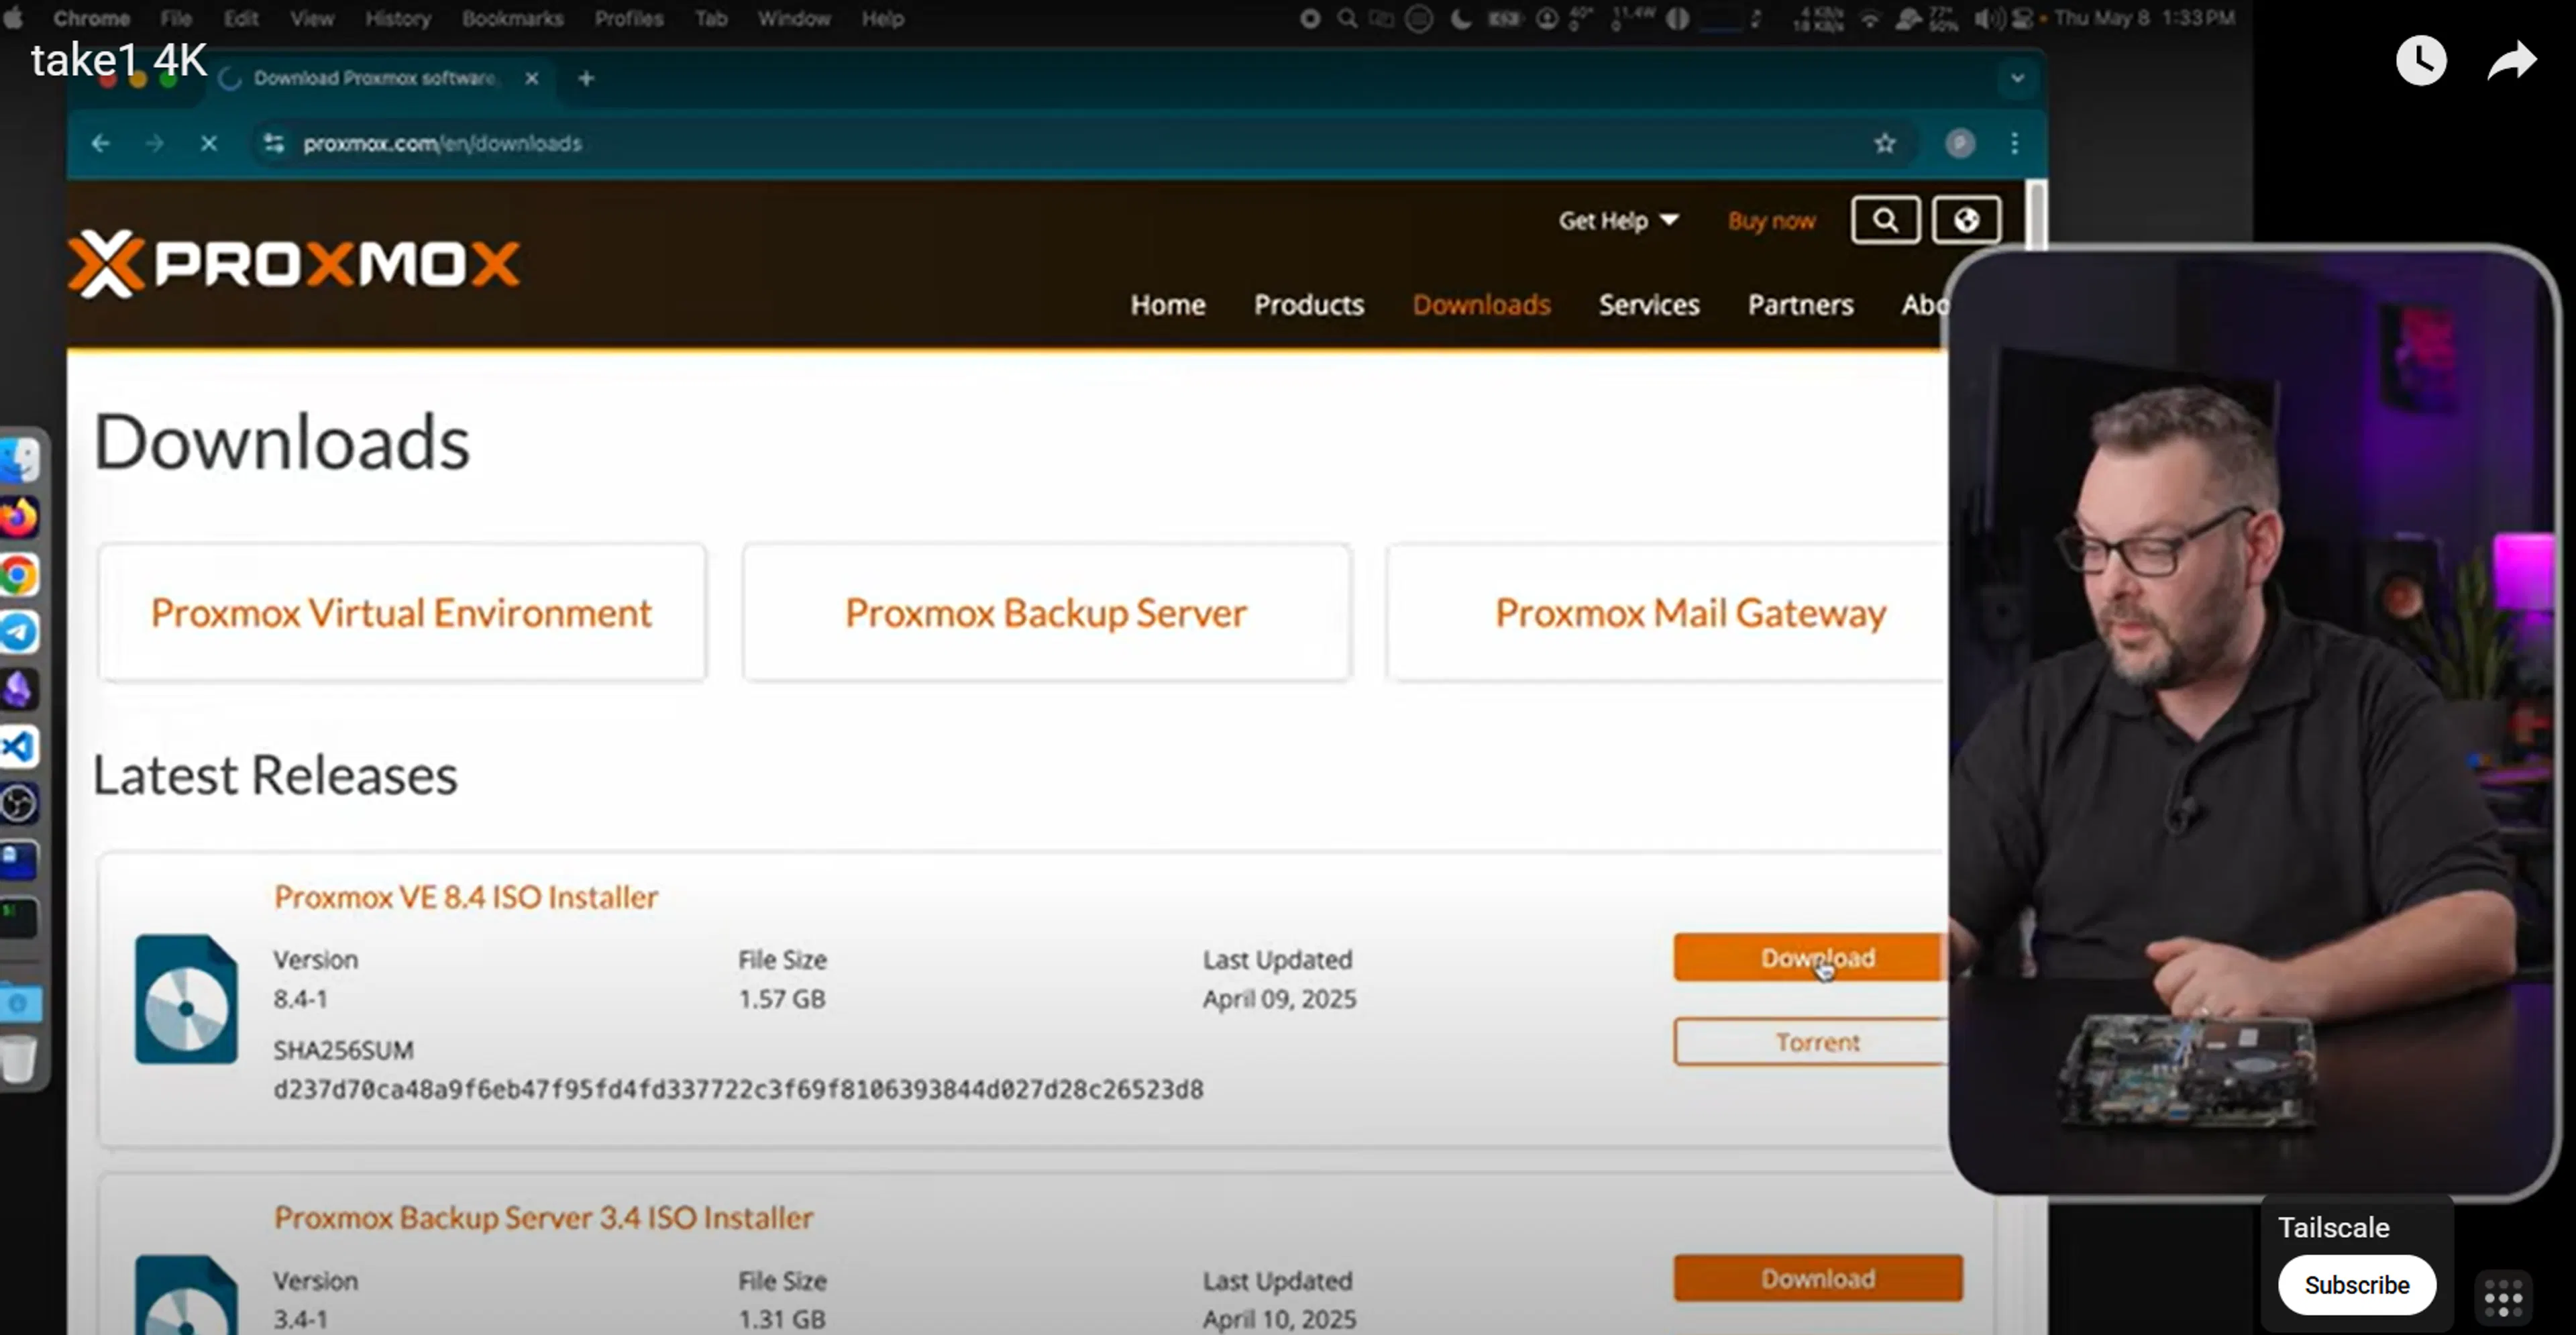
The first step to self-hosting is installing an operating system (OS) on your device. This requires flashing an ISO onto a USB stick to turn it into a bootable drive. We’ll use Proxmox as our OS and a tool called balenaEtcher to create our bootable drive.
For MacOS:
- Head to the Proxmox website and click on the “Downloads” tab. On the following page, click the “Download” button next to the latest version of the Proxmox VE (Virtual Environment) ISO installer.
- While that's downloading, navigate to the balenaEtcher website and click “Download Etcher.”
- Once balenaEtcher has downloaded, open it from your “Downloads” folder. Drag it into your applications folder, and then launch it by double-clicking. Then, click “Open” followed by “Flash from file.”
- In your files, select the Proxmox ISO you downloaded in Step 1, and click “Open.”
- Plug your USB drive into one of the USB ports on your personal computer.
- Click “Select target” to select the USB drive you’ve plugged in. Note that this process will override all existing content.
- If your USB drive has a password, enter it. balenaEtcher will flash Proxmox ISO onto your USB drive.
Once the Proxmox ISO has been flashed on your USB, there are a few more steps before you can power on your storage device. First, you’ll need to give it networking capabilities, and for this tutorial's purpose, we’re using a Ubiquiti networking switch. Using Ubiquiti isn’t mandatory, but I recommend it because software-managed switches allow you to carve up the switch into different VLANs for more versatility.
To add networking to your storage device with your Ubiquiti switch:

- Connect one end of an Ethernet cable to your router or modem, and connect the other end to the first port of your Ubiquiti switch.
- Take a second Ethernet cable and plug one end into a port in your Ubiquity switch. Then plug the other end into your storage device.
Finally, to complete your setup, you’ll need a keyboard, mouse, and some kind of monitor. For physical hardware, you can simply plug these devices into your storage device.
If you don’t have all this hardware, next I’ll show you how to use a Jet KVM to emulate all of those devices virtually.
Setting up a virtual keyboard, mouse, and monitor with Jet KVM
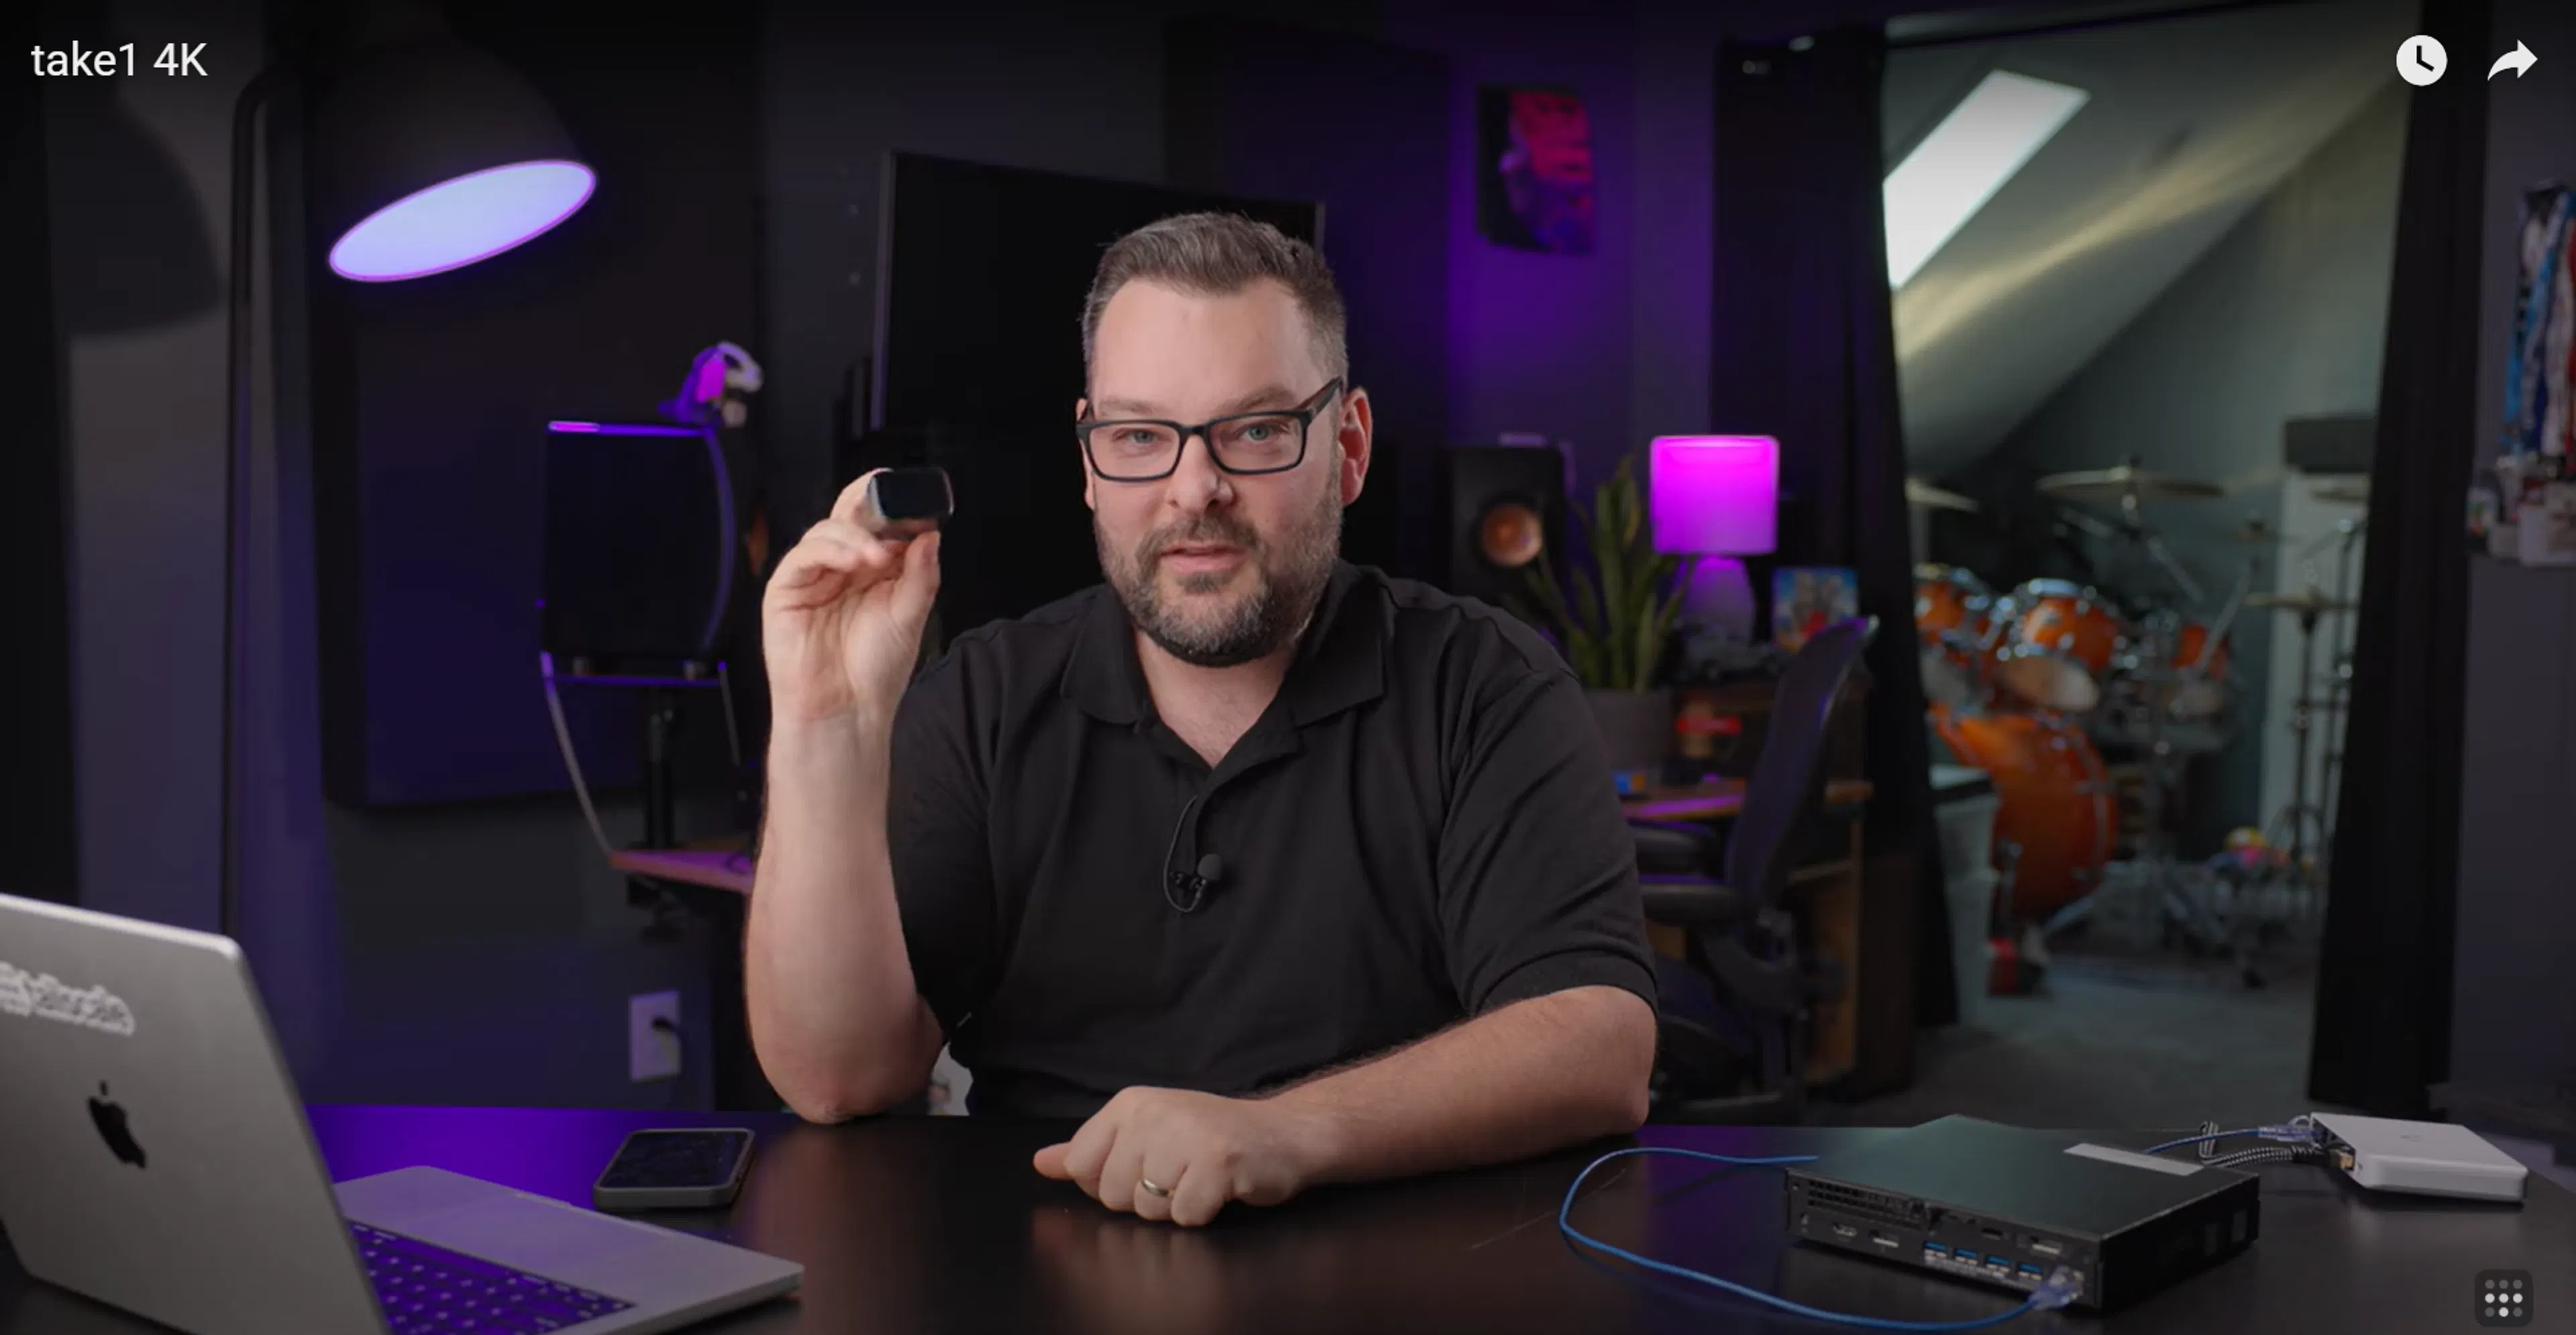
A Jet KVM emulates a keyboard, monitor, and mouse in a small, Apple Watch-sized device. To connect it:
- Connect one end of the USB cable to the storage device. Connect the other end to a power source like a wall charger.
- Allow the Jet KVM to power up. Once it has, connect it to your switch with another Ethernet cable.
- Use an HDMI cable to connect the HDMI out on your storage device to the HDMI in on the Jet KVM.
- Remove your bootable USB stick from your laptop and plug it into your storage device.
- Pull up Jet KVM’s interface in a browser using its IP address, found on Jet KVM’s screen. (In our example, that’s
192.168.1.70). - Once inside Jet KVM’s interface, plug your storage device into a power outlet.
You should see that your storage device boots from your USB stick, and you can select either a graphical or terminal interface. For demonstration purposes, we’re using graphical.
Installing Proxmox on your storage device
The next step is to install Proxmox from the USB stick onto your storage device. It will essentially act as the foundational layer of your self-hosting home lab platform.
Proxmox is known as a hypervisor, which means it can run virtual machines and containers for you. This allows you to divide one machine into multiple machines, so you can have unique containers for apps like Immich, Plex, or Jellyfin.
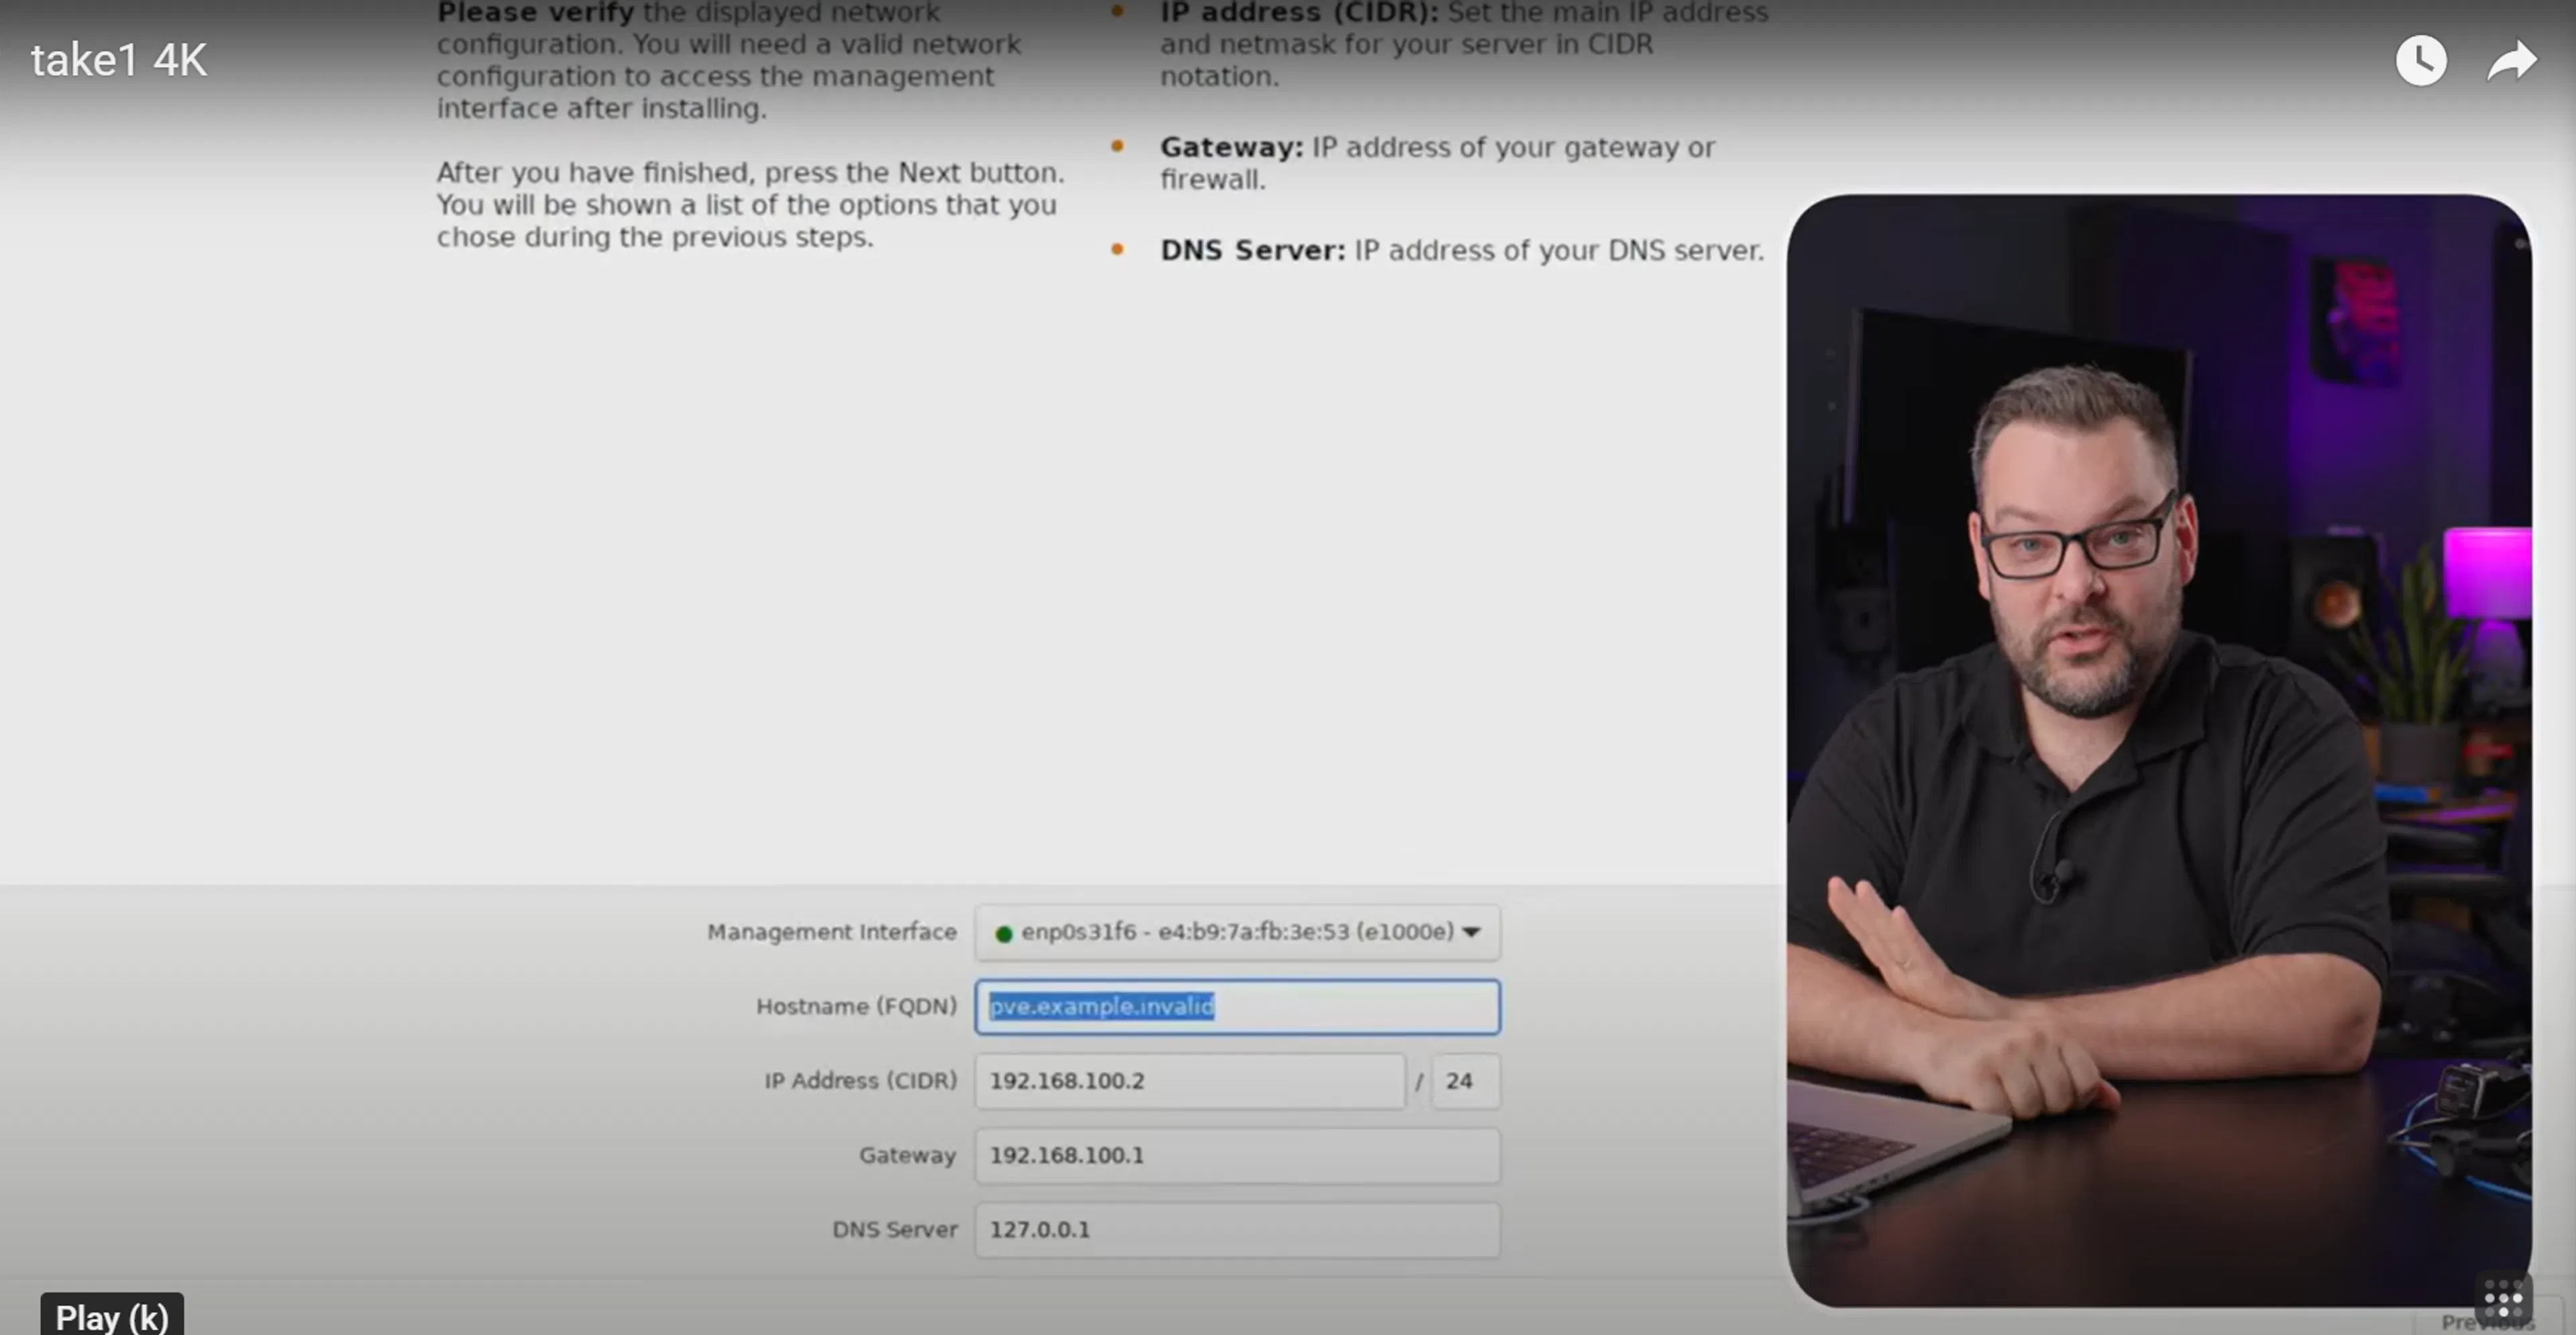
Installing Proxmox is very straightforward. Simply click through the prompts during installation: agree to the license, select your drive, and pick your country and timezone. Then select a root password and choose an email address to receive Proxmox alerts.
At this step, please take note of the “Management interface” you select, since you may be presented with multiple options.
Finally, you want to set a static IP address for this system. (For example: 192.168.1.10, though you can select whatever you prefer within your network’s range).
Setting up Proxmox
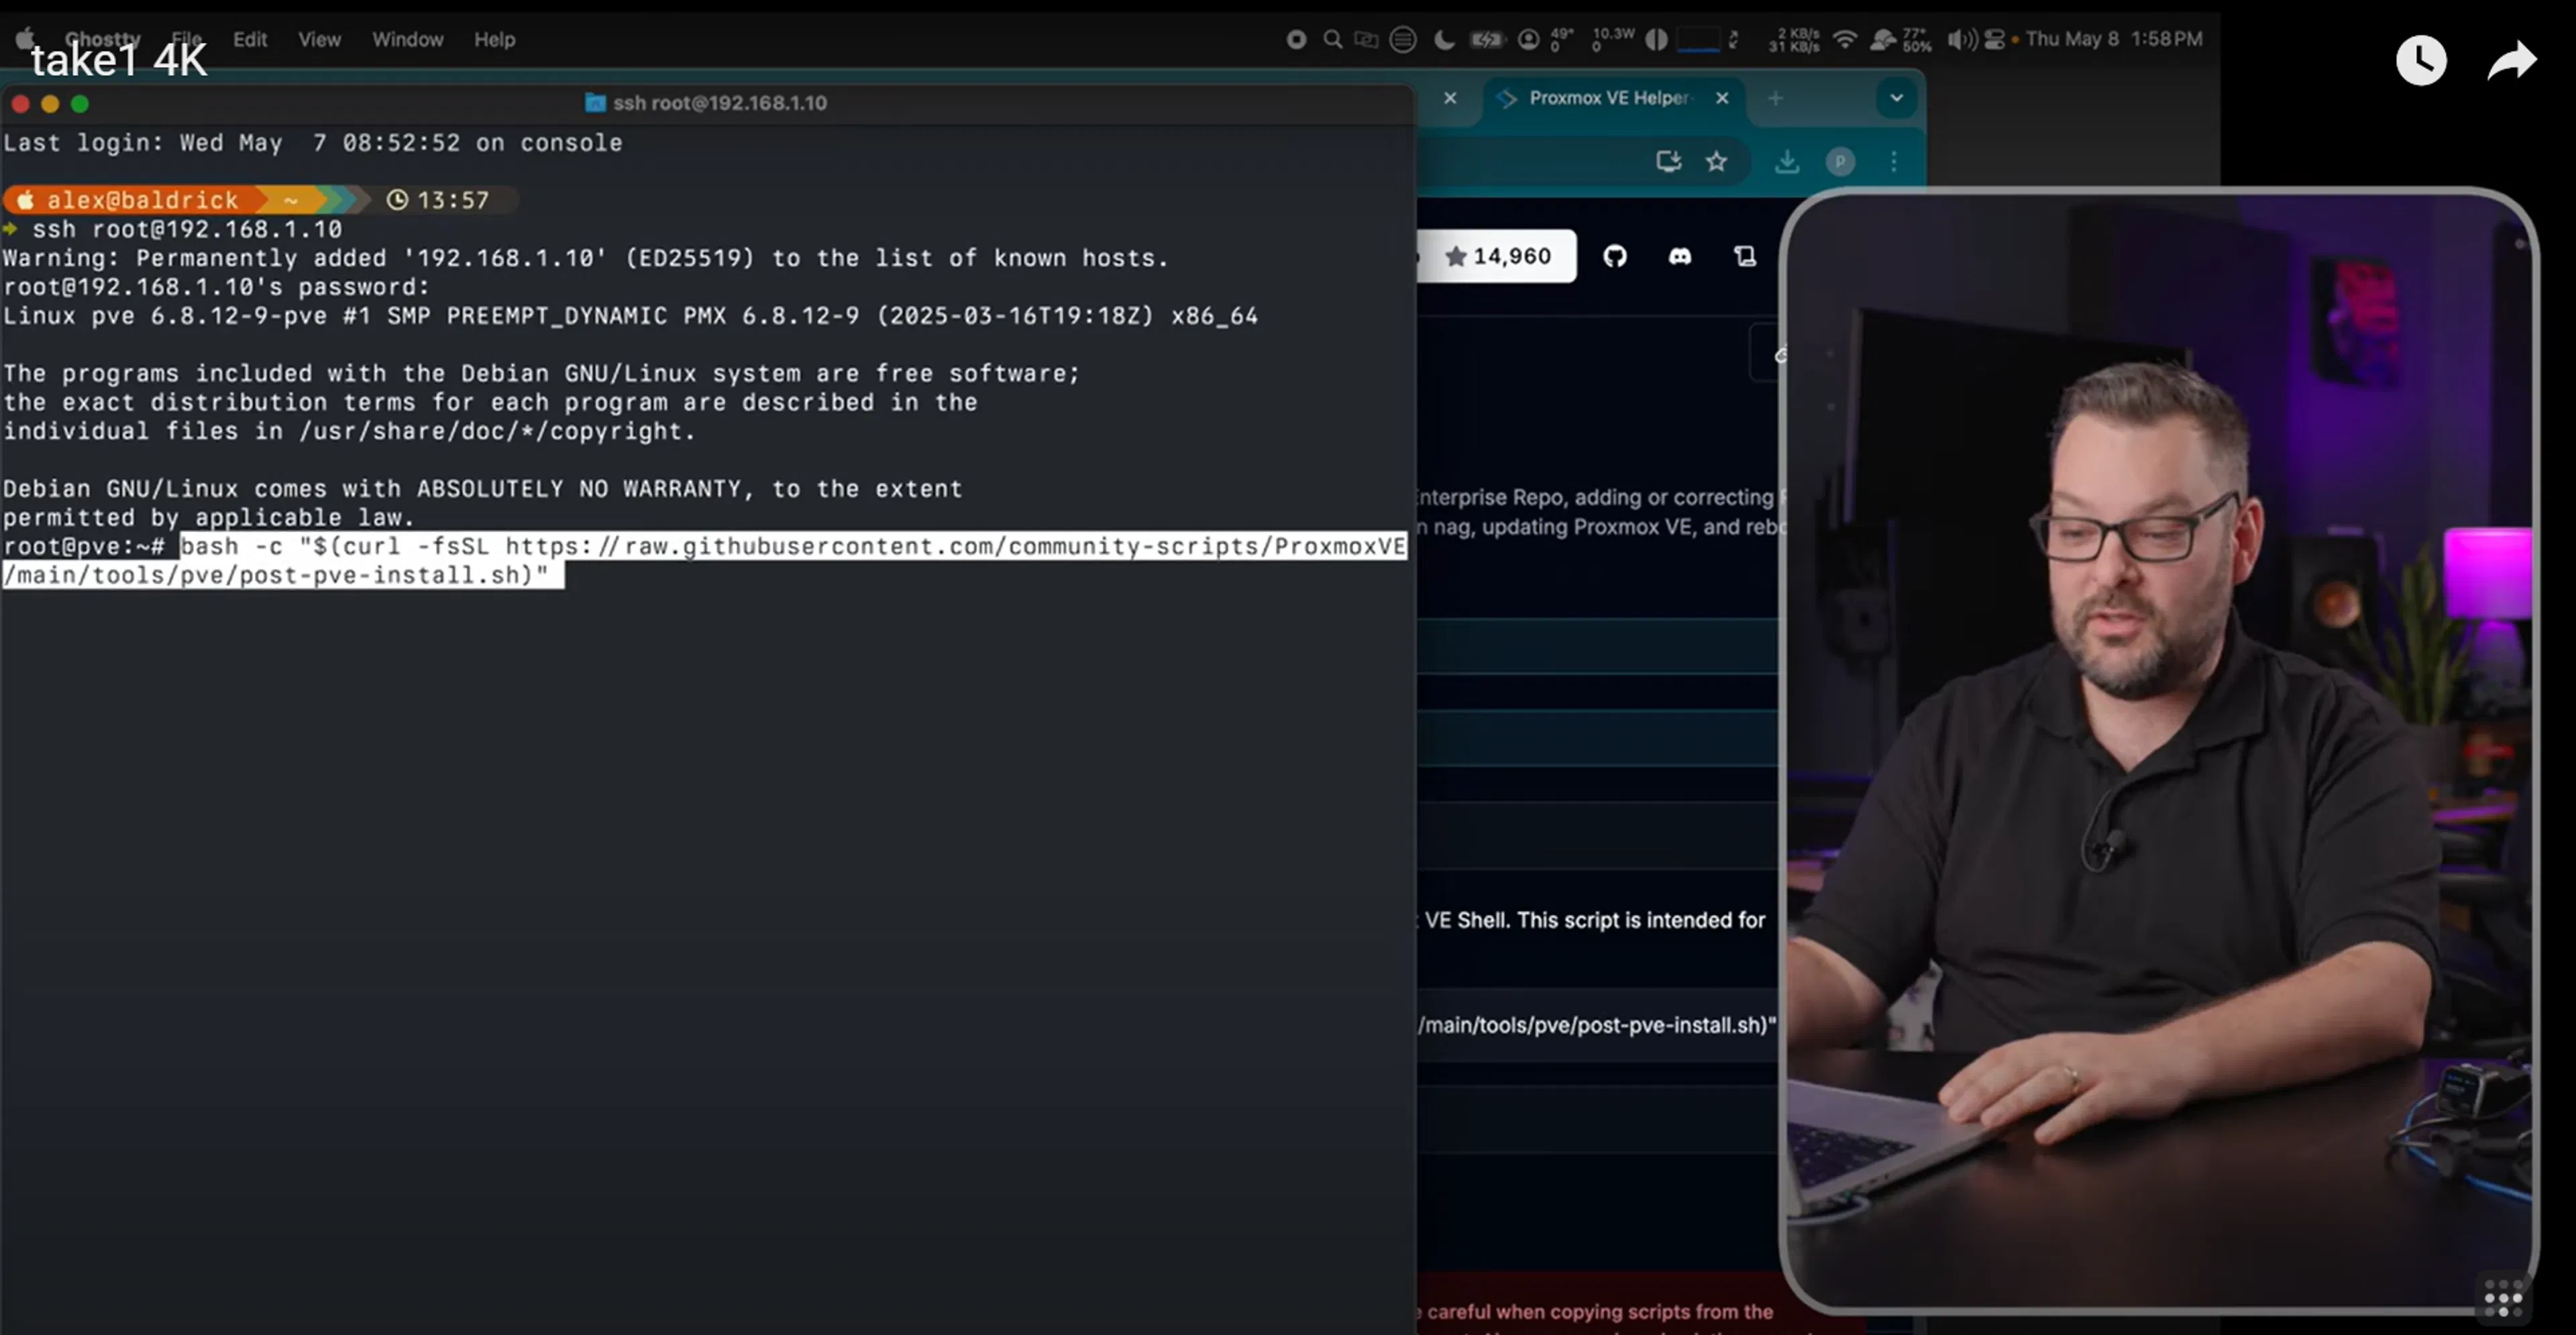
Once Proxmox has been installed and your computer has rebooted, you can remove your USB drive and start optimizing the self-hosting settings. We’ll be using Proxmox VE Helper-Scripts, which is a collection of tools to simplify the setup and management of Proxmox Virtual Environment:
- Log in via SSH
- Type
SSH root@+ the IP address of your storage device. In this example, that's192.168.1.10 - Enter the root password you created earlier during installation
- Go to the Proxmox VE website
- Search for “Proxmox post install” with the search bar, and click into the "Proxmox VE Post Install" page. Copy the code from this page and then paste it into your terminal.
While we recommend you check the link for the most up-to-date script, here it is at the time of this writing:
bash -c "$(curl -fsSL https://raw.githubusercontent.com/community-scripts/ProxmoxVE/main/tools/pve/post-pve-install.sh)"
This code allows you to adjust Proxmox settings instead of accepting the defaults. For example, several enterprise repos in Proxmox require a subscription. So, if you don’t have one, I recommend answering the settings prompts as follows:
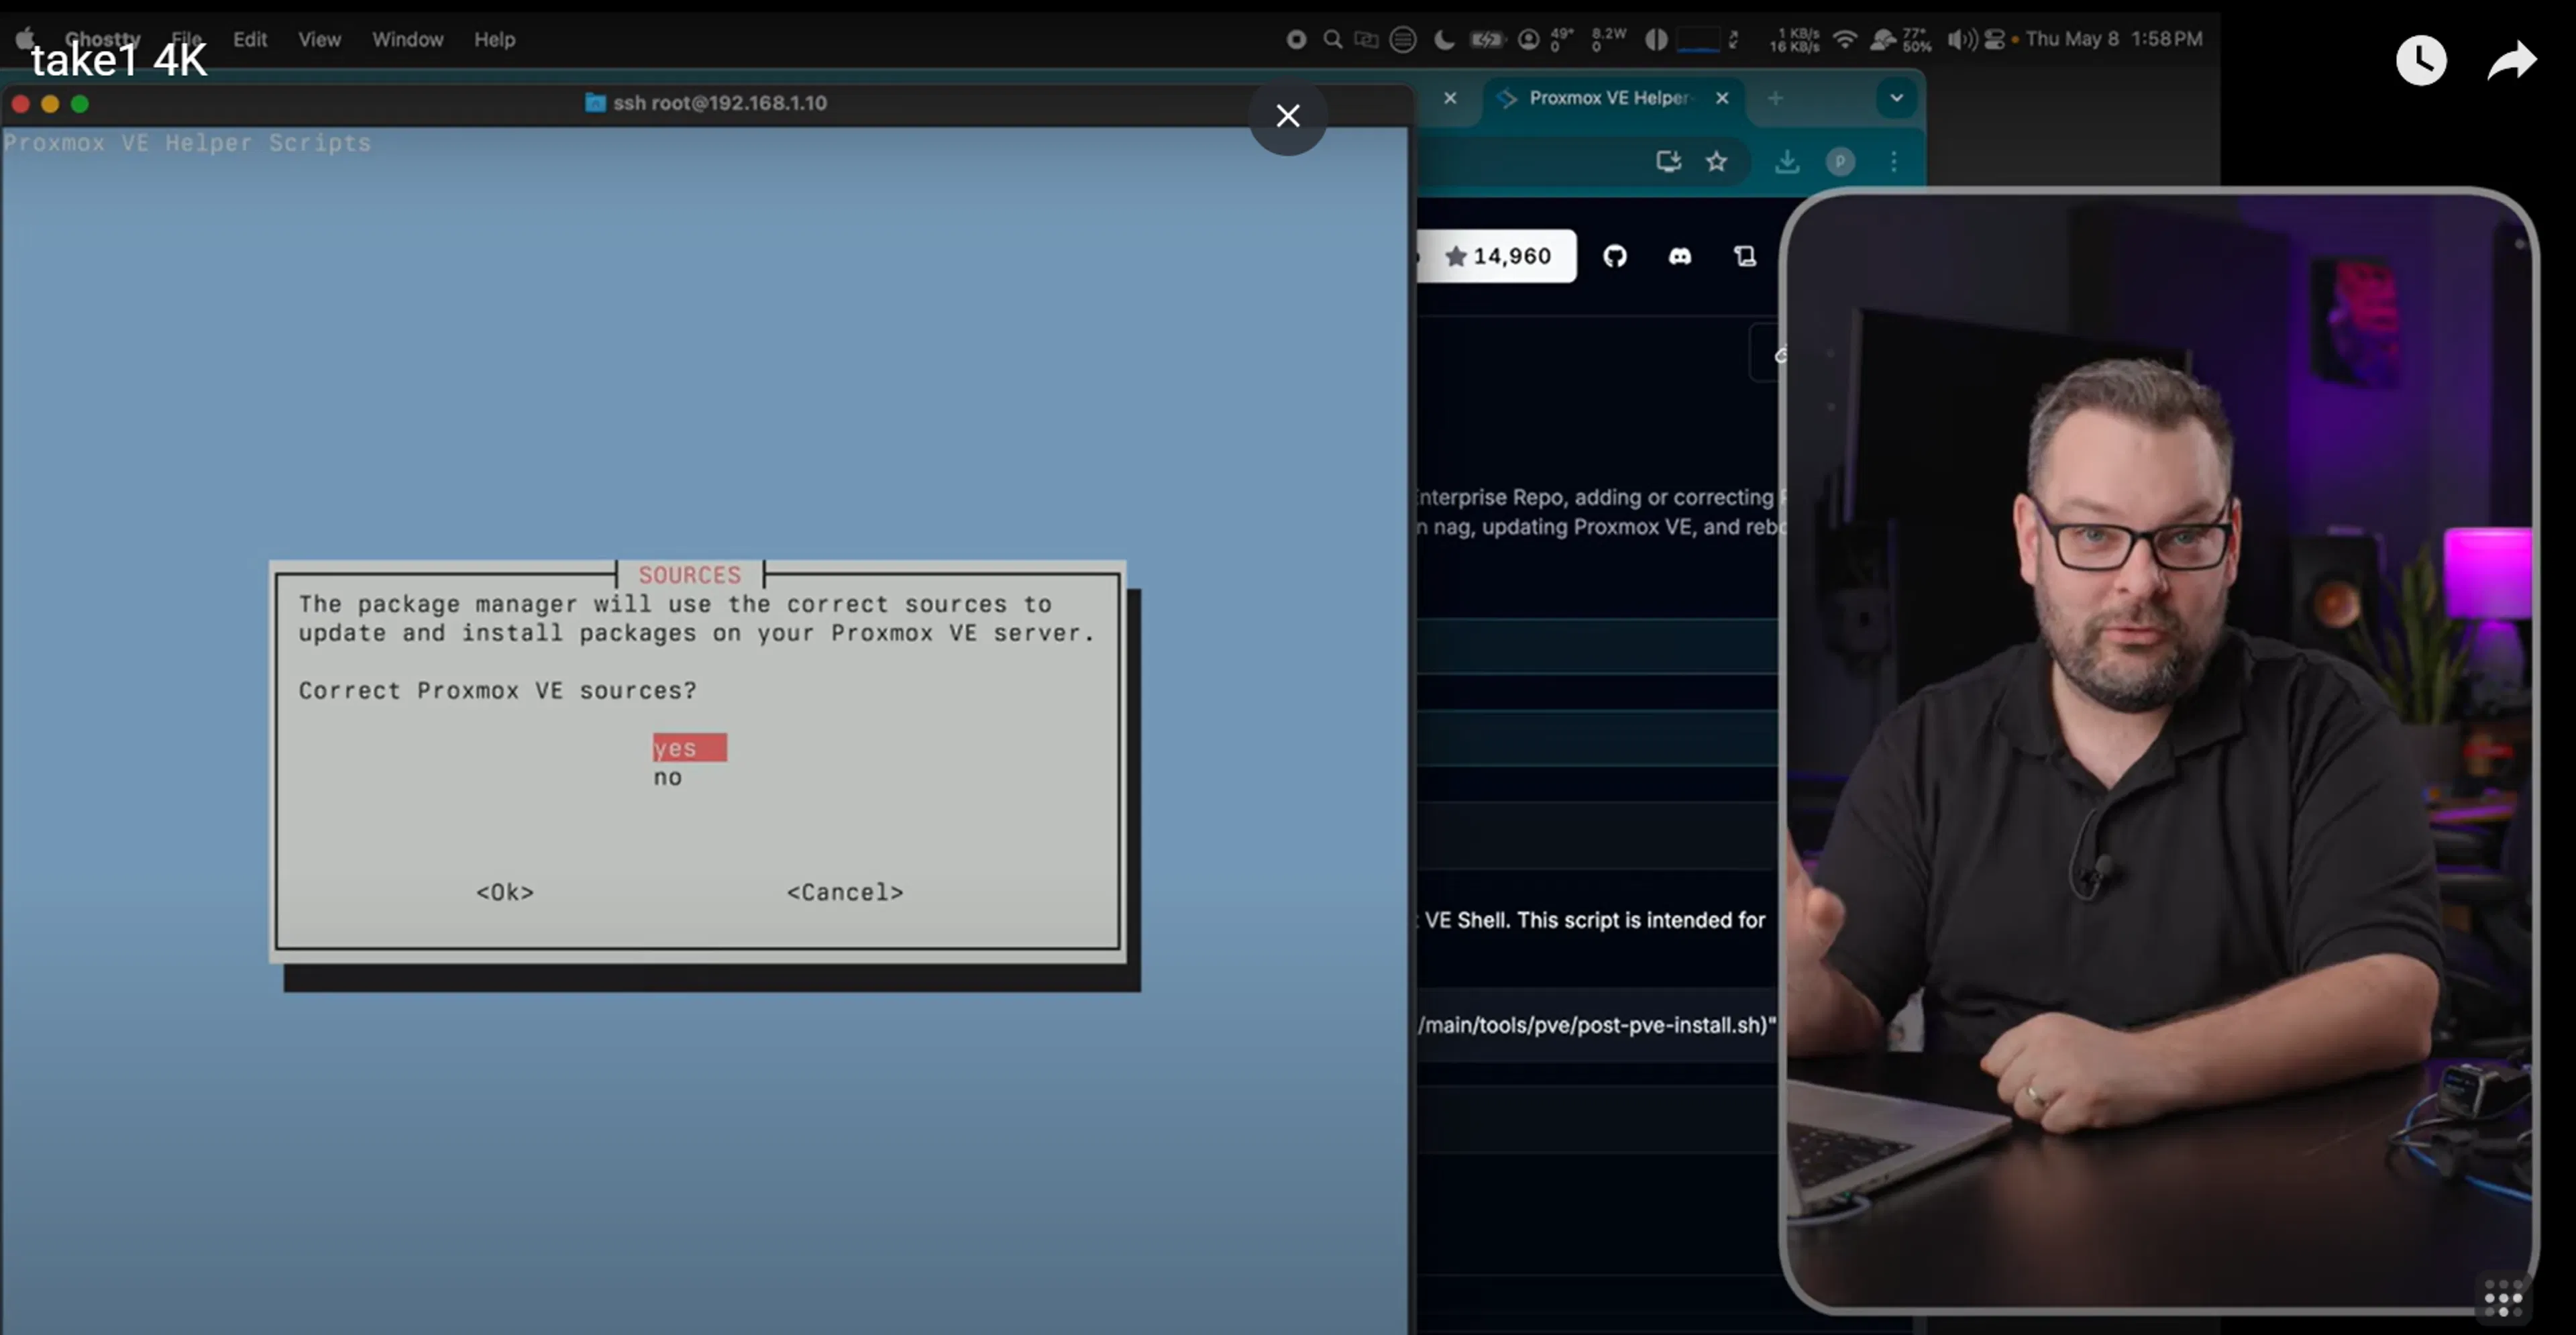
- Correct Promox VE Sources: Yes
- Disable ‘pve-enterprise’ repository: Yes
- Correct ‘ceph package sources: Yes
- Add (Disabled) ‘pvetest’ repository: Yes
- Disable subscription nag: Yes
- Support Subscriptions prompt: Ok
- Disable high availability? No
- Update Proxmox VE now? No
- Reboot Proxmox VE now? No
A few final best practices
Manually update your apt
Once those are set, you’ll want to manually update your package list through apt with the “update” command in the Proxmox terminal.
apt update
This process will fetch the latest versions of all the packages from Debian. Afterward, install the packages and bring your Proxmox installation up to date with the following command:
pveupgrade
Install a new kernel
I recommend installing a new kernel and updating Python, Proxmox, and PVE because the ISO may be behind the current version. To do this, go to https://192.168.1.10:8006 in a browser.
Since this is a self-signed certificate, you’ll encounter a warning saying, "Your connection is not private". You can safely disregard this message and log in with your root username and password using the standard Linux PAM authentication.
Now you have a fully functional Proxmox box. You can create virtual machines and containers, and start your self-hosted journey. You can now use this command in the Proxmox terminal to clean up any used packages:
apt autoremove
The final step is to reboot your storage device since a fresh kernel was just applied.
You can jump back to Jet KVM (or your monitor) and watch the reboot process happen in real time. Once the box has rebooted, you can try installing some applications!
Here are some key networking questions answered
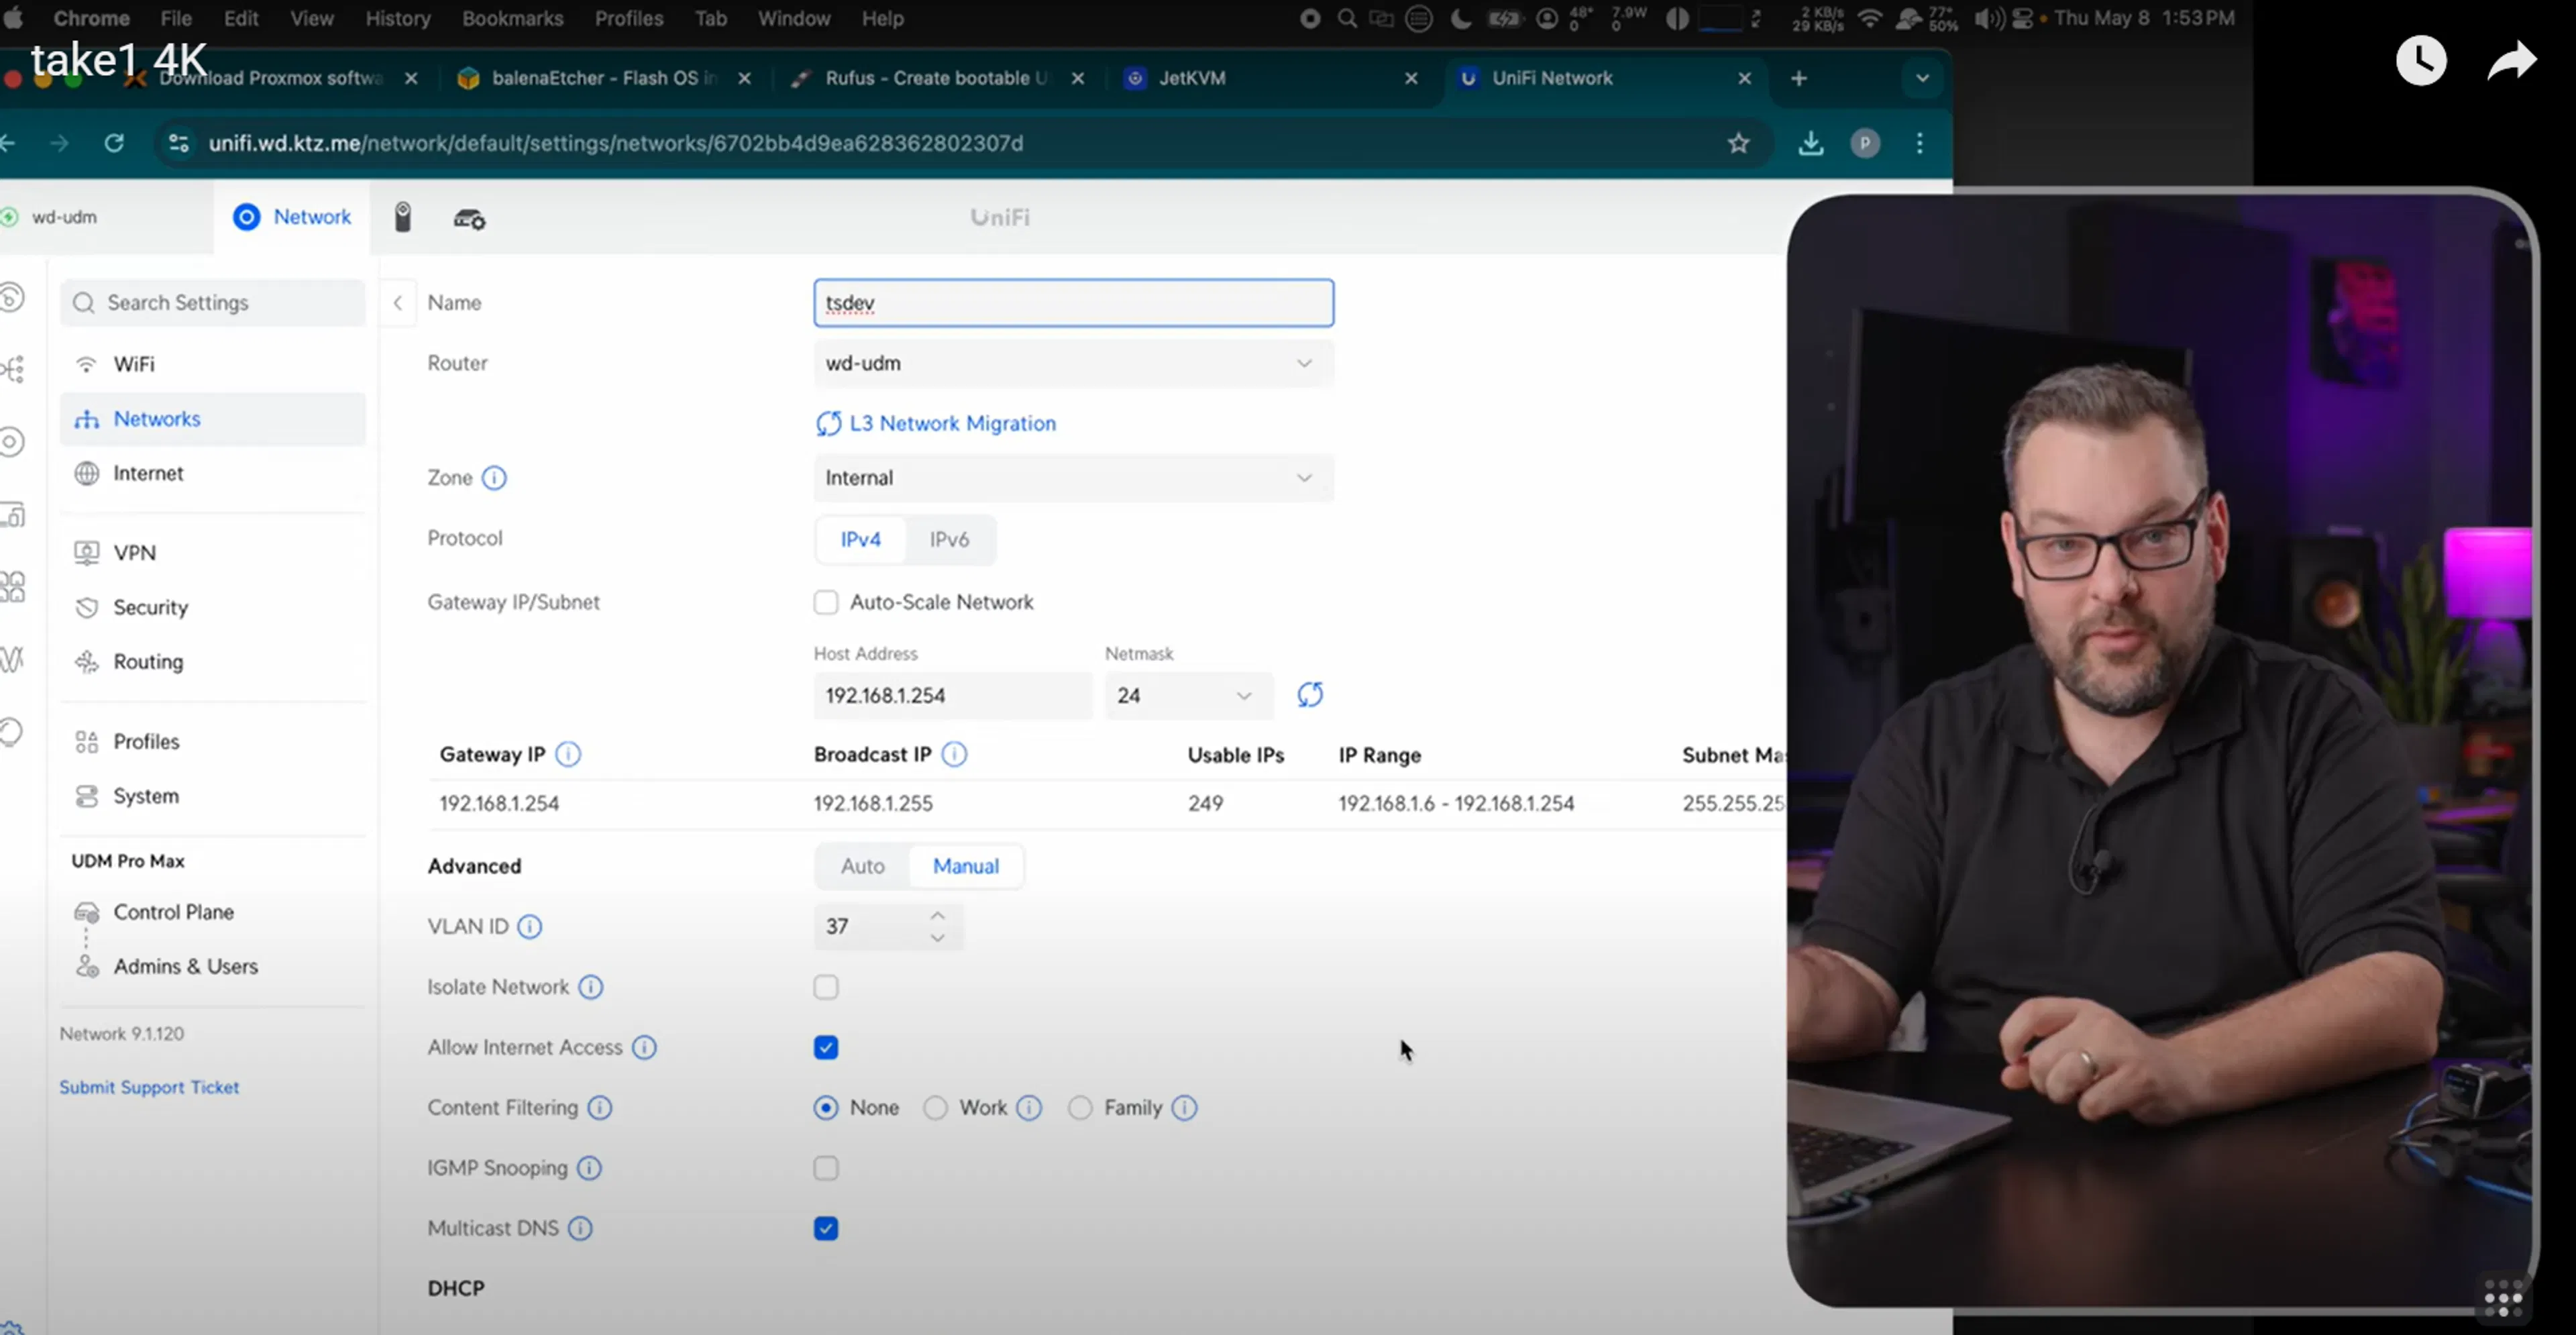
Now that your self-hosting system is up and running, you may be wondering about the basic network fundamentals in a self-hosting system. If you’re wondering, “Where do I get my gateway IP?” or “How do I know what my DNS server is?” it's all presented to you in a dashboard by Ubiquiti, which is one of the reasons I recommend it. Their switches communicate with the firewall or router and present this information in one place.
In our example, you’ll see that the gateway IP is 192.168.1.254. This refers to the firewall managing routing into and out of the network to the internet service provider. The UniFi box also functions as the DNS server, and that's a pretty common setup for most networks.
The wonderful world of self-hosting
Now that you have a self-hosting system, you can enjoy complete control over whatever you’d like to store–no third-party servers or storage required. Now you can use Tailscale to send content directly to your storage device for maximum security, so you’ll have true peace of mind regarding your information and privacy.
If you want to keep searching, though, you can stay involved in the Tailscale community — in our YouTube comments, on the bustling subreddit, and in replies on X, on Mastodon, and newly on Bluesky. We love getting feedback on Tailscale and want to hear from you.
如有侵权请联系:admin#unsafe.sh