Hello, World! It's been a while since you heard from me here, right? I'll compensate it wit 2025-12-1 06:0:24 Author: tbhaxor.com(查看原文) 阅读量:2 收藏
Hello, World! It's been a while since you heard from me here, right? I'll compensate it with a cool CI/CD implementation I was testing and implementing on a self-hosted solution for my own backend project while working on the Blitzit App.
💡
When I say "I", it means the following decisions are coming from my personal opinion and experience, and "we" means unanimous decision taken in Blitzit (both Engineering and Product team). And, this is not a sponsored post.
Before I continue, allow me to shamelessly promote our Blitzy AI mode in the Blitzit, which converts your cluttered thoughts into tasks. Right now it's in the beta release. Try it with the 30% TBHAXORDOTCOM coupon.
We have a testing environment which builds and deploys a container image from changes in the feature branch and tags it as latest. Once the product team finishes their review and gives approval, someone from the development team manually triggers a workflow to deploy the latest Docker tag on the production instance.
name: Build Image and Deploy

on:
  push:
    branches:
      - main
  workflow_dispatch:

jobs:
  build_image:
    if: github.event_name == 'push'
    name: Build and Push Image
    runs-on: ubuntu-latest
    steps:
      ...
  dev_deploy:
    name: Deploy to Dev Server
    needs: [build_image]
    if: github.event_name == 'push'
    runs-on: ubuntu-latest
    steps:
      ...

  prod_deploy:
    name: Deploy to Prod Server
    runs-on: ubuntu-latest
    if: github.event_name == 'workflow_dispatch'
    steps:
      ...
Current backend deployment automation
Clearly, it won't scale with a growing team working on different features; one may release the uncooked or untested code to the production, breaking existing stable workflows.
When a developer creates a PR, there should be an automation to deploy the changes of that source branch and provide URL in the same PR after provisioning certificates and DNS record mapping. Then the development team should make changes in the environment variables on the client side (Electron and mobile app) and package the application into an installer/executable.
💡
Currently, we are building artefacts on the local system and do not use CI job for development releases.
At last, the PR can be merged or closed, and it should clean up the resources, which requires deleting the Docker container and de-provisioning certificates and DNS record mapping.
We are using Cloudflare as our DNS record management and configured full SSL mode, which requires certificates for the backend as well, and I will use certbot along with the DNS Cloudflare challenge.
If you are thinking Kubernetes or any managed solution, hold on. I said wait!!! Yes, one could easily implement this with Cloud Run or Kubernetes, but isn't it more fun to tackle it this way, manually? This hands-on method helps us truly understand the underlying mechanisms used by these large companies.
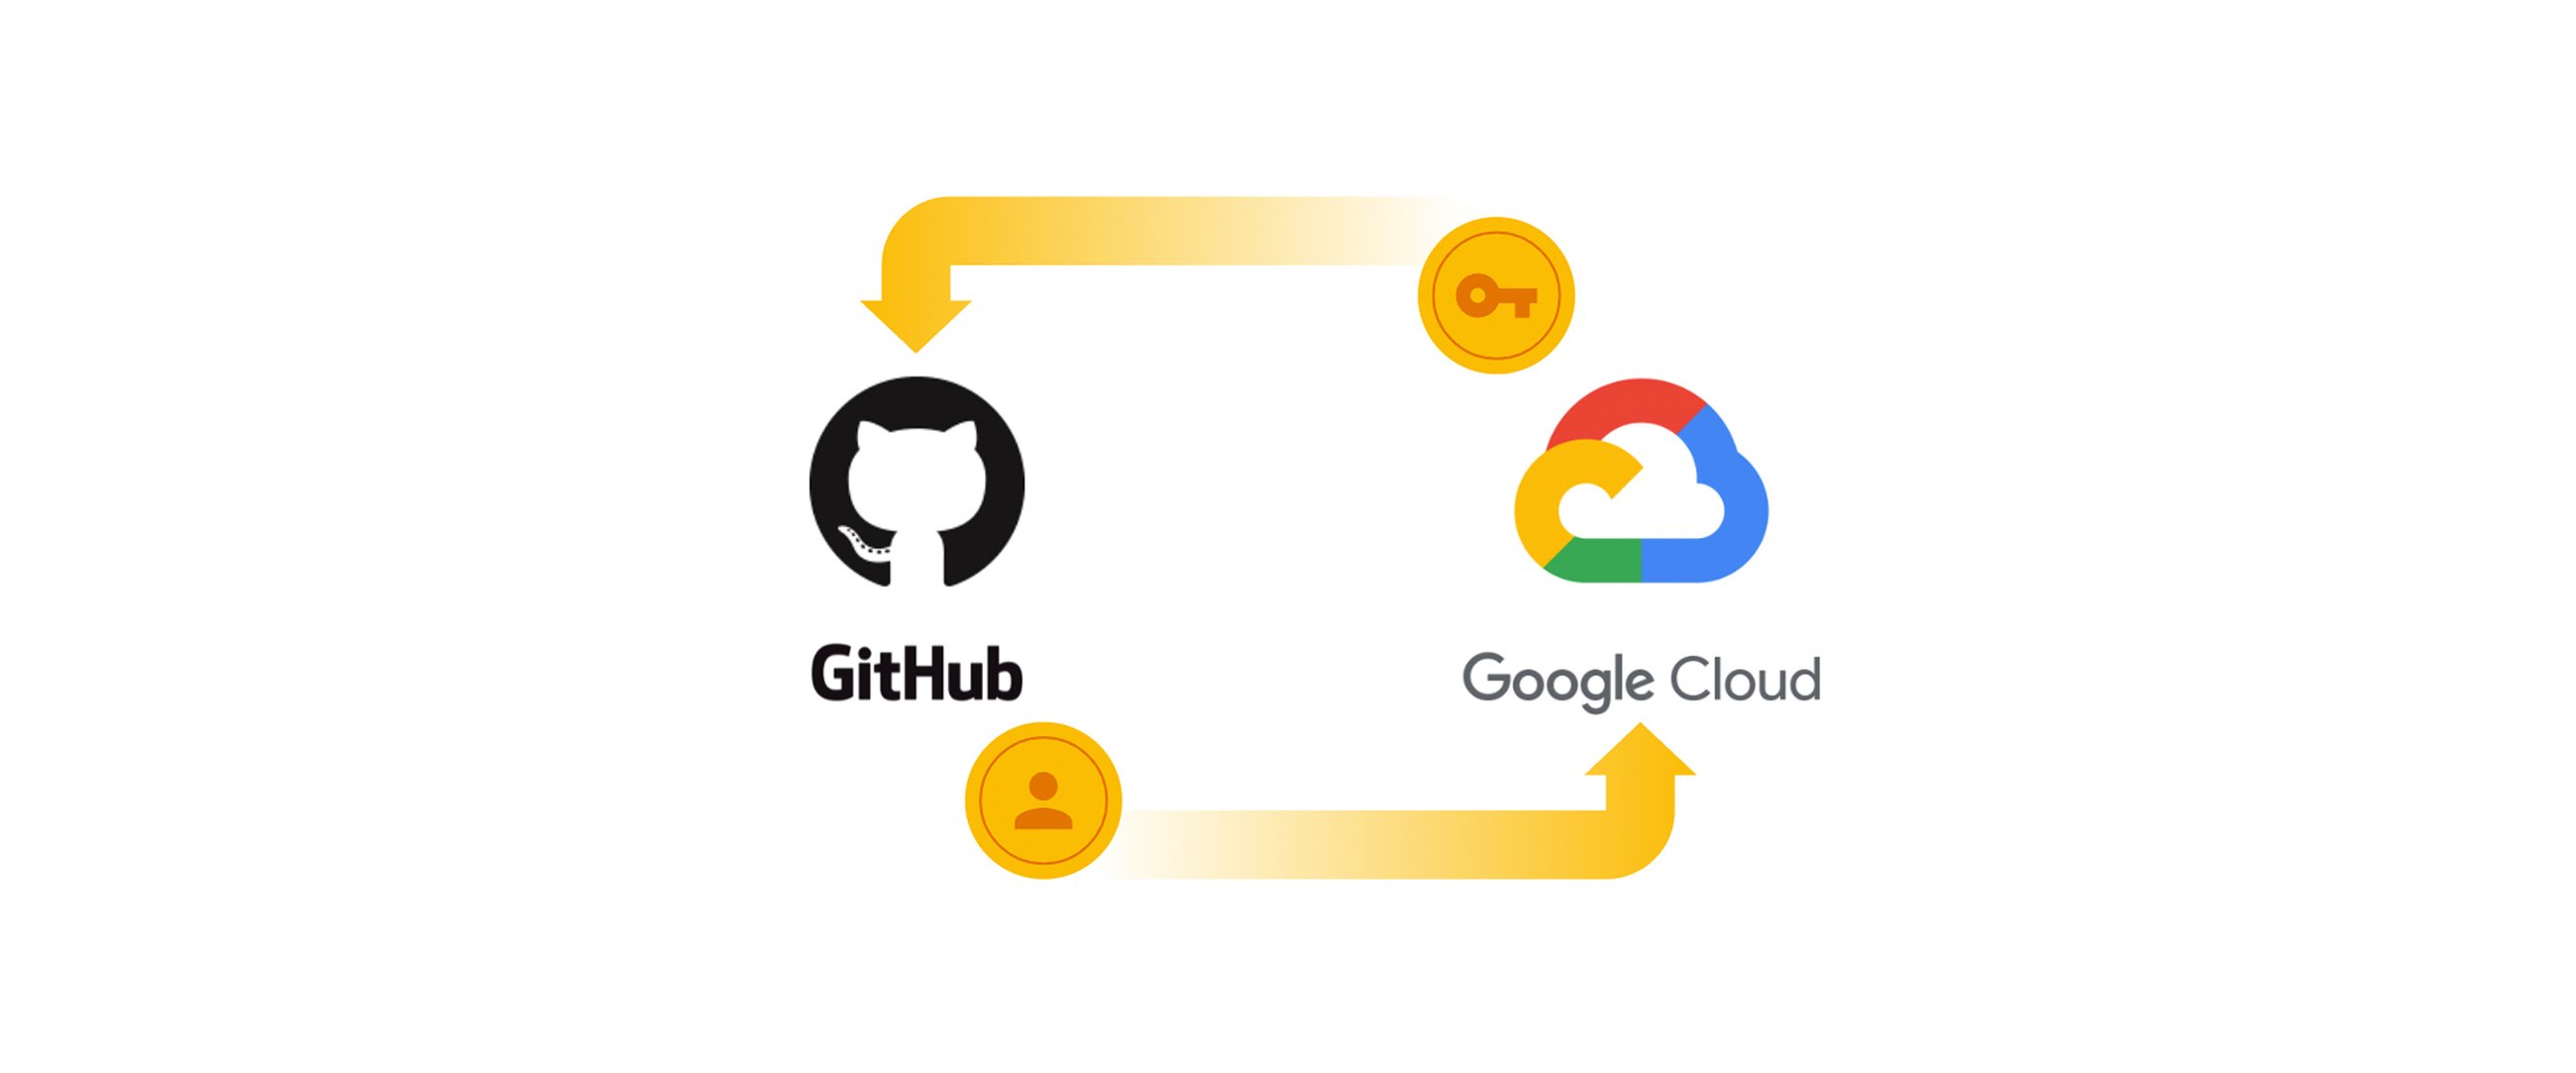
Since we are using the Firebase stack, it makes sense to use Google Cloud to make resource management easier, even though it will use a public network to connect to it.
GCP resources that we will be using are
- Artefact Registry
- Compute VM
- Service Account for Authenticating GitHub CI
- Workload Identity Federation (WIF) for Keyless and short-lived tokens
Prerequisite
Before WIF, we were using a JSON key for the service account; managing it has become difficult because it's long-lived and can be viewed in the GitHub CI using echo with a mere Linux trick.
How can I see my git secrets unencrypted?
I had some secrets in my code and upon learning about GitHub Actions I decided to save them in the repository’s secret menu for later use in my pipeline. However, now I need to access these secrets…
![]() Stack OverflowFlame_Phoenix
Stack OverflowFlame_Phoenix

GCP and GitHub Actions work together to provide short-lived access tokens through Workload Identity Federation and can be integrated into the actions using google-github-actions/auth . But before that, you need to create the Workload Identity Pool in the cloud and configure the GitHub Provider in it.
I will be using Google Cloud CLI (gcloud) to create the workload identity pools, because I have tried with terraform, it does create and destroy it for the first time, but got failed on the second run.
gcloud config set project YOUR_PROJECT_IDSet the Google Cloud Project ID
gcloud iam workload-identity-pools create devops \
  --location=global \
  --display-name=DevOps
Creates WIF Pool with DevOps display name.
gcloud iam workload-identity-pools providers create-oidc github \
  --location=global \
  --workload-identity-pool=devops \
  --display-name="GitHub" \
  --attribute-mapping="google.subject=assertion.sub,attribute.actor=assertion.actor,attribute.aud=assertion.aud,attribute.repository=assertion.repository" \
  --issuer-uri="https://token.actions.githubusercontent.com" \
  --attribute-condition="attribute.repository=='tbhaxor/PR-Review-Automation'"
Create OIDC provider with GitHub issuer and attributes mapping
The attribute condition option (--attribute-condition) is optional; it will only generate access tokens for the tbhaxor/PR-Review-Automation repository. This provides another layer of security. I recommend you use this. Make sure you change the repository to the one you're currently using.

I have created the terraform scripts to spin up a compute instance, setup artefact registry and assign permissions to the service account and assign workload principal set to the devops@[PROJECT_ID].iam.gserviceaccount.com user account.
💡
The google_service_account_iam_binding.workload_identity resource in the terraform is similar to what you will see in the Google Cloud blog. The workload identity pool will be treated as "devops" service principal in the GCP realm.
Working of the Deployment Script Explained
The deploy.sh script is pretty straight forward, accepting two arguments to deploy or cleanup and the pull request number.
tbhaxor/PR-Review-Automation scripts
tbhaxor/PR-Review-Automation scripts. GitHub Gist: instantly share code, notes, and snippets.
![]() Gist262588213843476
Gist262588213843476
The script begins by retrieving some compute instance metadata such as region, project id, and public IP address, as well as some additional user-defined attributes specified in the Terraform script.
region=$(curl -fsSL -H "Metadata-Flavor: Google" http://metadata.google.internal/computeMetadata/v1/instance/zone | awk -F'/' '{print $4}' | cut -d'-' -f-2)
project_id=$(curl -fsSL -H "Metadata-Flavor: Google" http://metadata.google.internal/computeMetadata/v1/project/project-id)
artifact_registry_name=$(curl -fsSL -H "Metadata-Flavor: Google" http://metadata.google.internal/computeMetadata/v1/instance/attributes/artifact-registry-name)
docker_image_name=$(curl -fsSL -H "Metadata-Flavor: Google" http://metadata.google.internal/computeMetadata/v1/instance/attributes/docker-image-name)
base_domain_name=$(curl -fsSL -H "Metadata-Flavor: Google" http://metadata.google.internal/computeMetadata/v1/instance/attributes/base-domain-name)
container_port=$(curl -fsSL -H "Metadata-Flavor: Google" http://metadata.google.internal/computeMetadata/v1/instance/attributes/container-port)
cloudflare_access_token=$(curl -fsSL -H "Metadata-Flavor: Google" http://metadata.google.internal/computeMetadata/v1/instance/attributes/cloudflare-access-token)
external_ip=$(curl -fsSL -H "Metadata-Flavor: Google" http://metadata.google.internal/computeMetadata/v1/instance/network-interfaces/0/access-configs/0/external-ip)
Fetch information from IMDS
It will then configure the docker cli to use Google authentication when pulling container images from the private artefact registry.
gcloud auth configure-docker "${region}-docker.pkg.dev" --quietConfigures Docker Registry authentication via gcloud
When you use the deploy command, it will clear any previous deployments, pull the fresh image, and deploy it. Furthermore, it will only request a certificate for the and add the dns records for the first time, preventing throttling from cloudflare and let's encrypt, preventing unintentional script failure.
💡
Since we manage DNS records in Blitzit using Cloudflare, and I wanted to use a non-interactive method of domain authority verification in Let's Encrypt, I chose the Cloudflare DNS challenge in the Certbot.
dns_record_id=$(curl -fsSL "https://api.cloudflare.com/client/v4/zones/${zone_id}/dns_records?name=pr-${pr_number}.${base_domain_name}&type=A" -H "Authorization: Bearer $cloudflare_access_token" | jq -r '.result[0].id')
if [[ "$dns_record_id" == 'null' ]]; then
	curl "https://api.cloudflare.com/client/v4/zones/$zone_id/dns_records" \
		-H 'Content-Type: application/json' \
		-H "Authorization: Bearer $cloudflare_access_token" \
		-d "{
          \"name\": \"pr-${pr_number}.${base_domain_name}\",
          \"ttl\": 3600,
          \"type\": \"A\",
          \"content\": \"${external_ip}\",
          \"proxied\": true
        }"
fi

if ! sudo test -d "/etc/letsencrypt/live/pr-${pr_number}.${base_domain_name}"; then
	sudo certbot certonly --non-interactive --agree-tos \
			--dns-cloudflare --dns-cloudflare-credentials /opt/devops/certbot-dns-cf-credentials.ini --dns-cloudflare-propagation-seconds 30 \
			--domain "pr-${pr_number}.${base_domain_name}"
fi
Provision certificate using cloudflare
Finally, you'll need an NGINX reverse proxy configured to listen on ports 80 and 443 and forward requests based on the HTTP Host header to the appropriate backend. To expose the application on the dynamic port, I use the -p 127.0.0.1:0:${container_port} option in the docker run command.
I am using an NGINX template file and processing it with the envsubst(1) command. This replaces the environment variables within the template and writes the final output to /etc/nginx/sites-enabled/pr-${pr_number}.${base_domain_name}.conf.
server {
    listen 80;
    server_name ${SERVER_NAME};

    # Redirect all non-challenge traffic to HTTPS
    location / {
        return 301 https://${SERVER_NAME}$request_uri;
    }
}

server {
    listen 443 ssl;
    http2 on;
    server_name ${SERVER_NAME};

    ssl_certificate     /etc/letsencrypt/live/${SERVER_NAME}/fullchain.pem;
    ssl_certificate_key /etc/letsencrypt/live/${SERVER_NAME}/privkey.pem;

    # Strong SSL settings (industry defaults)
    ssl_protocols TLSv1.2 TLSv1.3;
    ssl_prefer_server_ciphers on;

    location / {
        proxy_pass http://127.0.0.1:${UPSTREAM_PORT};
        proxy_set_header Host $host;
        proxy_set_header X-Real-IP $remote_addr;
        proxy_set_header X-Forwarded-For $proxy_add_x_forwarded_for;
        proxy_set_header X-Forwarded-Proto $scheme;
        proxy_redirect off;
    }
}
NGINX template file
When you close the PR, it will run the same script with the cleanup command. This will kill and delete the running container, de-provision the certificate by deleting it from the local filesystem on the deployment server, remove the NGINX configuration, and finally delete the DNS A record for the pr-${pr_number}. ${base_domain_name}
function cleanup_container() {
	sudo docker kill -s KILL "${docker_image_name}-pr-${pr_number}" || true
	sudo docker rmi "${image_base}:pr-${pr_number}" || true
}

function cleanup_reverse_proxy_and_certificates() {
	sudo certbot delete --cert-name "pr-${pr_number}.${base_domain_name}" --non-interactive
	sudo rm -rf "/etc/nginx/sites-enabled/pr-${pr_number}.${base_domain_name}.conf"
	sudo systemctl reload nginx
}

function cleanup_cf_dns_record() {
	dns_record_id=$(curl -fsSL "https://api.cloudflare.com/client/v4/zones/${zone_id}/dns_records?name=pr-${pr_number}.${base_domain_name}&type=A" -H "Authorization: Bearer $cloudflare_access_token" | jq -r '.result[0].id')

	if [[ "$dns_record_id" != 'null' ]]; then
		curl -fsSL "https://api.cloudflare.com/client/v4/zones/${zone_id}/dns_records/${dns_record_id}" \
			-X DELETE \
			-H "Authorization: Bearer $cloudflare_access_token"
	fi
}

...

cleanup)
	cleanup_container
	cleanup_reverse_proxy_and_certificates
	cleanup_cf_dns_record
	;;
...
Deployment cleanup sequence and script definition.
GitHub Action Configuration
I will first start with the Pre-Production Deployment configuration which is the main topic in this post. It will run on 4 pull request events
openedwill run then the pull request opened for the first time, it will provision the certificates and DNS records, and run the container image.synchronizeis used to ensure any changes you push in the opened PR will get built and deployed. So you can test the latest code changes.reopenwill cover the scenario in which you bring a closed PR back to life. This applies when a feature is no longer required but may become necessary in the future.closedwill be triggered when the PR is merged or closed. This is necessary to cleanup the resource for other pull requests. It will kill and remove the running container, delete DNS records and de-provision Lets encrypt certificates, and finally delete the image from artefact registry to save space.
name: Pre-Production Deployment

on:
  pull_request:
    types: [opened, synchronize, closed, reopened]

permissions:
  contents: 'read'
  id-token: 'write'
  pull-requests: 'write'

jobs:
  build-and-push-pr-image:
    if: github.event_name == 'pull_request' && (github.event.action == 'opened' || github.event.action == 'synchronize' || github.event.action == 'reopened')
    name: Build and Push PR Image
    runs-on: ubuntu-latest
    steps:
      - uses: actions/checkout@v5
        name: Checkout Repository
      - name: Authenticate to GCP using WIF
        uses: google-github-actions/auth@v3
        id: google-wif-auth
        with:
          token_format: "access_token"
          create_credentials_file: true
          workload_identity_provider: ${{ secrets.WORKLOAD_IDENTITY_PROVIDER_ID }}
          service_account: ${{ secrets.SERVICE_ACCOUNT }}
          project_id: ${{ secrets.GCP_PROJECT_ID }}
      - name: Login to GAR
        uses: docker/login-action@v3
        with:
          registry: "${{ vars.REGION }}-docker.pkg.dev"
          username: oauth2accesstoken
          password: ${{ steps.google-wif-auth.outputs.access_token }}
      - name: Set up Docker Buildx
        uses: docker/setup-buildx-action@v3
      - name: Build Docker Metadata
        uses: docker/metadata-action@v5
        id: docker-metadata
        with:
          images: "${{ vars.REGION }}-docker.pkg.dev/${{ secrets.GCP_PROJECT_ID }}/${{ secrets.ARTIFACT_REGISTRY_NAME }}/${{ secrets.DOCKER_IMAGE_NAME }}"
          tags: |
            type=ref,event=pr
      - name: Build and push
        uses: docker/build-push-action@v6
        with:
          push: true
          tags: ${{ steps.docker-metadata.outputs.tags }}
          labels: ${{ steps.docker-metadata.outputs.labels }}
          annotations:  ${{ steps.docker-metadata.outputs.annotations }}
          cache-from: type=gha
          cache-to: type=gha,mode=max

  deploy-pr-image:
    if: github.event_name == 'pull_request' && (github.event.action == 'opened' || github.event.action == 'synchronize' || github.event.action == 'reopened')
    name: Deploy PR Image
    runs-on: ubuntu-latest
    needs: [build-and-push-pr-image]
    environment:
      name: Pre-Production
      url: "https://pr-${{ github.event.pull_request.number }}.${{ vars.BASE_DOMAIN_NAME }}"
    steps:
      - uses: actions/checkout@v5
        name: Checkout Repository
      - name: Authenticate to GCP using WIF
        uses: google-github-actions/auth@v3
        id: google-wif-auth
        with:
          token_format: "access_token"
          create_credentials_file: true
          workload_identity_provider: ${{ secrets.WORKLOAD_IDENTITY_PROVIDER_ID }}
          service_account: ${{ secrets.SERVICE_ACCOUNT }}
          project_id: ${{ secrets.GCP_PROJECT_ID }}
      - name: 'Set up Cloud SDK'
        uses: 'google-github-actions/setup-gcloud@v3'
        with:
          version: '>= 363.0.0'
      - name: Generate SSH key pair
        run: ssh-keygen -t ed25519 -f ~/.ssh/id_ed25519 -N "" -C ${{ github.actor }}
      - name: Deploy application
        run: |
          gcloud compute ssh ${{ github.actor }}@${{ secrets.INSTANCE_NAME }} \
            --ssh-key-file=~/.ssh/id_ed25519 --zone=${{ secrets.INSTANCE_ZONE_NAME }} \
            --command="sudo bash /opt/devops/scripts/deploy.sh deploy ${{ github.event.pull_request.number }}"
      - name: Cleanup SSH Keys
        run: |
          gcloud compute project-info describe --format=json | jq -r '.commonInstanceMetadata.items[] | select(.key == "ssh-keys") | .value ' | grep -v "${{ github.actor }}:$(cat ~/.ssh/id_ed25519.pub)" > ./ssh-keys.txt
          gcloud compute project-info add-metadata --metadata-from-file=ssh-keys=./ssh-keys.txt
          rm -rf ./ssh-keys.txt

  cleanup:
    if: github.event_name == 'pull_request' && github.event.action == 'closed'
    runs-on: ubuntu-latest
    name: Cleanup Preview Deployment
    steps:
      - name: Authenticate to GCP using WIF
        uses: google-github-actions/auth@v3
        id: google-wif-auth
        with:
          token_format: "access_token"
          create_credentials_file: true
          workload_identity_provider: ${{ secrets.WORKLOAD_IDENTITY_PROVIDER_ID }}
          service_account: ${{ secrets.SERVICE_ACCOUNT }}
          project_id: ${{ secrets.GCP_PROJECT_ID }}
      - name: 'Set up Cloud SDK'
        uses: 'google-github-actions/setup-gcloud@v3'
        with:
          version: '>= 363.0.0'
      - name: Generate SSH key pair
        run: ssh-keygen -t ed25519 -f ~/.ssh/id_ed25519 -N "" -C ${{ github.actor }}
      - name: Deploy application
        run: |
          gcloud compute ssh ${{ github.actor }}@${{ secrets.INSTANCE_NAME }} \
            --ssh-key-file=~/.ssh/id_ed25519 --zone=${{ secrets.INSTANCE_ZONE_NAME }} \
            --command="sudo bash /opt/devops/scripts/deploy.sh cleanup ${{ github.event.pull_request.number }}"
      - name: Cleanup SSH Keys
        run: |
          gcloud compute project-info describe --format=json | jq -r '.commonInstanceMetadata.items[] | select(.key == "ssh-keys") | .value ' | grep -v "${{ github.actor }}:$(cat ~/.ssh/id_ed25519.pub)" > ./ssh-keys.txt
          gcloud compute project-info add-metadata --metadata-from-file=ssh-keys=./ssh-keys.txt
          rm -rf ./ssh-keys.txt
      - name: Delete Docker Image
        run: |
          gcloud artifacts docker images delete --quiet \
            ${{ vars.REGION }}-docker.pkg.dev/${{ secrets.GCP_PROJECT_ID }}/${{ secrets.ARTIFACT_REGISTRY_NAME }}/${{ secrets.DOCKER_IMAGE_NAME }}:pr-${{ github.event.pull_request.number }}
YAML configuration to build the image and deploy to pre-production environment.
Now comes the Production Release configuration which will run when someones pushes commits to the main branch either by merging the PR or direct (assumes developers are certain about their changes). As of now it will build and push the image, you can use
name: Production Release

on:
  push:
    branches: [main]

permissions:
  contents: read
  id-token: write

jobs:
  build-and-push-image:
    name: Build and Push Docker Image
    runs-on: ubuntu-latest
    environment: Production
    steps:
      - uses: actions/checkout@v5
        name: Checkout Repository
      - name: Authenticate to GCP using WIF
        id: google-wif-auth
        uses: google-github-actions/auth@v3
        with:
          token_format: "access_token"
          create_credentials_file: true
          workload_identity_provider: ${{ secrets.WORKLOAD_IDENTITY_PROVIDER_ID }}
          service_account: ${{ secrets.SERVICE_ACCOUNT }}
          project_id: ${{ secrets.GCP_PROJECT_ID }}
      - name: Login to GAR
        uses: docker/login-action@v3
        with:
          registry: "${{ vars.REGION }}-docker.pkg.dev"
          username: oauth2accesstoken
          password: ${{ steps.google-wif-auth.outputs.access_token }}
      - name: Set up Docker Buildx
        uses: docker/setup-buildx-action@v3
      - uses: docker/metadata-action@v5
        id: docker-metadata
        name: Build Docker Metadata
        with:
          images: "${{ vars.REGION }}-docker.pkg.dev/${{ secrets.GCP_PROJECT_ID }}/${{ secrets.ARTIFACT_REGISTRY_NAME }}/${{ secrets.DOCKER_IMAGE_NAME }}"
          tags: |
            type=raw,value=latest
            type=sha
      - name: Set up QEMU
        uses: docker/setup-qemu-action@v3
      - name: Build and push
        uses: docker/build-push-action@v6
        with:
          push: true
          platforms: linux/amd64,linux/arm64
          tags: ${{ steps.docker-metadata.outputs.tags }}
          labels: ${{ steps.docker-metadata.outputs.labels }}
          annotations:  ${{ steps.docker-metadata.outputs.annotations }}
          cache-from: type=gha
          cache-to: type=gha,mode=max
YAML configuration to build and push image for production
For the demo purpose, I have created tbhaxor/PR-Review-Automation#1 PR which first executed Build and Push PR Image step and then Deploy PR Image step in the sequence. I am using GitHub environments because of it's URL feature.
At this point, the deploy.sh script would have derived that there are no DNS records or certificates; it will provision both, make the necessary changes to the /etc/devops/templates/nginx.conf template file, test the configuration, and then restart the NGINX server.
💡
Testing configuration before running the sudo systemctl restart nginx command is critical because it restarts the NGINX server and may disrupt existing deployment if there are any discrepancies in the current PR's NGINX configuration.

opened eventUpon visiting the above preview URL, I have found that it didn't show any URL in the URLSet. I made this mistake deliberately, and then fixed in 50e0d00 commit.

Once you push (or force push) in the branch involved in the pull request, the synchronize event is triggered, and the automation will re-build the image and re-deploy it. This time, it will not provision the certificate from Lets Encrypt, preventing an unwanted throttle error and skipping the DNS record update.

I have also attached the following screenshot for your review on sequence of workflow executions.

Caveats
You typically need to supply environment configuration via a .env file (we use env.conf). To enable this, the docker run command in /opt/devops/scripts/deploy.sh must be updated accordingly.
💡
It's recommended to use --env-file argument and make changes to the file before opening a pull request.
The cloudflare token is stored in the VM metadata, which anyone can easily access. Ideally, I should have used secret manager for this, but for just one key, it didn't make sense. If you need it for more secrets, I recommend using it instead and granting the service principal access to read the value. Also, update the deploy.sh script accordingly.
The CI/CD implementation effectively automates the pre-production deployment workflow for a self-hosted backend on GCP Compute Instance via GitHub Actions triggered by PR events (opened, synchronize, closed, reopened). The system automatically
- builds and deploys feature-branch containers
- provisions necessary resources like DNS records and Lets Encrypt certificates via certbot
- cleans them up upon PR closure
This allows developers to have per-PR testing environment significantly improves scalability and stability for a growing team, preventing accidental deployment of untested code.
Environments
Environments are for developing locally, testing changes in a pre-production environment, and serving end-users in production.
![]() Vercel
Vercel

OpenID Connect - GitHub Docs
OpenID Connect allows your workflows to exchange short-lived tokens directly from your cloud provider.
![]() GitHub Docs
GitHub Docs

Configuring OpenID Connect in Google Cloud Platform - GitHub Docs
Use OpenID Connect within your workflows to authenticate with Google Cloud Platform.
![]() GitHub Docs
GitHub Docs

Workload Identity Federation | IAM Documentation | Google Cloud Documentation
![]() Google Cloud Documentation
Google Cloud Documentation
![]()
How can I see my git secrets unencrypted?
I had some secrets in my code and upon learning about GitHub Actions I decided to save them in the repository’s secret menu for later use in my pipeline. However, now I need to access these secrets…
![]() Stack OverflowFlame_Phoenix
Stack OverflowFlame_Phoenix
Enabling keyless authentication from GitHub Actions | Google Cloud Blog
Authenticate from GitHub Actions to create and manage Google Cloud resources using Workload Identity Federation.
Google Cloud
gcloud auth configure-docker | Google Cloud SDK | Google Cloud Documentation
![]() Google Cloud Documentation
Google Cloud Documentation
![]()
Is it possible to connect to TCP port 0?
Listening to TCP port 0 allocates a free port number on the system for me. But what happens when I try to connect to TCP port 0? The obvious answer is: "It doesn’t work": $ nc localhost 0…
![]() Unix & Linux Stack ExchangeJoshua
Unix & Linux Stack ExchangeJoshua

envsubst(1) - Linux manual page
Linux manual page

如有侵权请联系:admin#unsafe.sh