Apple宣布macOS 15 Sequoia及以后版本支持通过Declarative Device Management (DDM)管理外部和网络存储设备的挂载权限,并提供允许、只读和不允许三种策略选项。Jamf Pro的Blueprints支持通过磁盘管理策略组件部署这些控制措施。 2025-6-11 16:6:36 Author: derflounder.wordpress.com(查看原文) 阅读量:31 收藏
Deploying disk management using Blueprints in Jamf Pro
As part of Apple’s discussion of Declarative Device Management (DDM) at WWDC 2024, Apple announced that DDM management on macOS 15 Sequoia and later now included the ability to allow or block external and network storage. You can manage the following:
- External storage devices
- Network storage
The following mount policies can be specified for both external and network storage:
- Allowed: The system can mount storage that’s read-write or read-only.
- Read-only: The system can only mount read-only storage. Storage that is read-write is not mounted read-only.
- Disallowed: The system can’t mount any external storage.
Note: The read-only options are for mounting storage which is already read-only. If macOS can detect that the storage is read-write when it tries to mount the storage in question, macOS won’t mount the storage and will display an error message.
Jamf Pro’s Blueprints supports deploying and managing these disk management controls via the Disk management policy component. Let’s see how this looks, using the following example:
Goal
Block network storage from mounting
For more details, please see below the jump.
I can set up a Blueprint in Jamf Pro to deploy this network storage management configuration using the following procedure:
1. Log into Jamf Pro.
2. Select Blueprints
3. Click the Open button for Install disk management settings.

4. Give it a name when prompted. For this example, I’m using Block Network Storage.

5. Select a Jamf Pro smart or static group. For this example, I’m selecting a static group named Disk Management Deployment Group.

6. In the Disk Management Policy section, select the following settings:
- Click the checkbox for Network storage.
- Click the button for Disallowed.
7. Once all the information has been entered and verified to be correct, click the Save button.

Once everything has been configured, Jamf Pro should inform you that you have undeployed changes. Click the Deploy button to deploy the changes to the Macs you want to manage.

Once deployed, the Blueprints screen in Jamf Pro should show the newly-created Block Network Storage Blueprint as being deployed.

On your managed devices, you can verify that the new service background task configuration has been deployed by clicking on the enrollment profile, then scrolling to the bottom. In the case of this example, you should see a Device Declarations section with a listing for Disk Management.

If you click on the Disk Management listing, it should report the following:
- Network Storage Restriction: Not Allowed

You can verify that the network storage restriction is working by running the following test:
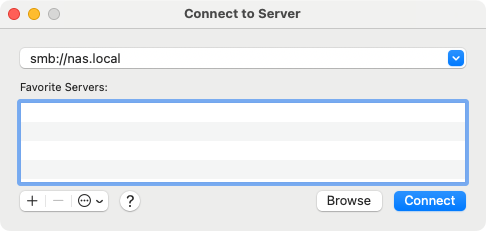
1. Connect to a network storage server.

2. Log in using your credentials.

3. When the server presents the list of available network storage shares, select one your user account should have access to.

If the network storage restriction is working, you should receive an error when macOS tries to mount the network share. This is because the network storage restriction is acting at the time when macOS is trying to mount the network share.

如有侵权请联系:admin#unsafe.sh