前言最近在实战中碰到了用友NC,于是就想着本地搭建环境对该漏洞作个简单分析。本文大体分为环境搭建、漏洞分析以及漏洞复现三部 2020-09-08 11:09:20 Author: xz.aliyun.com(查看原文) 阅读量:901 收藏
前言
最近在实战中碰到了用友NC,于是就想着本地搭建环境对该漏洞作个简单分析。本文大体分为环境搭建、漏洞分析以及漏洞复现三部分,我会尽可能地将在此过程碰到的问题描述清楚,尽量为之后对此漏洞感兴趣的师傅节省点时间。
环境搭建
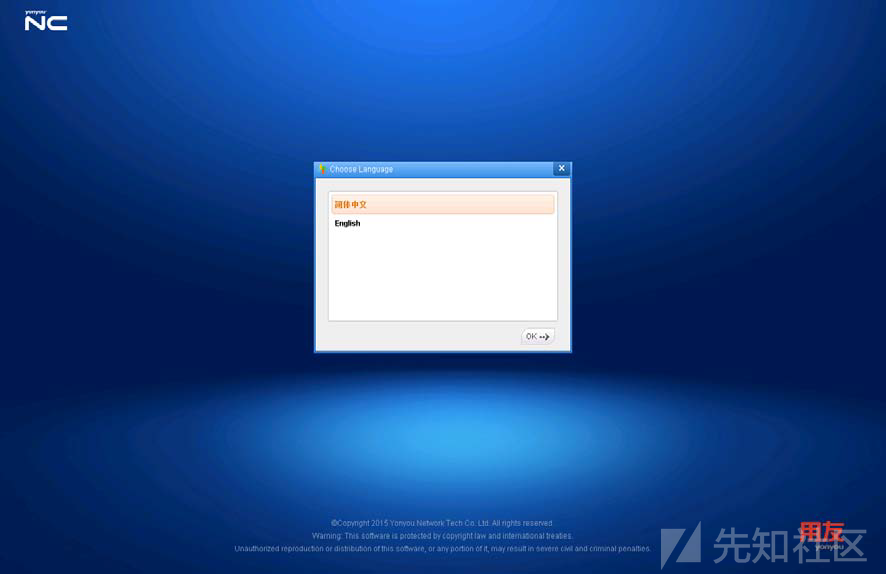
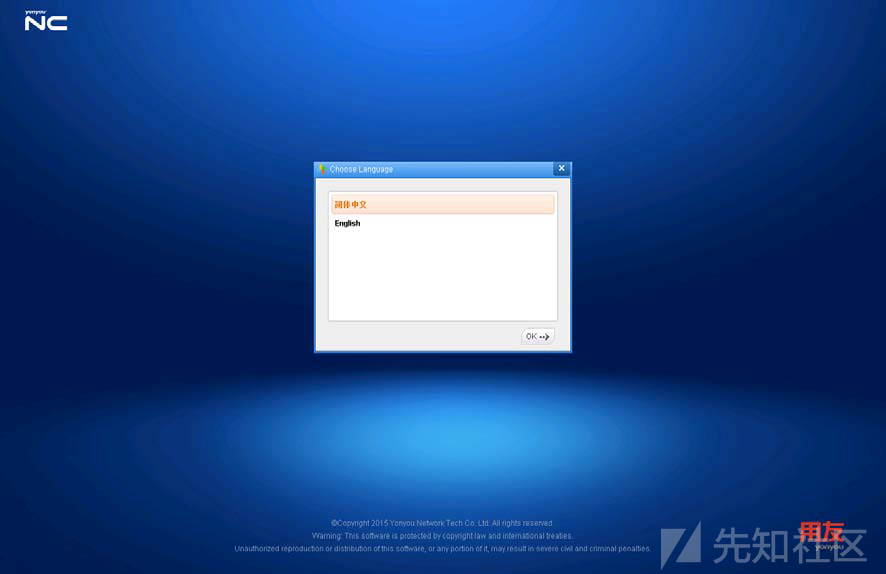
1.执行NC安装包根目录下setup.bat文件(要求安装盘同级目下有ufjdk文件或者设置JAVA_HOME环境变量),安装时,出现如下图界面;

2.选择安装的产品,这里我只安装了部分与NC相关的模块。下面对NC产品模块做个简要说明;
nc_uap              客户化
nc_portal           企业门户
nc_pd               工程基础数据
nc_fi               财务会计
nc_tpb              全面计划预算
nc_co_cm            管理会计
nc_tm               资金管理
nc_scm              供应链管理
nc_qc               质量管理
nc_am               资产管理
nc_mm               生产制造
nc_hr               人力资源
nc_hr_pd            人力资源预制
nc_iufo             网络报表含合并报表
nc_xbrl             集团报表XBRL
3.至此NC已安装完成,接下来创建Oracle用户;
SQL> create user NCV6.5 identified by 1 default tablespace nnc_data01 temporary tablespace temp;
SQL> grant dba,connect to NCV6.5;
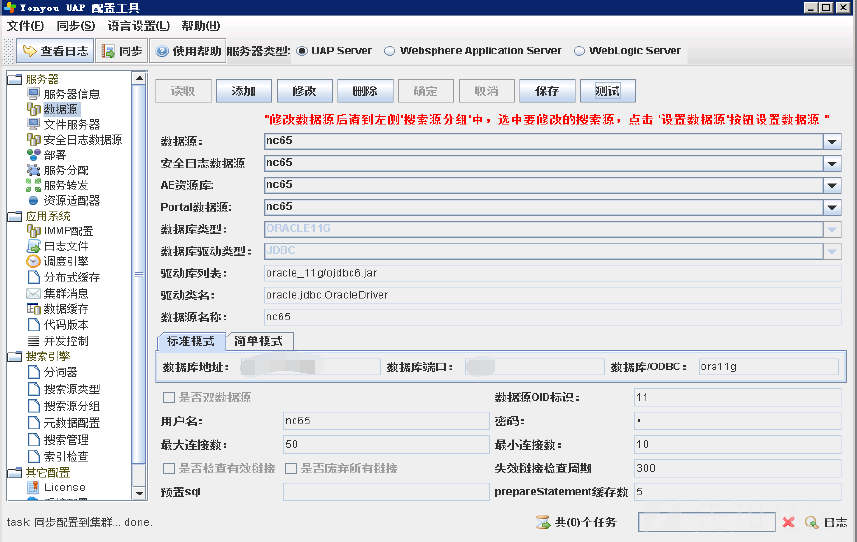
4.配置sysConfig,产品安装完成之后会自动进入系统配置界面;
- 服务器类型选择UAP SERVER。点击服务器信息→读取,如下图:

- 进入“数据源页签”→“读取”→“添加”,将NC V6.5作为账套数据源,数据库类型选择ORACLE11G,添加数据源名称,不能包含中文。配置数据库地址、用户名密码、失效链接检查周期、prepareStatement缓存数等信息,完成后点击测试,如果提示测试通过则表示NC能够与数据库连通,保存即可。

- 进入“安全日志数据源页签”→“读取”,初始化数据源,初始化完成后点击“确定”。

- 进入“部署”→“全选”→“部署EJB”, 此处用于生成、部署EJB,如下图所示:

进入“文件服务器”→“读取”,此处添加服务器ip地址,端口,存储路径,及选择元数据仓库,如下图所示:

5.环境搭建完成。因为通过浏览器访问的方式需要依赖不同用户设备上的Java版本以及系统配置等环境因素,所以为了避免这些不必要的麻烦,可以使用专用浏览器UClient来解决此问题。

## 漏洞分析
下载UClient并安装后,进入启动页面,选择添加应用。

在其安装目录里发现了NCLogin65.jar,通过对其反编译进行查看发现,它里面只是一些界面和登录逻辑代码,主要的通信代码并不在该jar包中。

继续在其他目录下的寻找,发现该目录(nc_client_home\NCCACHE\CODE)中的子目录含有许多jar包,其中external目录中的jar包是负责客户端与服务端之间通信的逻辑代码。

通过对登录流程的动态调试,最后找到了对应的类(nc.login.ui.LoginUISuppor),并定位到该类中处理登录请示的方法(getLoginRequest())

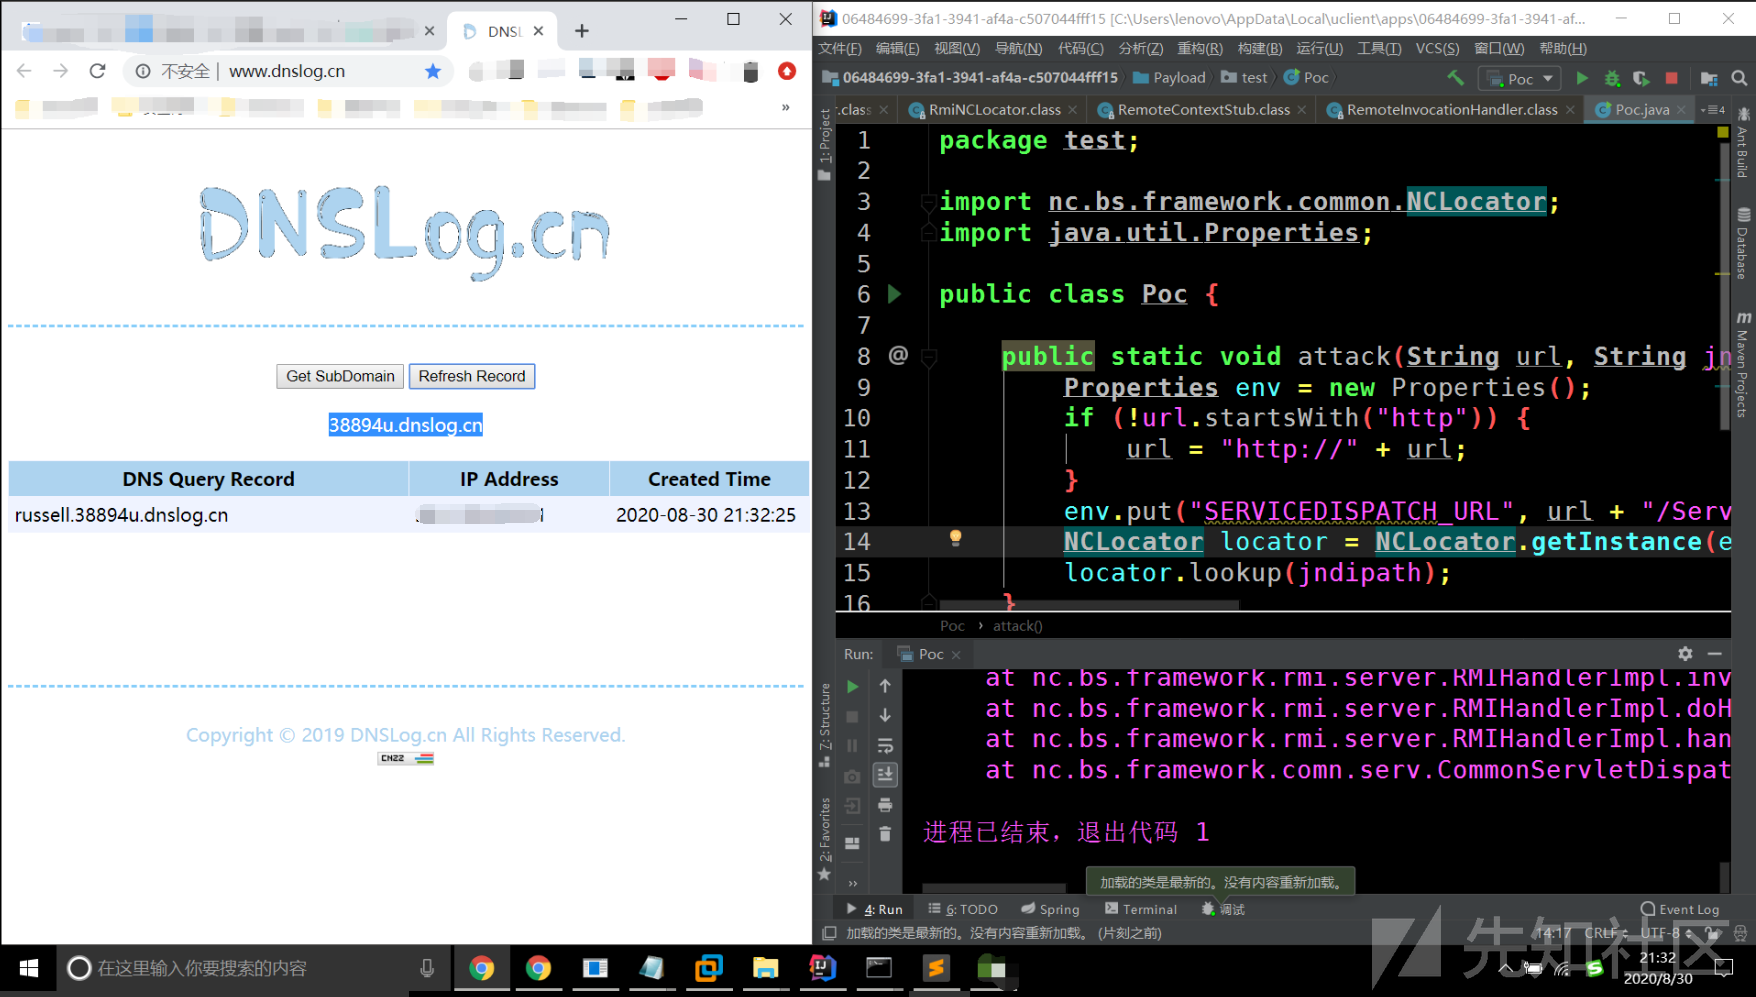
执行getInstance(),获取NCLocator的实例,然后执行NCLocator实例的lookup()方法

查看nc.bs.framework.common.NCLocator#getInstance(java.util.Properties)

//nc.bs.framework.common.NCLocator#getInstance
locator = (NCLocator)locatorMap.get(key);
      if (locator != null) {
          return locator;
      } else {
          if (!isEmpty(locatorProvider)) {
              locator = newInstance(locatorProvider);
          } else if (!isEmpty(svcDispatchURL)) {
              locator = newInstance("nc.bs.framework.rmi.RmiNCLocator");
          } else {
              locator = getDefaultLocator();
          }

          locator.init(props);
          locatorMap.put(key, locator);
          return locator;
      }
由于程序刚启动的时候locatorMap的值为空,则会进入下面的分支语句中去判断locatorProvider值,而此时又因为locatorProvider的值为空,svcDispatchURL的值(http://ip:port/ServiceDispatcherServlet)不为空,所以会创建RmiNCLocator实例,将其存放至locatorMap中。
获取到RmiNCLocator实例后,查看其lookup()方法:

继续跟进nc.bs.framework.server.RemoteMetaContext#lookup():

从proxyMap中查看是否存在参数name,如果存在则直接返回,不存在则进入下面的分支。
查看getMetaOnDemand()方法:

可以看到当metaV0值为空的时候,又调用了this.remoteMetaContext.lookup()方法,在当前类中搜索remoteMetaContext,发现在类构造函数中创建了一个代理并将其赋值到this.remoteMetaContext://nc.bs.framework.rmi.RemoteContextStub#RemoteContextStub public RemoteContextStub(String dispatchURL, String module) throws ComponentException { ComponentMetaVO metaVO = new ComponentMetaVO(); metaVO.setInterfaces(new String[]{Context.class.getName()}); if (module != null) { metaVO.setModule(module); metaVO.setName("nc.bs.framework.server.RemoteMetaContext." + module); } else { metaVO.setName("nc.bs.framework.server.RemoteMetaContext"); } this.namedMetasMap.put(metaVO.getName(), metaVO); Address url = null; try { url = new Address(dispatchURL); } catch (MalformedURLException var6) { throw new ComponentException("invalid url: " + dispatchURL); } this.defRas = new SimpleRemoteAddressSelector(url); this.remoteMetaContext = (Context)RemoteProxyFactory.getDefault().createRemoteProxy(RemoteContextStub.class.getClassLoader(), metaVO, this.defRas); this.proxyMap.put(metaVO.getName(), this.remoteMetaContext); this.dispatchUrl = url; this.module = module; this.init(); }
通过java代理的相关知识可以知道,无论调用代理对象的任何方法,该方法都会调用处理器的invoke方法,在本程序中即是nc.bs.framework.rmi.RemoteInvocationHandler#invoke:
//nc.bs.framework.rmi.RemoteInvocationHandler#invoke
public Object invoke(Object proxy, Method method, Object[] args) throws Throwable {
      String mn = method.getName();
      Class<?>[] ps = method.getParameterTypes();
      if (mn.equals("equals") && ps.length == 1 && ps[0].equals(Object.class)) {
          Object value = args[0];
          if (value != null && Proxy.isProxyClass(value.getClass())) {
              Object h = Proxy.getInvocationHandler(value);
              return !(h instanceof RemoteInvocationHandler) ? Boolean.FALSE : this.meta.equals(((RemoteInvocationHandler)h).meta) && this.ras.equals(((RemoteInvocationHandler)h).ras);
          } else {
              return Boolean.FALSE;
          }
      } else if (mn.equals("hashCode") && ps.length == 0) {
          return this.meta.hashCode() + 27 * this.ras.hashCode();
      } else if (mn.equals("toString") && ps.length == 0) {
          return this.meta.toString();
      } else {
          return method.getDeclaringClass() == RemoteProxy.class ? method.invoke(this, args) : this.sendRequest(method, args);
      }
  }
此时mn的值为“lookup”,因此会进入最后一条分支语句中,又因为二者不等,最终会执行this.sendRequest(method, args)方法
//nc.bs.framework.rmi.RemoteInvocationHandler#sendRequest
public Object sendRequest(Method method, Object[] args) throws Throwable {
      InvocationInfo ii = this.newInvocationInfo(method, args);
      Address old = null;
      int retry = 0;
      ConnectorFailException error = null;

      do {
          Address target = this.ras.select();
          if (old != null) {
              Logger.error("connect to: " + old + " failed, now retry connect to: " + target);
              if (old.equals(target)) {
                  try {
                      Thread.sleep(this.retryInterval);
                  } catch (Exception var13) {
                      ;
                  }
              }
          }

          this.restoreToken(ii, target);

          try {
              Object var8 = this.sendRequest(target, ii, method, args);
              return var8;
          } catch (ConnectorFailException var14) {
              ++retry;
              old = target;
              error = var14;
          } finally {
              this.storeToken(ii, target);
          }
      } while(retry < this.retryMax);

      throw error;
  }
跟进this.sendRequest(target, ii, method, args):

可以看到该方法中将 ii 序列化输出,发送到服务端,然后获取服务端返回的反序列化结果并回显到客户端。
## 漏洞复现

## 参考链接
https://nosec.org/home/detail/4472.html
https://blog.sari3l.com/posts/608d18f0/
如有侵权请联系:admin#unsafe.sh