2024-9-6 19:20:28 Author: securityboulevard.com(查看原文) 阅读量:11 收藏
Reading Time: 3 min

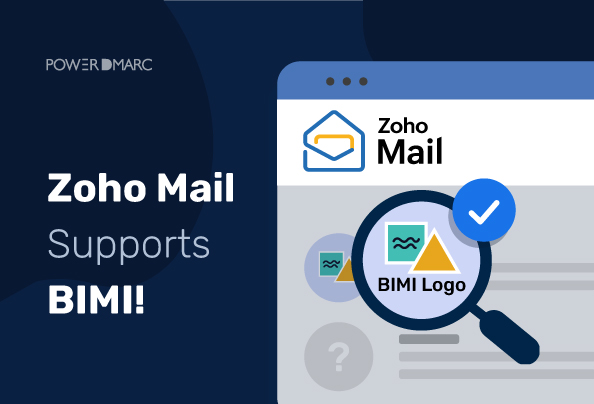
There’s a new player in the market joining the BIMI support team—and this time, it’s Zoho Mail! Google introduced BIMI to Gmail as early as 2021, and since then, we have seen more major industry players join in, and for all the right reasons. With Zoho BIMI enabled, senders can also display their brand logos with a blue verified checkmark in Zoho mailboxes. According to Zoho’s feature update document, Zoho started supporting BIMI logo display from January 2024.
BIMI – Brand Indicators for Message Identification, is an email authentication protocol that helps organizations display their brand logos in customer inboxes. BIMI helps you visually verify senders as genuine. Even better, email service providers like Gmail and now Zoho Mail also attach a blue verified checkmark against BIMI-authenticated senders.
BIMI logos are only displayed in recipient inboxes if the recipient’s email client supports BIMI. Currently, not many email providers support BIMI, though it’s an excellent way to establish brand trustworthiness.
Let’s learn more about how to configure your Zoho BIMI logo to start sending branding emails to Zoho accounts!
Preparing For Zoho BIMI Configuration
To get started with your Zoho BIMI configuration, here are some mandatory requirements:
1. Set Up SPF for Your Domain
SPF or Sender Policy Framework helps authenticate emails by authorizing legitimate senders for your domain. You can define a list of IP addresses, who are permitted to send emails from your domain. Any IP outside this list will be treated as spam. To set up SPF, you can use an SPF record generator tool, and publish the TXT record in your DNS.
2. Set Up DKIM for Your Domain
If you have already configured SPF, this step is optional. However, we recommend setting up DKIM for enhanced security. DKIM or DomainKeys Identified Mail ensures that the email came from the claimed sender and wasn’t changed along the way, like a tamper-proof seal on a letter. You can create a DKIM record using our DKIM generator tool and publish it on your DNS.
3. Configure DMARC for Your Domain
BIMI requires DMARC configuration. To enable BIMI logo display in Zoho accounts, you need to create a DMARC record and publish it on your DNS. Domain-based Message Authentication, Reporting and Conformance (DMARC) helps domain owners set up a policy for emails that fail authentication. It can help prevent phishing and spoofing attacks and the configuration process is similar.
4. Enforce Your DMARC Policy
BIMI requires a DMARC policy mode of quarantine or reject with a policy application percentage of 100% (pct=100). To configure Zoho BIMI, you must gradually enforce your policy first and then start your BIMI setup process.
5. Get a VMC (Verified Mark Certificate)
A VMC helps organizations verify the ownership of their brand logo so it can be displayed in inboxes that support BIMI. VMC isn’t a mandatory requirement for BIMI logo display, but some mailbox providers like Zoho Mail do require it. Established root certificate authorities like DigiCert can issue VMCs for businesses.
Zoho BIMI Configuration: A Step-by-Step Guide
To set up your BIMI logo to be displayed in Zoho inboxes, follow these steps:
1. Prepare your brand logo for BIMI, keeping in mind the following specifications:
- Convert your BIMI logo to SVG tiny 1.2 with a BIMI SVG logo converter tool.
- Your logo should have a square aspect ratio and be less than 32 KB in size.
- Keep the background a solid color.
- Do not use any animation or interactive elements in your logo.
2. Sign up with PowerDMARC for free and navigate to PowerToolbox > BIMI record generator.
3. Create your BIMI record by entering your domain name, enter the URL for your logo image and VMC certificate.
4. Publish the BIMI record in your DNS to enable BIMI for Zoho Mail.
TXT record value (example): “v=BIMI1;l=https://domain.com/image.svg;a=https://domain.com/certificate.pem”
5. Finally, verify your BIMI record using the PowerDMARC BIMI lookup tool.
Following this you will be able to see your BIMI logo displayed in Zoho mailboxes, and for all email clients that support BIMI.

Establishing Brand Trustworthiness with Zoho Verified Checkmarks
Just like Google, Zoho Mail also displays blue verified checkmarks against emails with BIMI implemented and the domain authenticated correctly. This is another seal of trust that makes sure your customers instantly recognize your brand as genuine, before even opening your mail.
To get expert assistance in configuring email authentication protocols like BIMI and DMARC, contact us today!

*** This is a Security Bloggers Network syndicated blog from PowerDMARC authored by Yunes Tarada. Read the original post at: https://powerdmarc.com/zoho-bimi-configuration/
如有侵权请联系:admin#unsafe.sh
