2023-10-31 23:8:9 Author: www.sentinelone.com(查看原文) 阅读量:11 收藏
Our recent eBook on how to use radare2 (r2) for macOS malware analysis focused on providing analysts with a series of guided use cases for typical tasks like string decryption, anti-evasion and automation. Aimed at those seeking to power-up their macOS malware analysis skills, the guide contains lots of tips on using r2, but mostly focuses on working through malware samples exemplifying typical challenges.
In this post, somewhat inspired by a similar post on Ghidra, we look at lowering the learning curve and supercharging productivity for those new to or recently converted to using the r2 platform. While the default settings in r2 may be fine for basic reverse engineering, there is a lot of simple customization we can and should do for a better malware analysis workflow.
Explore and Change the Default Theme
Environment is everything when you need to concentrate and focus, and nothing contributes to this more than the UI appearance and theme. Fortunately, r2 comes packed with a bunch of themes built in which can also be customized, so you don’t need to worry about downloading or installing third-party plugins or code.
First, we’ll see how to explore the available themes, then we’ll see how to set that as the default theme for every launch.
On the r2 command line, type eco , then a space, then tab. You’ll see a list of the built-in theme names.
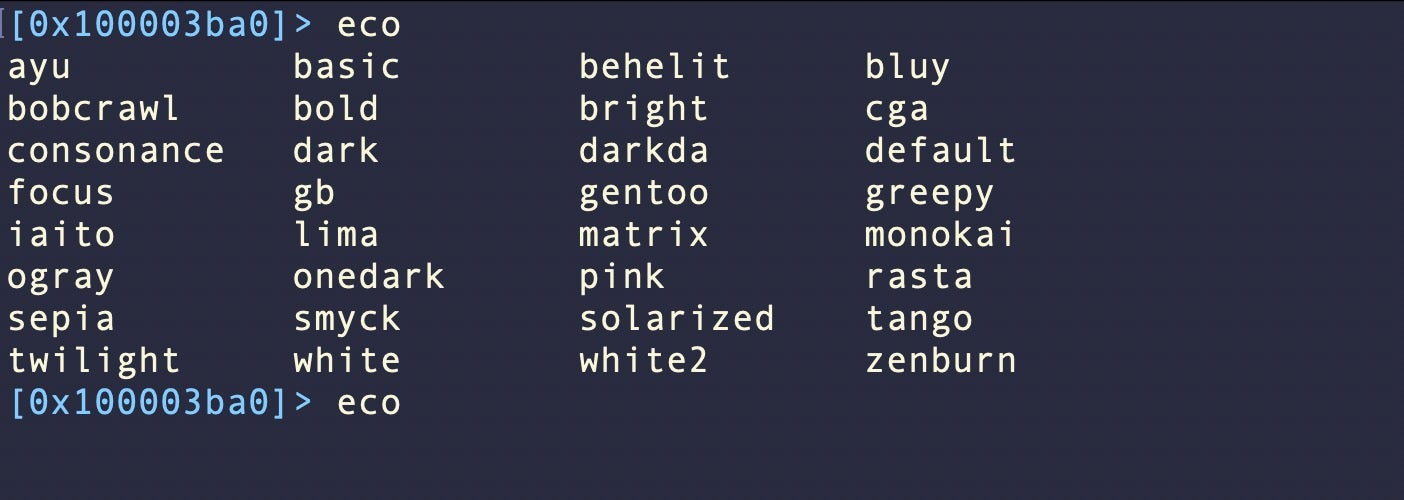
Explore how the different themes look by typing the name of the theme, hitting return, then executing pdf, x, or V to see how it looks. Rinse and repeat till you find one that you like the look of.
Once you have your chosen theme, the next step is to make it the default theme. The following command will create or edit the config file at the default location ~/.radare2rc and add the eco command followed by the name of the theme. I used ‘smyck’ here, but change to suit your preference.
cd; echo eco smyck >> .radare2rc
After executing the command, quit and restart r2 to see the change. The prompt can be customized within the chosen theme. Play around with different foreground / background color combinations with variations of:
ec prompt white green
ec prompt cyan darkgray
Turn Off the Jokes!
You may or may not enjoy the “fortune cookies” that appear on each launch of radare2. Some can be funny, others less so, depending on your taste. Be wary that if you’re sharing screenshots of your r2 sessions either publicly or privately, the ‘jokes’ may cause offense to others if you inadvertently capture them.
We can turn them off with a simple command added to our config file.
cd; echo e cfg.fortunes=false >> .radare2rc
Turn On (and Off) the Comments!
r2 comes with some built-in help for new reverse engineers or even experienced reversers who are learning a new architecture.
Compare the default display of the pdf command:
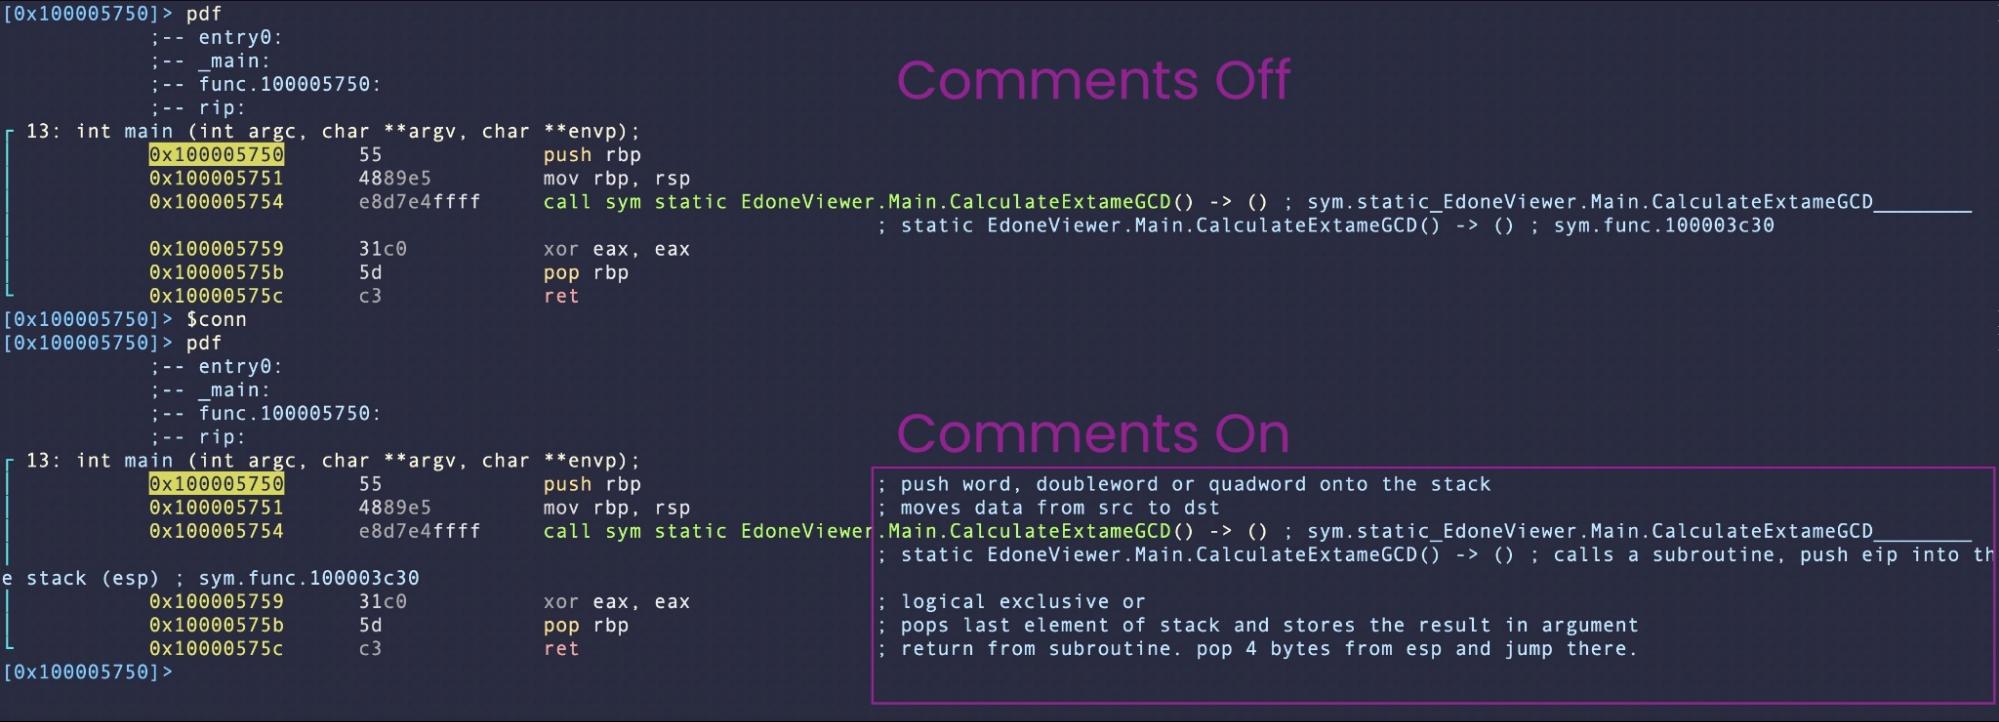
You will likely not want comments on all the time, as they can be distracting, but it can be really useful to turn them on when you come across an unfamiliar instruction or operand.
We can add a couple of aliases to our config file that will allow us to use the commands “$conn” and “$coff” to quickly toggle comments. Add the following commands to the .radare2rc file, and restart r2.
$coff='e asm.describe = false'
$conn='e asm.describe = true'
Indent Code Blocks for Better Visibility
radare2 helps reverse engineers to visualize control flow and in a variety of ways, one of which is by allowing the indentation of blocks in the disassembly to show nested code.
By default, this is turned off and all blocks appear at the same tabular offset, as in the example below.
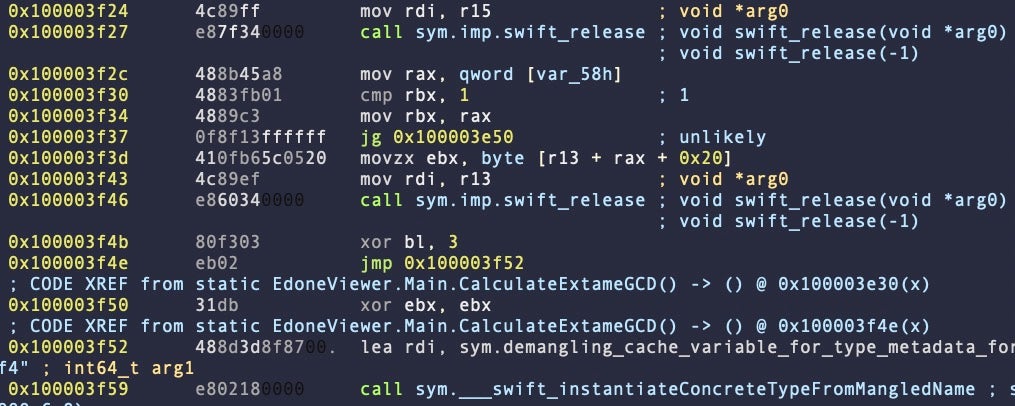
We can make it easier to quickly visualize the relationship between blocks of code by turning code indent on.
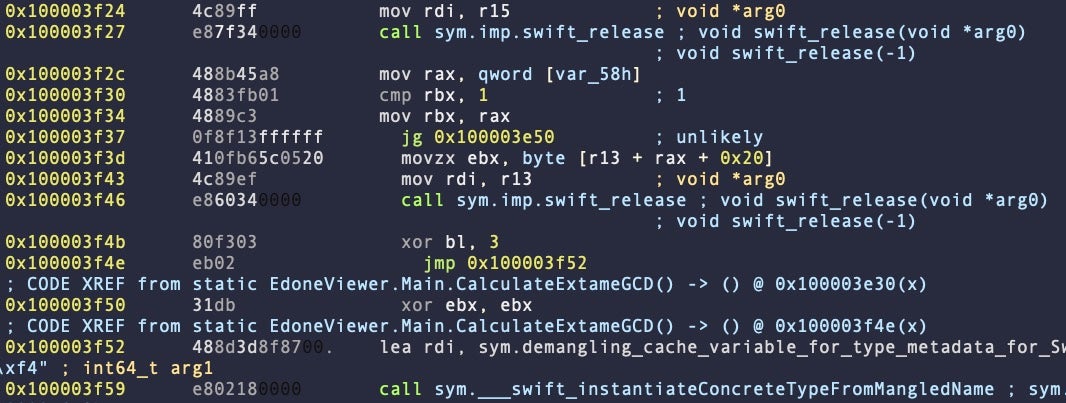
You could make a pair of aliases to toggle this setting as we did with comments, substituting the value ‘true’ with ‘false’, but for my part I never see a need to turn it off, so I just add the following to my config file.
cd; echo e asm.indent=true >> .radare2rc
Make r2’s Help More Helpful
Help in r2 is summoned with the ? command, but it can be tough finding what we need sometimes. It would make life easier if we could easily grep all the help for a search term of interest.
To do so, add the following code to the .radare2rc config file:
(help x; ?*~$0)
Now, restart r2 and load a binary, say /bin/ls for simplicity. Now compare the output of searching for help on the keyword ‘crypto’:

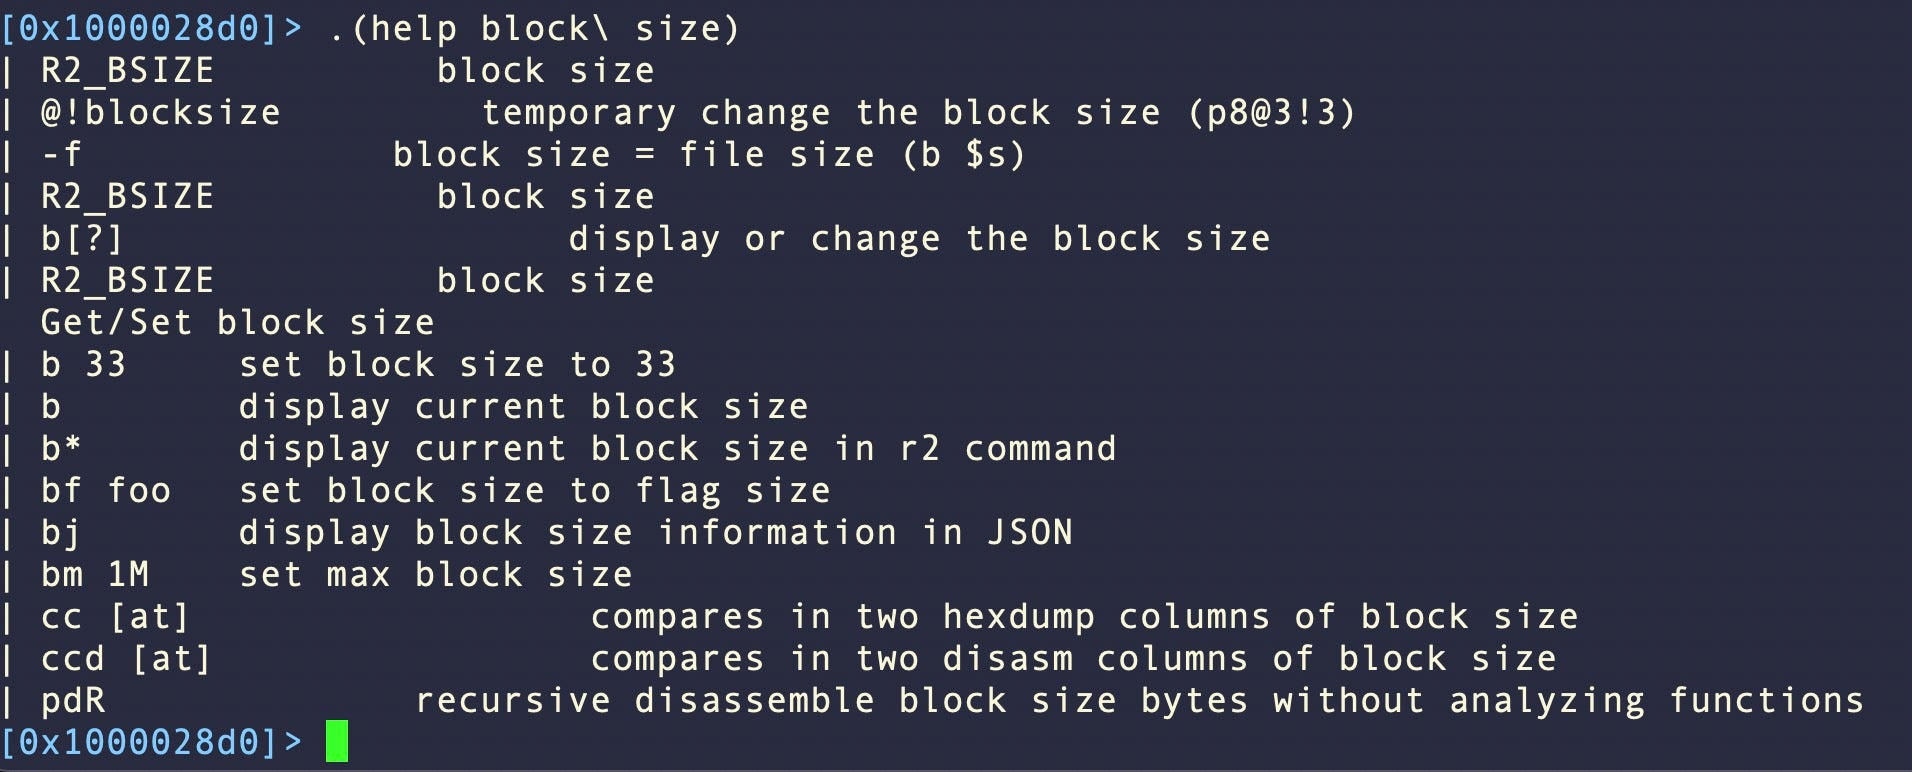
Our macro is just a shortcut for ? followed by a wildcard and then grepping for our search term, but it’s a lot easier to remember .(help <searchterm>).
Note that for multi-word search terms, you must escape any spaces in the search string.
.(help hexdump\ columns)

Set the Block Size
Block size is the amount of lines r2 prints out with commands like px. By default it’s set to 0x100, but sometimes that’s not enough to see everything of interest.
The block size can be changed within a session on the command line with b <size>, e.g.
b 0x200
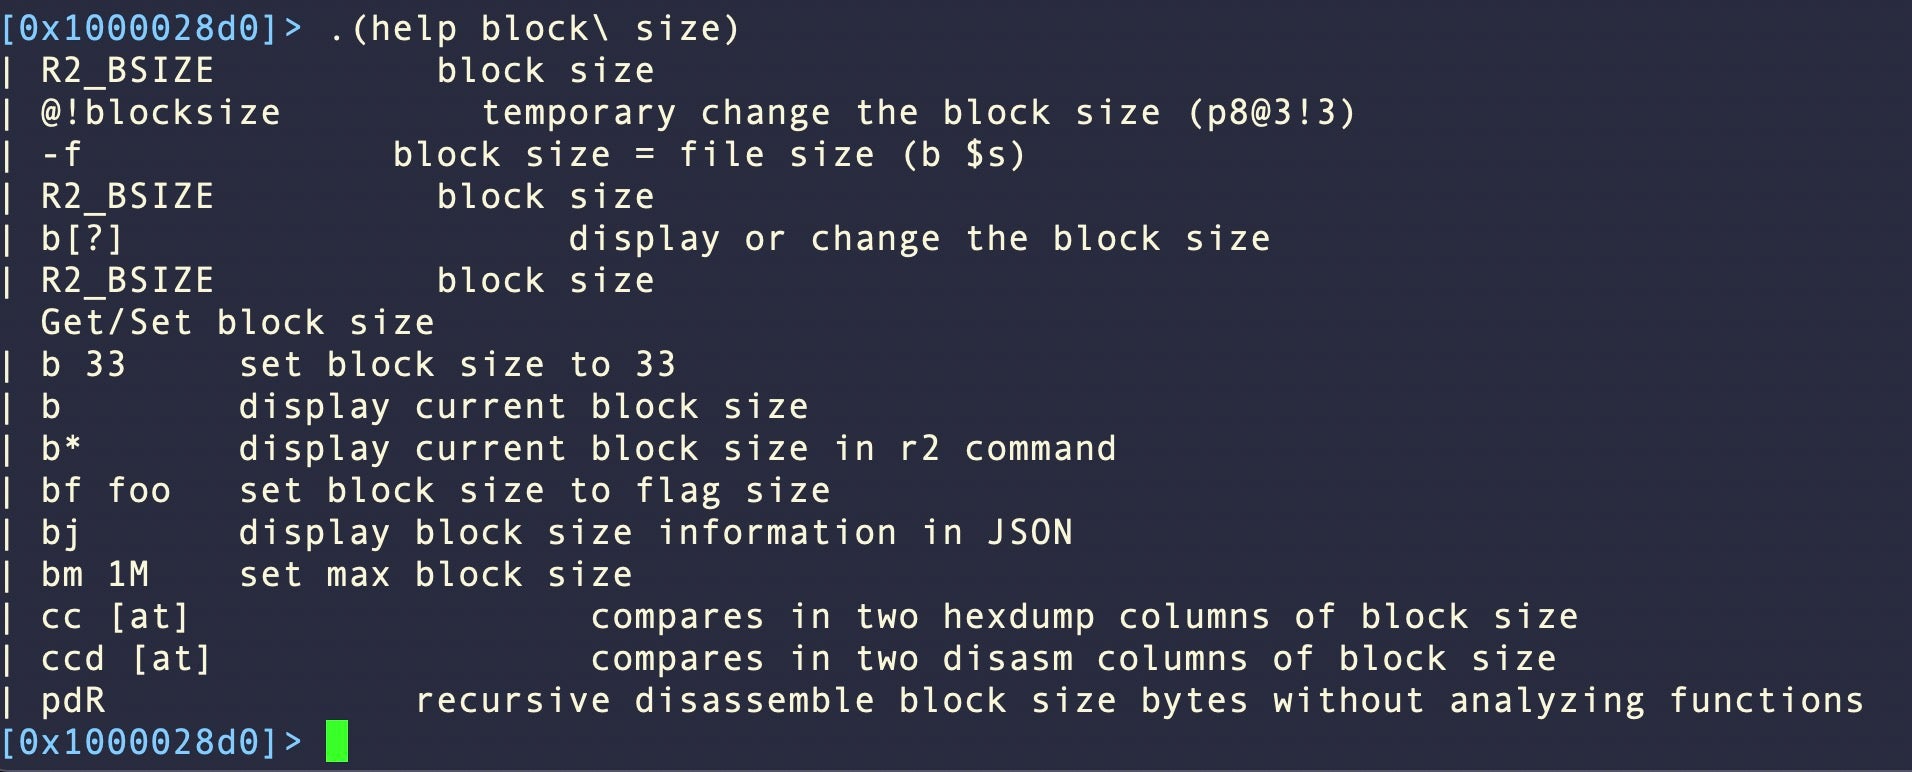
A simple alias in our config file is useful for printing out extended block size in one shot:
$x='b 0x200; px'
Sort and Search Functions By Size, XREFS & Other Criteria
In radare2, afl and afll are the go-to commands for viewing function information, but we sometimes want to tailor the output for specific items of interest. Here’s a few different ones I use to help me narrow down various bits of code that might be of interest.
The first two have a dependency on another alias, $fcol, which simply prints out the column headings for the subsequent output from afll:
$fcol='afll\~:0'
Top twenty largest functions in the binary:
$top20='clear; $fcol; afll \| sort -k 3 -nr \| head -n 20'
Top twenty functions with the largest number of XREFS:
$topX='clear; $fcol; afll \| sort -k 14 -nr \| head -n 20'
Functions related to swizzling in Objective-C binaries (shout out to LaurieWired’s recent talk for this idea):
$swiz='afl\~exchangeImplement; afl\~getInstanceMethod; afl\~getClassMethod; afl\~setImplementation'
Print out the functions of interest in a Go binary, ignoring the boilerplate imports:
(gafl; afl | grep -v vendor_golang.org | grep -v runtime | grep -e main -e github | sort -k 4 -nr)
This time we used a macro rather than an alias. Either will work. Note that with the macro, you don’t need to escape special characters like the pipe or tilde symbols.
Print Calls to and From the Current Function
Understanding the relationships between functions is crucial to discovering malicious behaviour and honing in on parts of a binary we want to use for hunting and detection.
To view all the calls to a current function, the r2 command axg will give a nice graphical view all the way back to main. To view the calls a function makes, use pifc.
If we find these obtuse r2 commands difficult to remember, then of course aliases are our friends:
$callee=’axg’
$calls=’pifc’
However, exploring the nuances of ax and pi through ? and our .(help) macro will return dividends.
We can gain a better understanding of the overall structure of a function with the following macro, which prints out a useful summary of information.
(metaf ; afiq; echo XREFS:; axg; echo INSTR:; afist; pds)
Edit and Test Yara Rules Within radare2
If you have a local YARA file, you can edit it from within r2 from the command line like so:
!vi <path to yara file>
From here, add or adjust existing rules, save and quit out of the text editor, then call it on the currently loaded binary to test the file against the rules:
!yara -fs <path to yara file> `o.`
The r2 command o. serves as a reference to the currently loaded binary and is useful in a wide variety of aliases and macros.
Let’s define an alias and a macro for the above.
$rules=!vi <path to your yara rules file>
(yara x; !yara -$0w <path to your yara rules> `o.`)"
After restarting r2, we can now edit our YARA rules from within r2 with the $rules command. We can call our rules on the currently loaded file with .(yara f).
Try .(yara m) and .(yara s) and note the differences.

Query VirusTotal about the Current Sample
Once you realize how easy it is to call external command line utilities from within an r2 session, multiple possibilities for faster and easier workflows open up.
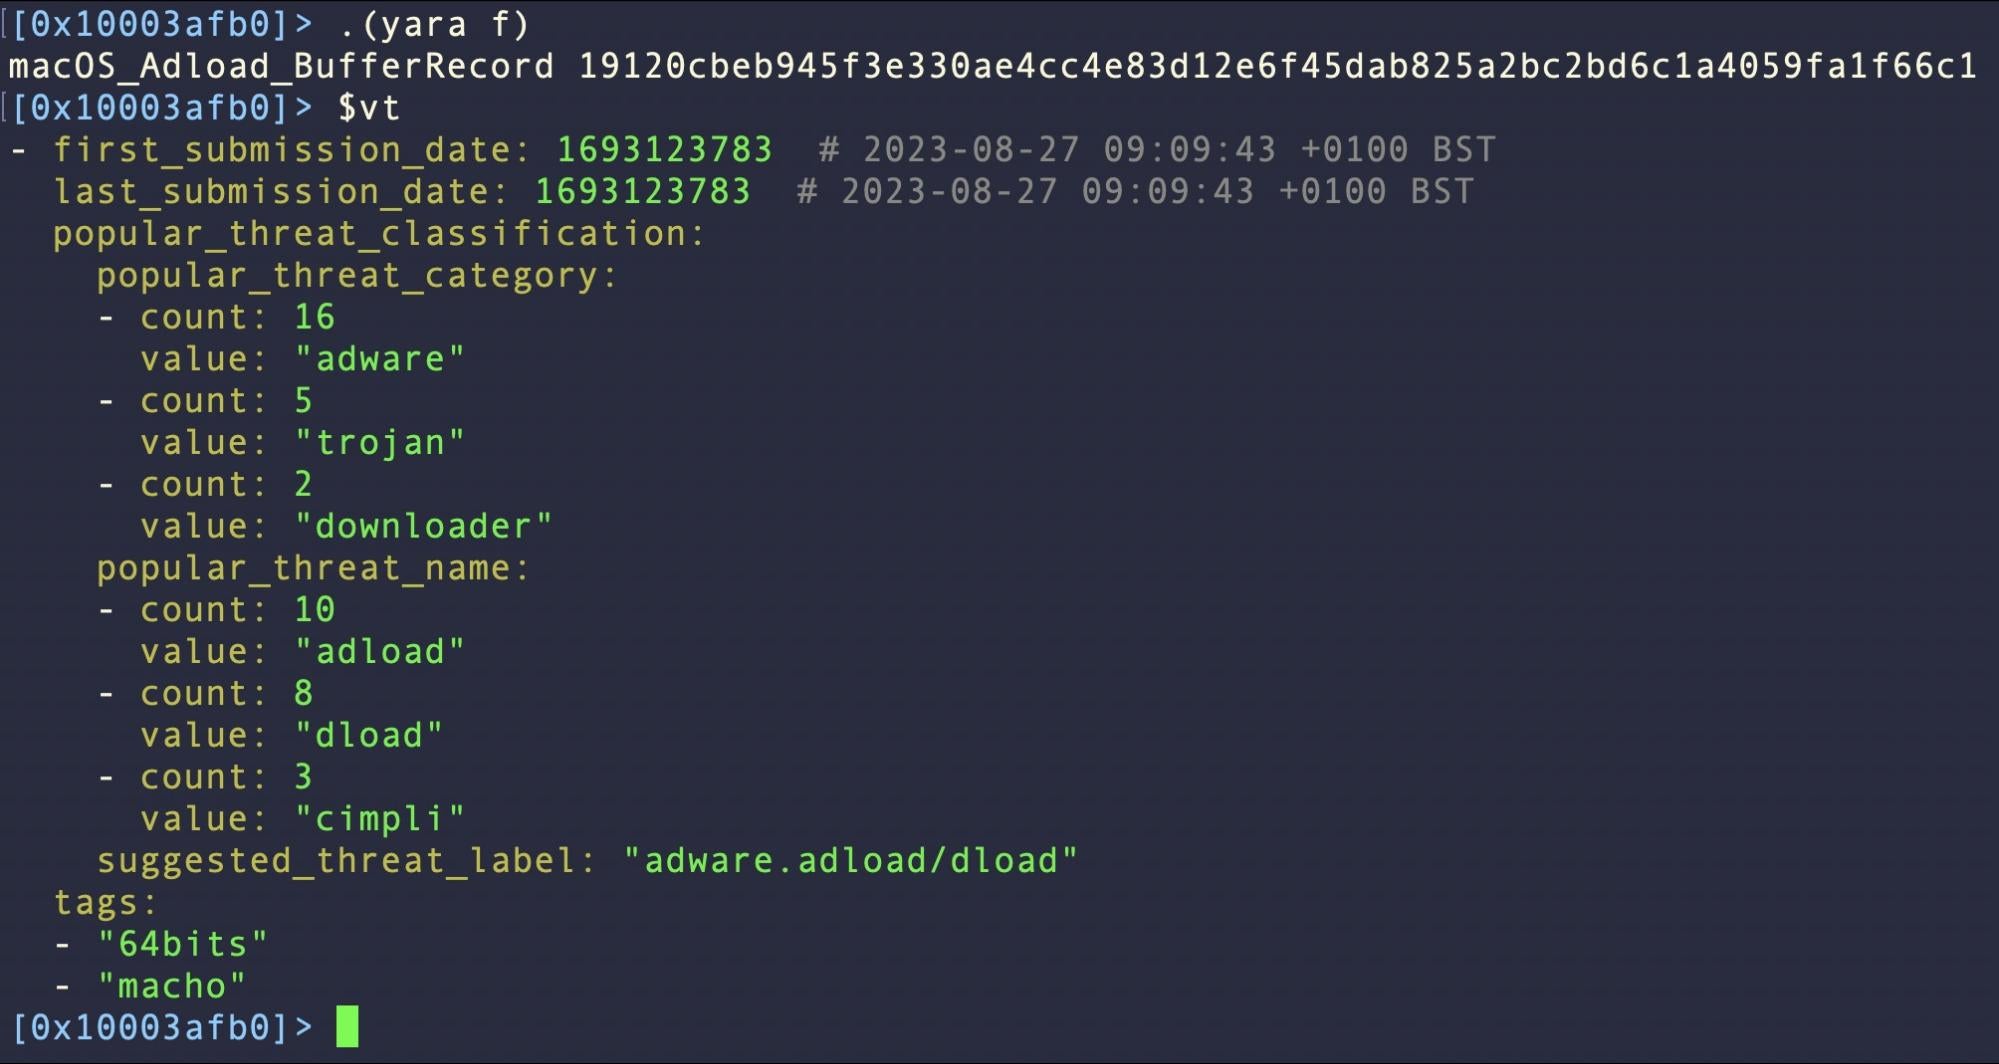
Perhaps one of the most oft-used tools for malware analysts is VirusTotal. If you have the VT API tool installed and in your PATH, it’s very easy to integrate this with r2. Again, a simple addition to our config file is all that’s needed:
$vt=!vt file `o.` --include=meaningful_name,tags,popular_threat_classification,first_submission_date,last_submission_date
You can modify what to include to suit your preferences per the VT documentation.
Check Code Signature of Current Sample
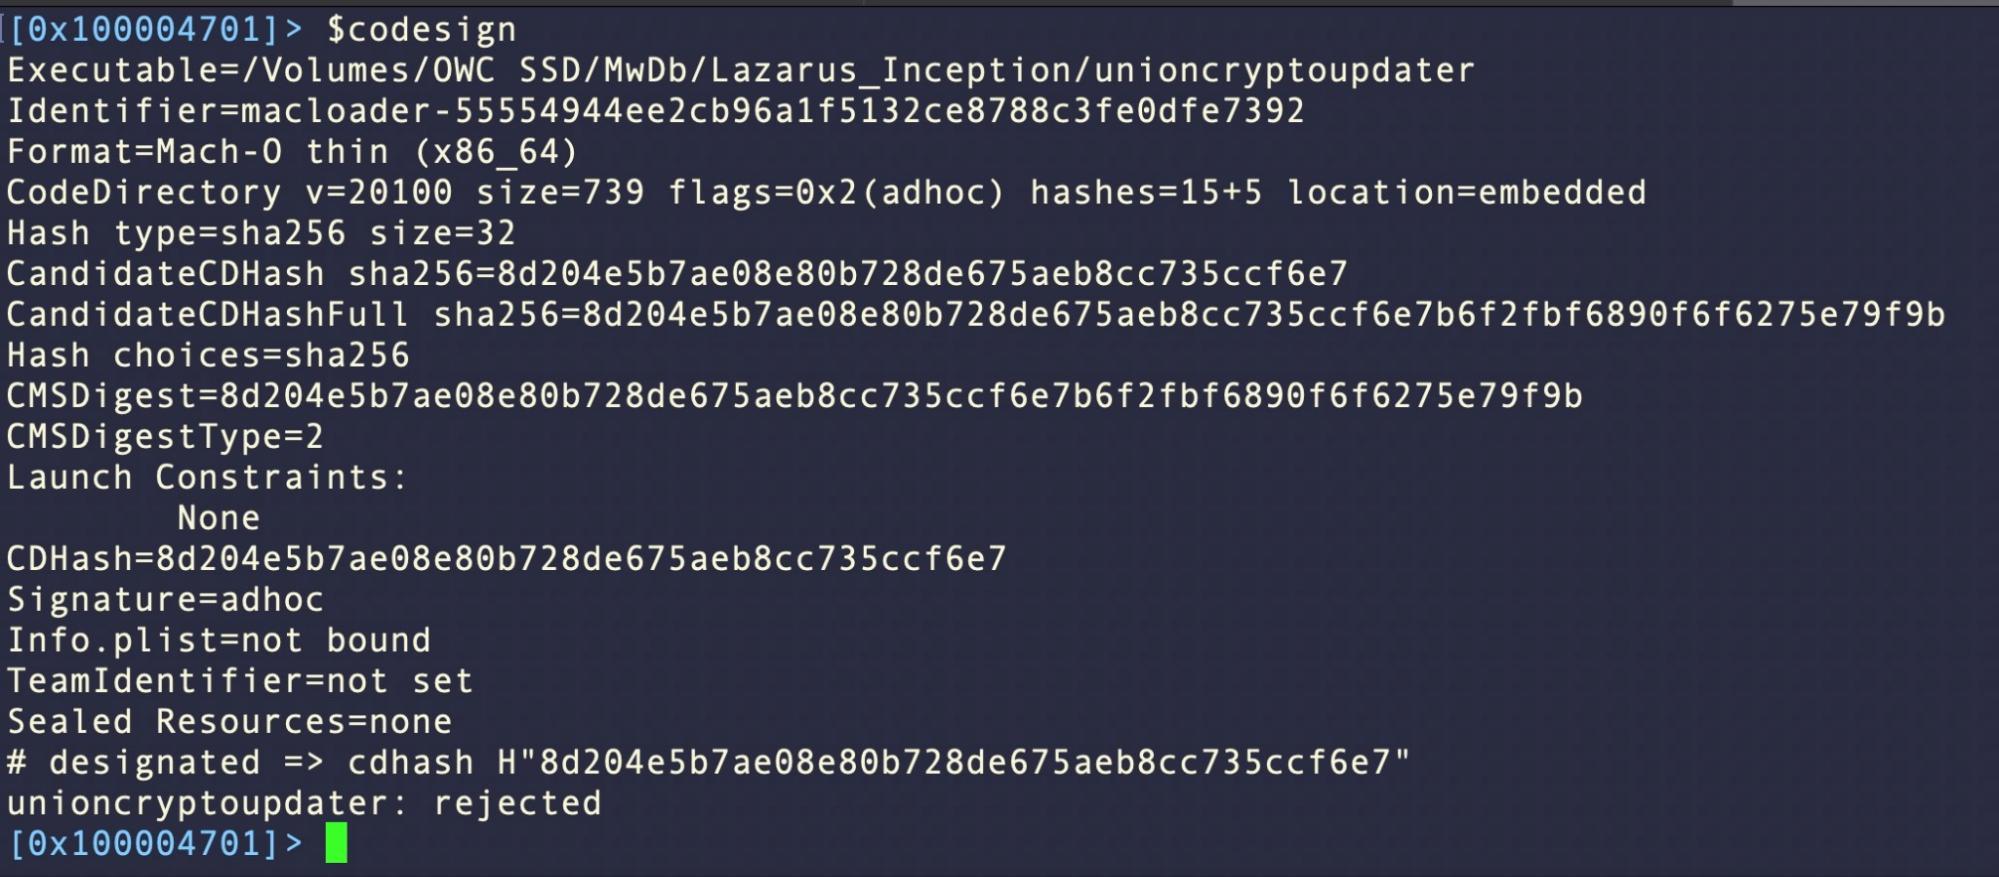
One final tip for anyone that struggles to remember all the various ways to check whether a sample has a valid code signature, whether its notarized and whether its been revoked by Apple…put it all in an alias and run it from within r2!
$codesign=izz~Developer ID; !codesign -dvvv -r - `o.`; !spctl -vvvv -a -t execute `o.`
Conclusion
Working with r2 can be daunting at first, but the platform is built on simplicity. Thanks to its integration with the command line, with a few customizations, radare2 can be quickly turned into a powerful platform for malware analysts. There are also many plugins for radare2 to augment it with various external decompilers, including Ghidra, work with frameworks like Frida, and (of course) work with AI chat bots.
If you enjoyed this post and haven’t yet checked out the ebook, A Security Practitioner’s Guide to Reversing macOS Malware with Radare2, you can find it here. This free PDF resource covers lots of recent macOS malware and walks through example cases of common reversing tasks, all in radare2.
如有侵权请联系:admin#unsafe.sh