2023-10-4 18:23:42 Author: blogs.sap.com(查看原文) 阅读量:15 收藏

My name is Angelika Salmen, and I am the product owner of Situation Handling. With this blog post series, I want to give you guidance about how to start creating your own situation use cases. After you’ve drafted your use case, let’s take a look at the detailed situation design.
Once again, put yourself into the shoes of the user and think about how they should be informed about the situation.
User information
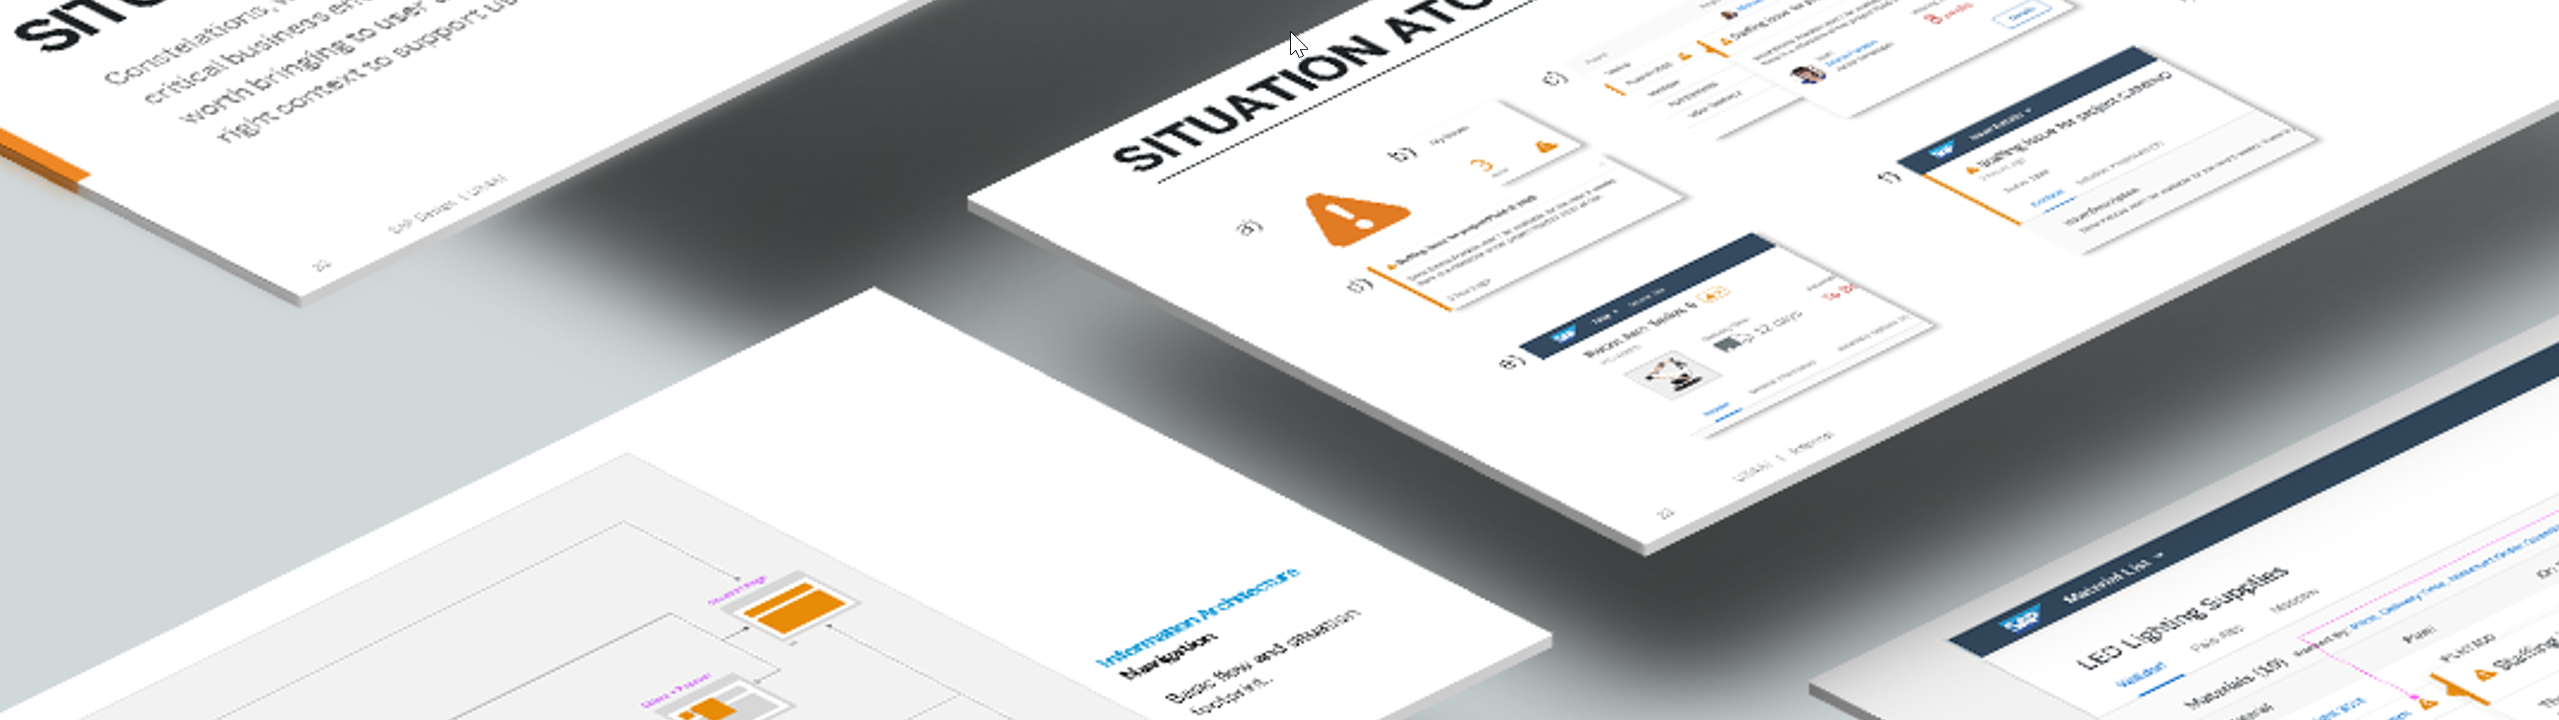
Per default, every situation is visible in the My Situations – Extended app on SAP Fiori launchpad. The tile also shows whether any situations exist and, if so, how many.
Note: For SAP S/4HANA you need to activate the OData services for the Situation Handling apps.
Notification
For situations that are very urgent or important, you can also enable notifications that appear on SAP Fiori launchpad. You have various options for configuring notifications.
If you expect only a few situations or if you need precise information, I recommend single notifications:
- Send a notification for each situation.
If you expect many situations and / or if you use batch-based situation triggers, I recommend using one of the aggregation functions that avoid potential overload for the user. Aggregated notifications contain multiple situations detected at one point in time:
- Aggregate all situations in one notification, for example: There are <amount> pending supplier confirmations.”
- Aggregate notifications for a specific situation value, for example, aggregate situations per supplier: There are <amount> pending confirmations from <supplier>.”
In addition to sending notifications when a situation is created, you can also notify the user about updates or when a situation has been closed. There are three standard notification behaviors:
- Notify everyone when a situation is created, but only notify processors about updates.
- Notify no one after a situation has been closed.
- Notify everyone when a situation has been reopened.
The notifications are part of the condition design, and they are closely related to the life cycle of a situation.
Note: For SAP S/4HANA take a look at the prerequisites for setting up notifications.
Situation recipients
The next question is: Who should be informed? You define the right group of users with Responsibility Management. This applies to both the display of situations in the My Situations – Extended app and to notifications.
You can define recipients by teams or by rules.
- Recipients by teams are identified with the team category. Each team configured in Responsibility Management with the corresponding category is informed about the situation. You can use filters to narrow down the target group.
- Recipients by rules are typically used for the identification of creators, approvers, and so on.
Depending on your use case you can define one or more conditions. You need to define at least one condition that creates a situation. Where possible, you should also consider automatically closing situations that are no longer valid from a business perspective.
- Mandatory: Condition for creating a situation. You can use filters to narrow down the situation case, which is specifically recommended when you start using Situation Handling.
- Optional: Send a notification.
- Optional: Send a notification only when urgency increases (escalation case). This requires 2 conditions:
- Create a situation that is visible in the My Situations – Extended app, for example, 4 weeks before the deadline.
- Send a notification, for example, 1 week before the deadline.
- Recommended: Consider changed circumstances that automatically close a situation.
Example 1: The triggering value of a condition changes.- Create a situation if the triggering value is < 20 %.
- Close a situation if the triggering value is >= 20 %.
Example 2: Related data of a situation changes, for instance:
- Close a low budget situation after the related project has ended.
- Close a discount option situation after the discount period has ended.
If you define multiple conditions, you can adapt the situation and notification texts for each condition. You can also adapt the notification behavior for each condition.
Think about the texts with which you want to inform the user, for example:
- Creation of a situation (for instance, 30 days before the expiry date):
- Situation text: The contract <contract> expires on <date>. Please make sure you extend the contract or negotiate a new one.
- Notification: None
- Escalation of a situation (for instance, 7 days before the expiry date):
- Situation text: The contract <contract> is about to expire. Please take immediate action to avoid a negative impact.
- Notification text: The contract <contract> is about to expire. Please take immediate action to avoid a negative impact.
- Notification: For each situation
- Notification behavior: Notify all
- Closing a situation:
- Situation text: Not applicable
- Notification text: The situation for the expiring contract <contract> has been closed.
- Notification: For each situation
- Notification behavior: Notify processor only
- Cleaning up a situation (for instance, 30 days after the expiration date):
- Situation text: n/a
- Notification text: <amount> contracts have long expired, and the situations were closed.
- Notification: Aggregate all
- Notification behavior: Notify processor only
Multiple trigger objects
Different trigger objects may cause situations. If you use multiple trigger objects, you need to define the conditions, the situation display, and the notification behavior for each trigger. Make sure you use the same configuration for alternative triggers to provide a consistent user experience.
For example, let’s look at an overbooking situation for flights which includes the following circumstances:
- A booking is added to a fully booked flight. This creates a situation.
- A smaller plane is assigned to a flight and an already confirmed booking turns into an overbooking and creates a situation.
- A confirmed booking is deleted, and the free seat is assigned to an overbooking which closes the situation.
- The last overbooking is deleted which closes the situation.
Triggers 1) and 2) create a situation and should have the same texts and notification behavior that inform about the new situation.
Triggers 3) and 4) close a situation and should also have the same notification text and behavior.
There are two ways to trigger a situation. A situation can be detected after a business transaction was executed (event-based trigger) or with periodical checks (batch-based trigger).
If you want to inform the user right after a situation has been created, you need to configure an event-based trigger that listens to triggers such as created, updated, and deleted.
If periodical checks are sufficient, I recommend using a batch-based trigger. You can define periods from once a month to multiple times per day.
If you want to detect blockers such as pending confirmations or missing approvals, you also need to use batch-based triggers.
If you expect lots of situations, I recommend configuring batch-based triggers and, where possible, combining them with aggregated notifications to avoid information overload for the users.
Note: For SAP S/4HANA consider the prerequisites for setting up batch jobs.
Finally, there are some specific options for configuring situations: instance closing behavior and trigger accumulation.
Instance closing behavior
The instance closing behavior defines if and when a situation can be detected again after it has been closed. The closing behavior applies to any closure type: manual closing, closing with a solution proposal (quick action), and automatic closing by the system.
Close & Delete
If you select Close & Delete, a situation is deleted from the system after it has been closed.
Since the situation is no longer known to the system, situations can be detected again. Here are some examples:
- During production, the quality status of a material changes to not accepted. After the situation is resolved the instance is deleted. In a next process step that same material shows another issue, and the quality status changes to not accepted. A new situation is triggered.
- A budget is about to be exceeded. After allocating additional money the situation is closed. If the budget consumption surpasses the critical threshold again, a new situation is triggered.
You may also consider using Close & Delete if the only option for closing a situation is manual, and if you want to avoid data accumulation until an automatic clean-up is processed.
With Close & Delete the user cannot override the system. If the user closes a situation manually while the system data is unchanged, the situation will be detected again with the next trigger event or batch run. This can result in a ping-pong effect for the user – especially for frequent batch-based triggers.
Close & Keep
If you close a situation using Close & Keep, only its status changes from open / in progress to resolved / obsolete / invalid. This means that further updates of the closed situation are ignored, and the user is no longer informed about them.
I recommend choosing this behavior if you want to empower the user to override the system, for instance:
- Your situation cannot be solved by considering only the system data but requires further information. For instance, replacing an expiring contract needs to be negotiated with suppliers. When a new deal is settled, the user can close the situation.
- Updating the situation data is delayed because the check takes place only once a week. The user can close the situation after repairing the root cause and will no longer be distracted.
Since the closing behavior applies to all types of closing, further situation updates will also be ignored if the situation was closed by a quick action, or by a closing condition. Let’s take another look at the budget example.
- Condition 1 creates a situation if 80 % of the budget is consumed.
- Condition 2 closes the situation if the threshold drops below the 80 %.
If the budget consumption raises and surpasses 80 % again, the user will not be informed if you used Close & Keep.
If you want the user to override the system but still want to inform them about highly critical updates you can use the reopen feature. For the budget example you would need a 3rd condition:
- Condition 3 reopens the situation if 95% of the budget is consumed.
This also means that the user can no longer override the system if over 95% of the budget is consumed.
Trigger design (single triggers and trigger accumulation)
You have different options with which to design a situation, depending on which anchor and trigger objects are involved. For example, bookings that surpass the maximum seating capacity of a plane create an overbooking situation. Let’s take this example to illustrate the flexible design options. Choose the option that best fits your use case.
Anchor object = trigger object
The simplest case is if anchor and trigger object are the same. The situation is triggered based on the data and the trigger behavior of that object.
- You can design the situation for the booking object, where each create event triggers a new situation if the status of the booking is unconfirmed. Let’s say we have 3 unconfirmed bookings (= overbookings) then the user has 3 situations.
- For the notification text, the information on the situation page in the My Situations – Extended app, and so on, you can only include data from the booking object.
Alternatively, you can design the situation for the flight since it also has the seating data.
- If you model the situation for the flight object, the initial update event triggers a new situation while further update events update the same situation. That means the 3 overbookings would result in 1 situation.
- Alternatively, you can create a batch-based trigger. Again, this would result in only 1 situation. Depending on the settings, the user would be notified less often compared to the event-based trigger.
- In both cases, you can include only data from the flight object for the notification text, the information on the situation page in the My Situations – Extended app, and so on.
Anchor and trigger objects are different
Now let’s model the overbooking situation with two objects. You can define flight as anchor object and booking as trigger object. That means that the flight object indicates the situation while it is caused by the bookings. The combination of objects is especially valuable if the situation needs data from both trigger object and anchor object.
- The initial create event that results in an unconfirmed booking, triggers a situation for the flight object. All further create events result in an update of the same situation.
- You can define data from both the flight and the booking object for the notification text, the information on the situation page in the My Situations – Extended app, and so on.
Trigger accumulation
The situation designs discussed above either trigger a situation for each single event, or one situation indicating the number of issues. Trigger accumulation combines both worlds: the user receives 1 situation that contains the details of all single triggers. Trigger accumulation requires an event-based trigger.
Let’s take another look at our overbooking example.
- The anchor object is the flight where the situation is indicated, and the trigger object is the booking.
- For the notification text, the information on the situation page in the My Situations – Extended app, and so on, you can define detailed data from both the flight and the booking object.
- The single triggers are listed on the situation page and the displayed data corresponds to the selected instance. In our example, you would see the passenger information, such as the name and booking ID.
Trigger accumulation can also take multiple trigger objects into account. Different root causes, for instance, can be block a service order:
- Blocked by unavailable material.
- Blocked by missing service staff.
Different situation triggers can also have the same trigger object but combined with different trigger events. The overbooking example, could have the following triggers:
- Booking created: a new booking is unconfirmed because there is no more seating capacity.
- Booking unconfirmed: A smaller plane is assigned to a flight which turns confirmed bookings into unconfirmed ones.
- Booking confirmed: A confirmed booking was canceled and an overbooking turns into a confirmed one.
- Booking deleted: The cancelation of a booking makes a seat available for an unconfirmed booking.
Now you have the detailed design of your situation case. In the next blog post you can see how to map your use case to existing artifacts.
You can also refer to:
- SAP Help Portal: Situation Handling – Extended Framework for SAP S/4HANA Cloud, Responsibility Management
- SAP Community: Intelligent Situation Handling
如有侵权请联系:admin#unsafe.sh