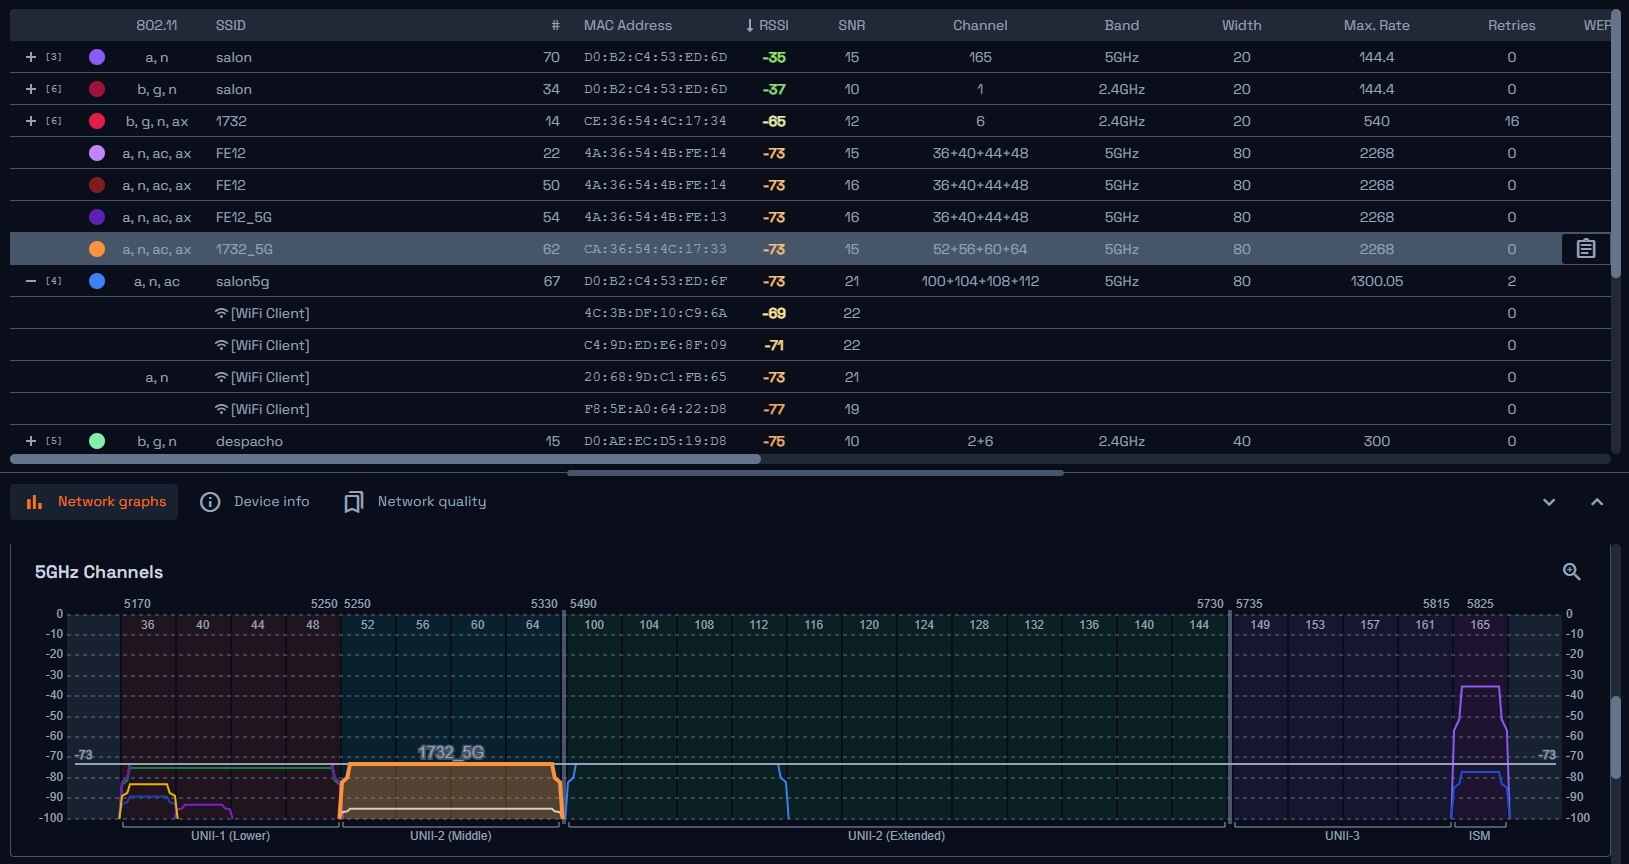
Acrylic Suite is a software developed by Tarlogic team that provides a powerful WiFi sniffer to analyse communications and WiFi security on Windows 11 and Windows 10 computers.
o quickly turn any Windows computer into a powerful Wi-Fi network sniffer, we only need 2 things:
- A WiFi card.
- Install the Acrylic Wi-Fi sniffer software.
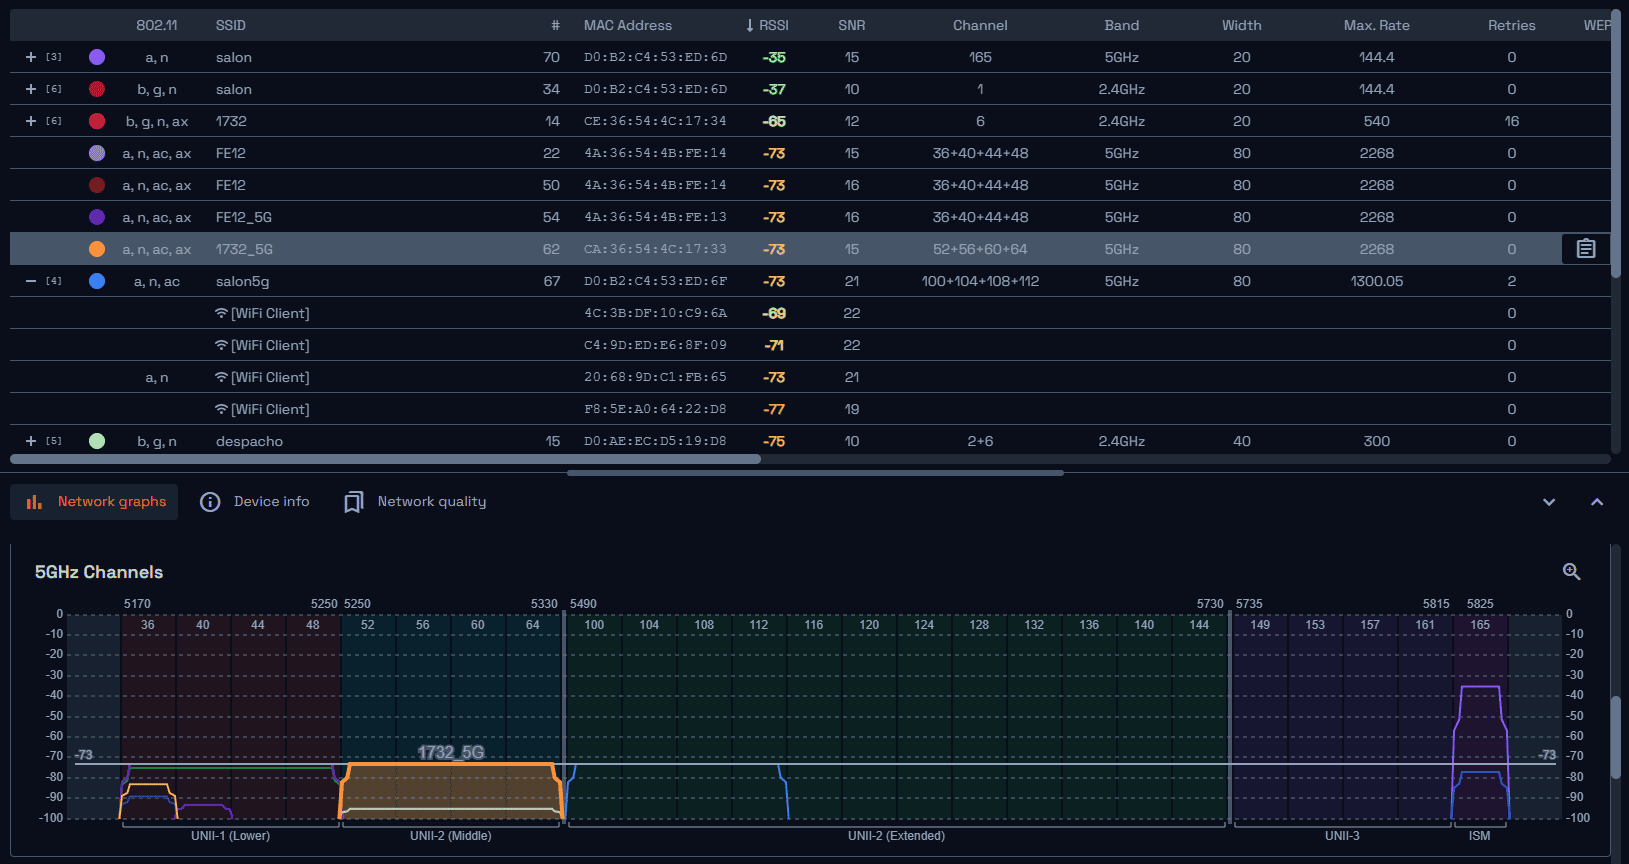
WiFi network signal sniffer
We explain how to carry out this task in Windows and gain access to all WiFi information and 802.11 communication frames in the 2.4Ghz, 5Ghz and 6Ghz frequency bands.
WiFi card with monitor mode support
The first step to be able to see WiFi signals with our sniffer is to have an USB card or an integrated WiFi card that is able to see the data packets that are traveling through the air.l primer paso

Sniffer searching for compatible WiFi cards under Windows
The normal behaviour of a LAN adapter and a WiFi device is to discard all data that is not addressed to it. Therefore, in order to intercept all data packets, the card must be set into a special mode called “monitor mode“, similar to the “promiscuous mode” of an ethernet network card.
To activate this mode in Windows, we need a card that is supported by Acrylic Wi-Fi Sniffer. This is not a problem as the list of Wi-Fi cards that are compatible with our sniffer is very extensive and includes modern 802.11ac cards such as the ALPHA cards.
Installing Acrylic Wi-Fi Sniffer
If the card is compatible after installing Acrylic Wi-Fi Sniffer, a list of compatible cards will appear when starting the software.
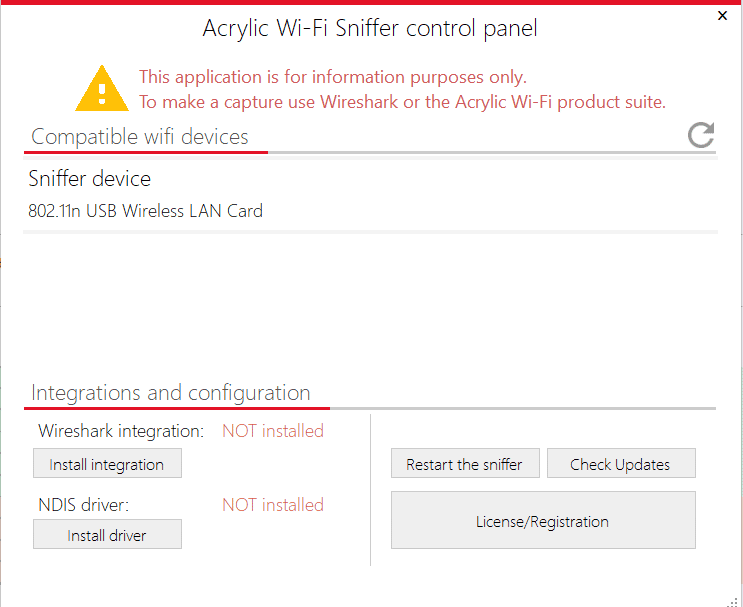
WiFi cards available for use as a device sniffer
When Acrylic Wi-Fi Sniffer is not able to use the provided driver to enable monitor mode on the installed WiFi card, we have the alternative option of using NDIS, by activating its support from the program console.
NDIS is a native Windows mechanism to turn a card into a Wi-Fi sniffer. Unfortunately, Microsoft’s lack of support for this technology and the lack of support from manufacturers means that it does not always work optimally and has certain technical limitations, so NDIS is Acrylic’s plan B for sniffing.
Using the Sniffer: Wireshark or Acrylic Wi-Fi Analyzer
Once the WiFi card is connected and Acrylic Wi-Fi Sniffer is installed, the next step is to use a sniffer program that can display the data.
Using Wireshark as a sniffer
If you are used to work with a traffic analyser like Wireshark, it’s easy. First of all, install Wireshark 3.x.
Next, click the “Install integration” button to allow Wireshark 3 to interact with Acrylic Wi-Fi sniffer and then run Wireshark as administrator. That’s it, the monitor mode Wi-Fi interface will be available to start capturing.
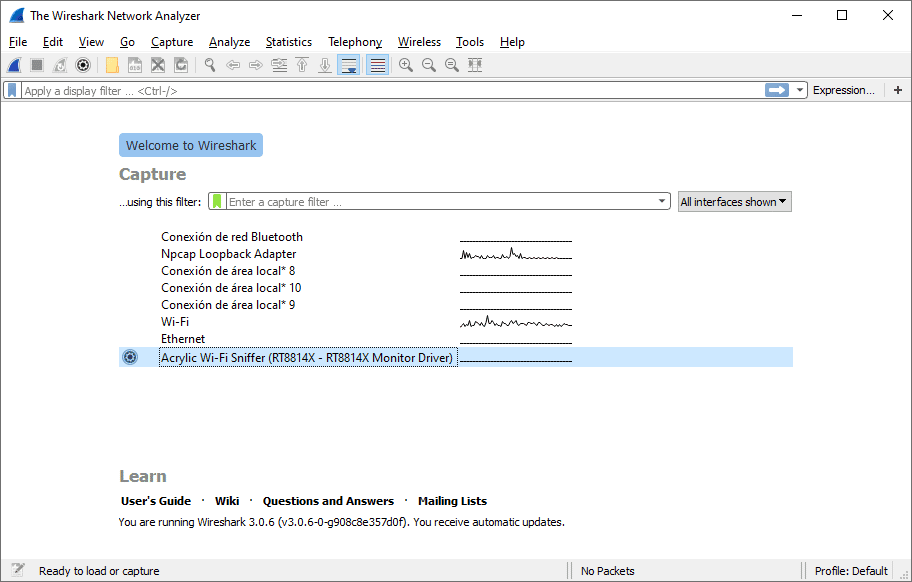
Using Wireshark with a WiFi interface
Here is a video of how to use Acrylic WiFi sniffer with Wireshark, capturing WiFi frames on a specific channel:
Using Acrylic Wi-Fi Analyzer
If you are more interested in using a graphical diagnostic tool, to graphically navigate and visualise all the information without losing the power of a WiFi packet viewer, we recommend you to try Acrylic Wi-Fi Analyer.
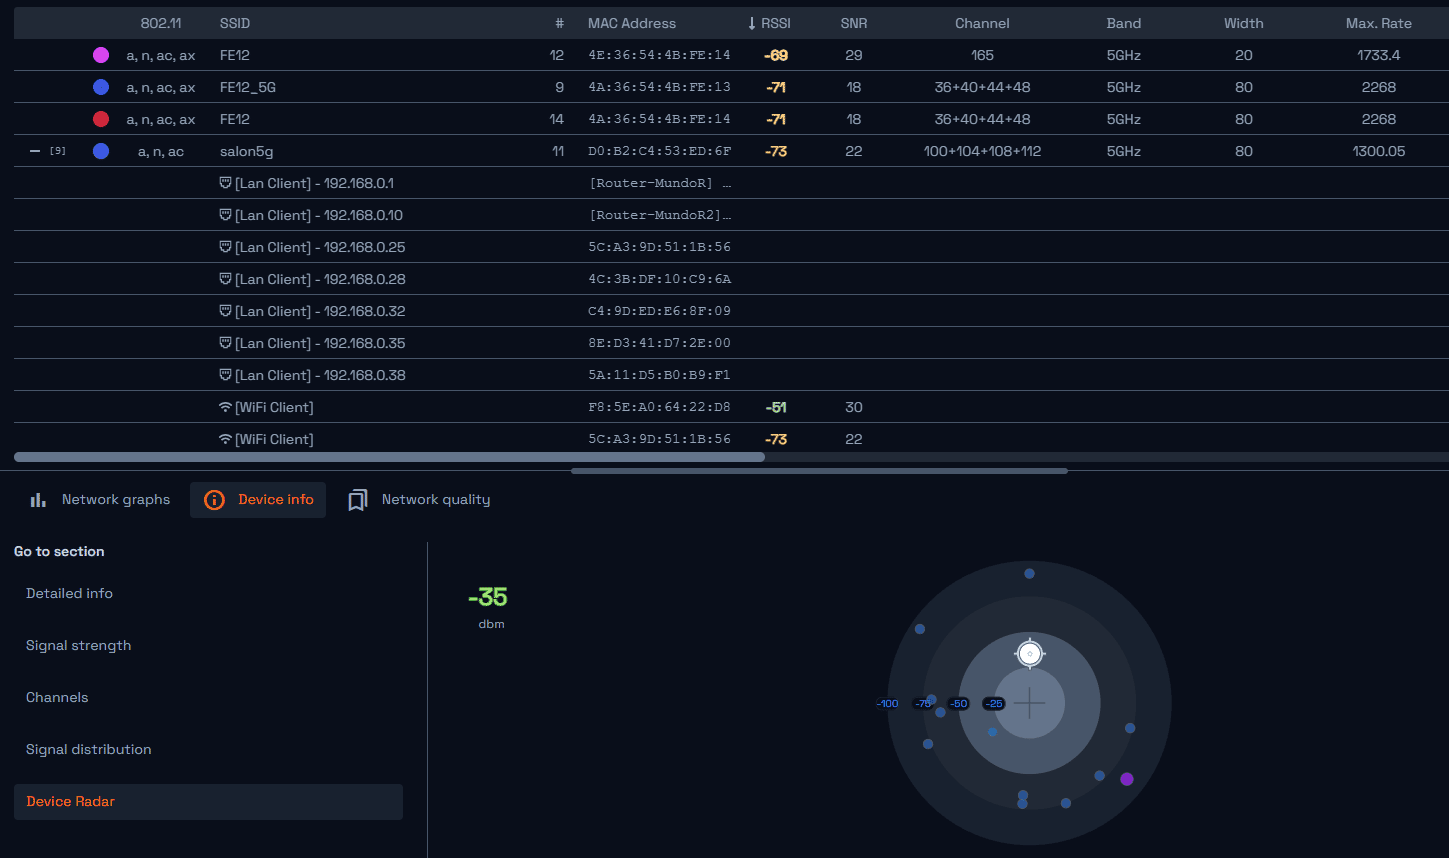
Graphical Sniffer: Showing connected WiFi devices
The steps to be followed are:
- Install Acrylic Wi-Fi Analyzer
- Start Acrylic Wi-Fi Analyzer as administrator.
- Select a WiFi card that supports monitor mode (sniffer mode).
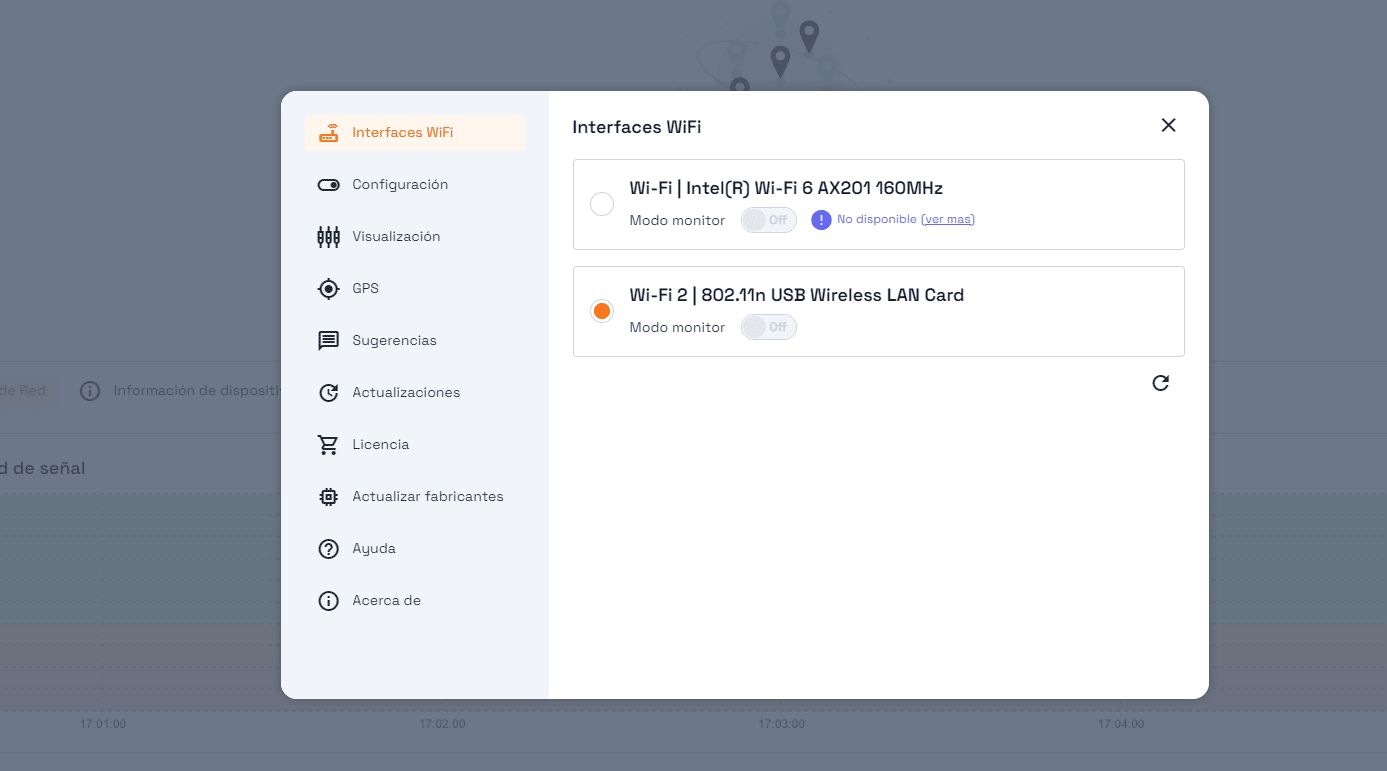
Selecting the monitor mode for capturing device.
- Close this window and start the capture by clicking the start button.
- Within seconds you will start to see WiFi devices around you.
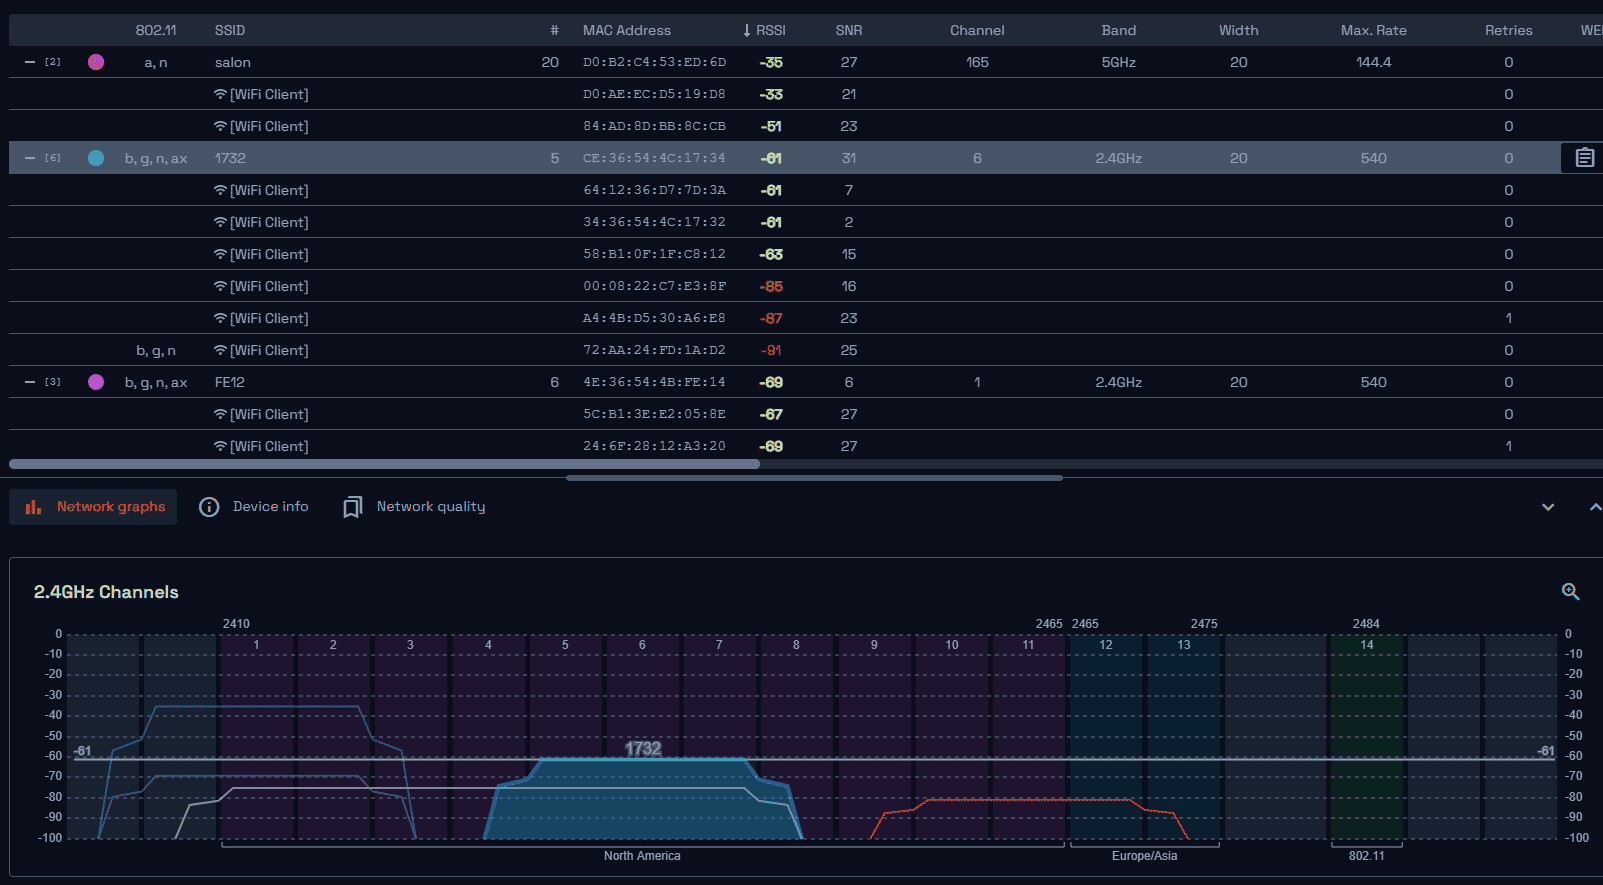
WiFi networks captured by the sniffer
A quick way to see that we are using a sniffer with the card in “monitor mode” is that a number appears next to the network name (SSID). This number indicates the number of WiFi devices connected to the network (tablets, laptops, smartphones, Smart tvs,…).
The devices tab will display all devices in range.
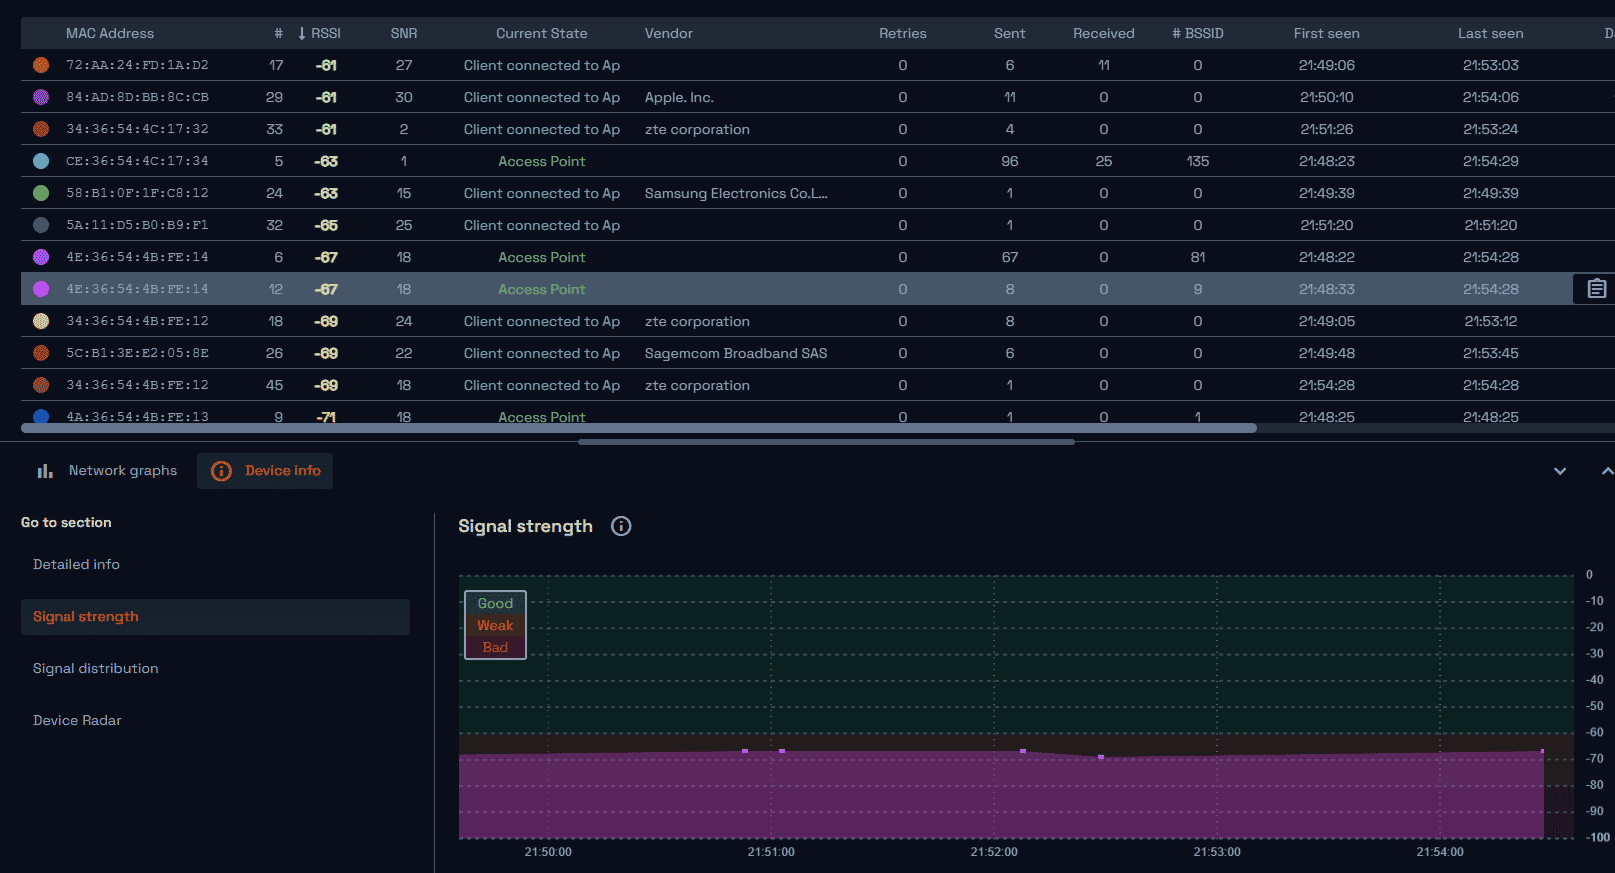
Active WiFi devices
And the proper sniffer functionality can be found in the “Packet Analyser” tab., displaying Wi-Fi frames and the content of all packets
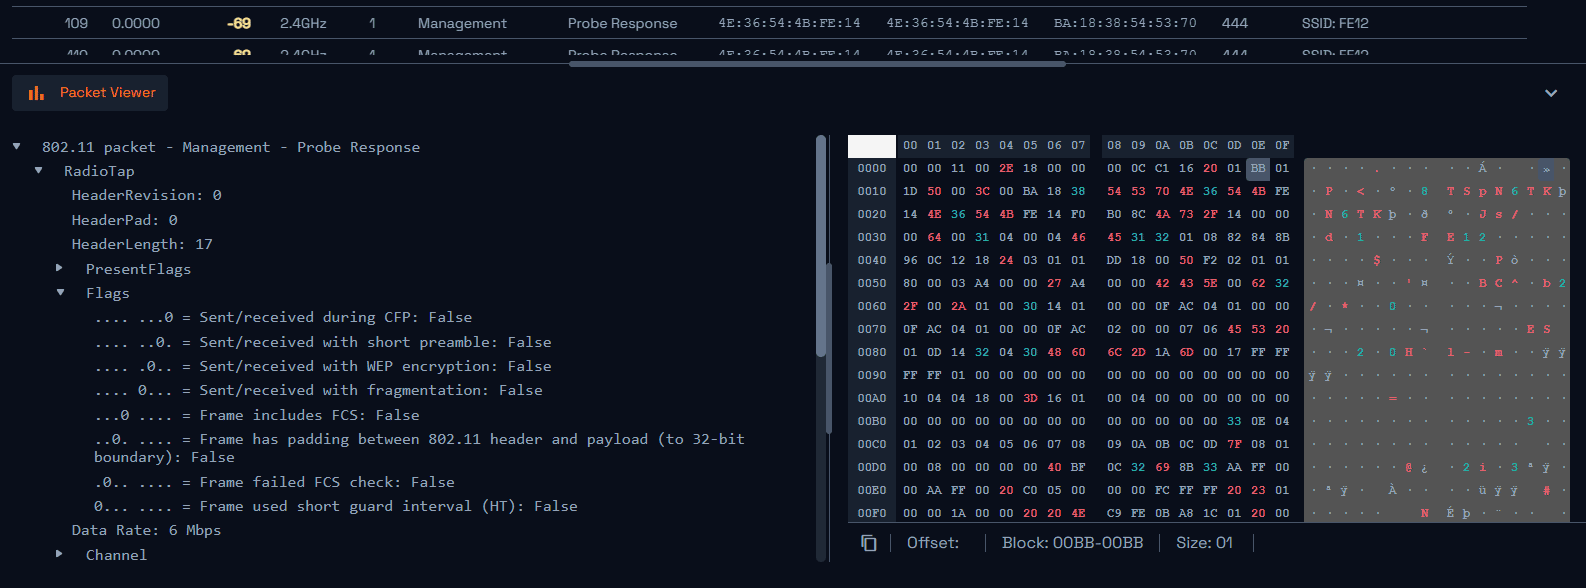
WiFi data packet captured by the sniffer
Of course, Acrylic Wi-Fi Analyzer allows you to do a lot more: test network performance, latency, signal levels, channels, manage inventory, save and open traffic captures (pcap)…
You can buy an Acrylic Wi-Fi Analyzer and Acrylic Wi-Fi sniffer bundle license in our online shop, thank you for supporting us!
