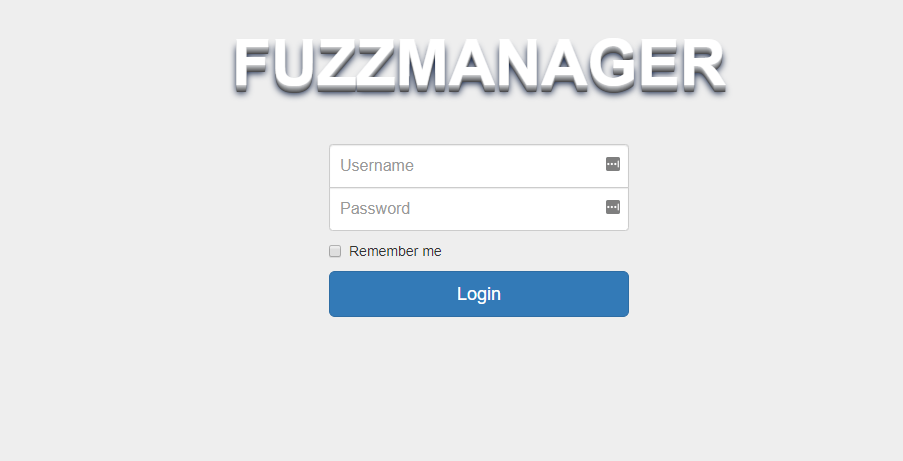
FuzzManager配置与使用
2020-3-18 00:0:0 Author: www.giantbranch.cn(查看原文) 阅读量:5 收藏

发表于 |

下载

1
git clone https://github.com/MozillaSecurity/FuzzManager.git

安装依赖(注:EC2SpotManager是管理Amazon Cloud的实例的,一般用不到,用的话需要安装redis-server——apt install redis-server

1
2
cd FuzzManager
pip install -r server/requirements.txt

这Server使用Django编写

Django manage.py migrate根据搜索到的文档,是创建数据库,数据表

1
2
cd server
python manage.py migrate

报错解决:只要复制FTB目录到server目录里面即可

1
2
3
4
5
6
7
8
9
10
11
12
13
14
15
16
17
18
19
20
21
[email protected]:~/FuzzManager/server# python manage.py migrate
Traceback (most recent call last):
File "manage.py", line 10, in <module>
execute_from_command_line(sys.argv)
File "/usr/local/lib/python2.7/dist-packages/django/core/management/__init__.py", line 364, in execute_from_command_line
utility.execute()
File "/usr/local/lib/python2.7/dist-packages/django/core/management/__init__.py", line 338, in execute
django.setup()
File "/usr/local/lib/python2.7/dist-packages/django/__init__.py", line 27, in setup
apps.populate(settings.INSTALLED_APPS)
File "/usr/local/lib/python2.7/dist-packages/django/apps/registry.py", line 108, in populate
app_config.import_models()
File "/usr/local/lib/python2.7/dist-packages/django/apps/config.py", line 202, in import_models
self.models_module = import_module(models_module_name)
File "/usr/lib/python2.7/importlib/__init__.py", line 37, in import_module
__import__(name)
File "/root/FuzzManager/server/crashmanager/models.py", line 15, in <module>
from FTB.ProgramConfiguration import ProgramConfiguration
File "/root/FuzzManager/server/crashmanager/FTB/ProgramConfiguration.py", line 24, in <module>
from FTB.ConfigurationFiles import ConfigurationFiles
ImportError: No module named FTB.ConfigurationFiles

复制完就可以了

1
2
3
4
5
6
7
8
9
10
11
12
13
14
15
16
17
18
19
20
21
22
23
24
25
26
[email protected]:~/FuzzManager/server# python manage.py migrate
Operations to perform:
Apply all migrations: admin, auth, authtoken, contenttypes, covmanager, crashmanager, ec2spotmanager, sessions
Running migrations:
Applying contenttypes.0001_initial... OK
Applying auth.0001_initial... OK
Applying admin.0001_initial... OK
Applying admin.0002_logentry_remove_auto_add... OK
Applying contenttypes.0002_remove_content_type_name... OK
Applying auth.0002_alter_permission_name_max_length... OK
Applying auth.0003_alter_user_email_max_length... OK
Applying auth.0004_alter_user_username_opts... OK
Applying auth.0005_alter_user_last_login_null... OK
Applying auth.0006_require_contenttypes_0002... OK
Applying auth.0007_alter_validators_add_error_messages... OK
Applying auth.0008_alter_user_username_max_length... OK
Applying authtoken.0001_initial... OK
Applying authtoken.0002_auto_20160226_1747... OK
Applying crashmanager.0001_squashed_0020_add_app_permissions... OK
Applying covmanager.0001_initial... OK
Applying covmanager.0002_increase_collection_filename_length... OK
Applying covmanager.0003_collection_file_optional... OK
Applying covmanager.0004_reportconfiguration_reportsummary... OK
Applying covmanager.0005_report... OK
Applying ec2spotmanager.0001_squashed_0013_add_gce_fields... OK
Applying sessions.0001_initial... OK

创建fuzzmanager用户

1
2
3
4
5
6
[email protected]:~/FuzzManager/server# python ./manage.py createsuperuser
Username (leave blank to use 'root'):
Email address: [email protected]
Password:
Password (again):
Superuser created successfully.

获取fuzzmanager authorization token(下面的root是上面新建的用户名,这个看README的话是可以给Apache+WSGI设置虚拟主机用的,用token生成.htpasswd文件htpasswd -cb .htpasswd root 4a253efa90f514bd89ae9a86d1dc264aa3133945

1
2
[email protected]:~/FuzzManager/server# python manage.py get_auth_token root
4a253efa90f514bd89ae9a86d1dc264aa3133945

本地测试

1
python manage.py runserver

访问http://127.0.0.1:8000/即可

这个只是监听127.0.0.1,假如是服务器,还得开个反向代理或者ssh代理才能访问,所以可以下面这样

1
python manage.py runserver 0.0.0.0:8000

访问了一下,发现需要在配置文件FuzzManager/server/server/settings.py中添加ALLOWED_HOSTS,就是HTTP请求的Host字段,添加本机的ip地址,假如有域名添加域名也行。

可以使用下面命令向服务器提交

1
python Collector.py --autosubmit mybadprogram --someopt yourtest

当然这之前得有配置文件~/.fuzzmanagerconf,下面是示例,那个sigdir是signatures存放目录,

1
2
3
4
5
6
[Main]
sigdir = /home/example/signatures
serverhost = 127.0.0.1
serverport = 8000
serverproto = http
serverauthtoken = 4a253efa90f514bd89ae9a86d1dc264aa3133945

尝试fuzz upx,提交试试,首先配置服务器信息~/.fuzzmanagerconf

1
2
3
4
5
6
[Main]
sigdir = /root/fuzz/upx/sigs
serverhost = 192.168.XX.XX
serverport = 8000
serverproto = http
serverauthtoken = 4a253efa90f514bd89ae9a86d1dc264aa3133945

配置程序信息upx.out.fuzzmanagerconf,放在二进制文件当前目录

1
2
3
4
5
6
7
8
9
[Main]
platform = x86-64
product = upx
product_version = UPX-git-d7ba31+
os = linux

[Metadata]
pathPrefix = /root/fuzz/upx
buildFlags =

之后运行命令即可(把/usr/local/lib/python2.7/dist-packages/Collector中的Collector.py出来即可使用)

1
python Collector.py --tool afl --autosubmit ./upx.out ./afl_out/crashes/id\:000000\,sig\:11\,src\:000120\,op\:arith8\,pos\:16168\,val\:+2

但是这个需要你的二进制程序是加了asan参数进行编译的,下面没有报错就是成功了

不然默认x86-64是不支持的,上传其实是上传了的,只不过没有获取到crash地址(后来发现是装了gdb插件的问题)

看了下源码,不加asan应该只支持x86和arm的自动提交https://github.com/MozillaSecurity/FuzzManager/blob/0ccde1820f6412da23f20da17eb3b5b9091a563e/FTB/Signatures/CrashInfo.py#L1245,需要向上翻翻看

但是后来发现是我的gdb装了peda,pwndgb插件,导致Collector.py脚本没识别出来。。。
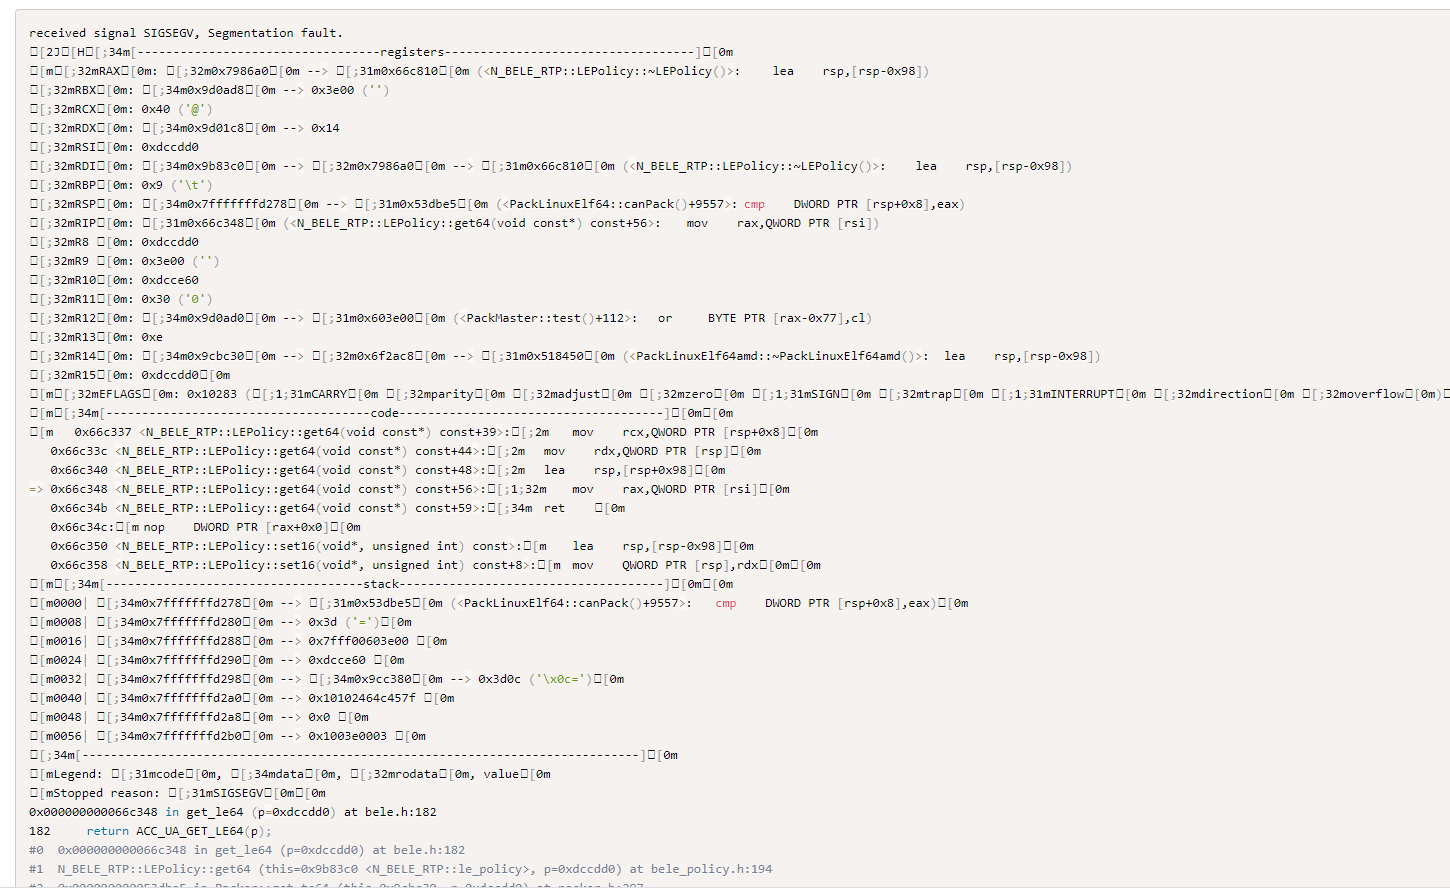
后来禁用插件后就可以了

或者自己写代码提交,下面这个来源于https://www.fuzzingbook.org/html/FuzzingInTheLarge.html

1
2
3
4
5
6
7
8
9
10
11
12
13
14
15
from FTB.Signatures.CrashInfo import CrashInfo
from Collector.Collector import Collector


collector = Collector()

cmd = ["simply-buggy/simple-crash"]
result = subprocess.run(cmd, stderr=subprocess.PIPE, stdout=subprocess.PIPE)
stderr = result.stderr.decode().splitlines()
stdout = result.stdout.decode().splitlines()
crashInfo = CrashInfo.fromRawCrashData(stdout, stderr, configuration)
print(crashInfo)


collector.submit(crashInfo)

但是这个现在已经不能正常运行了,而且这个是基于python3的,我写了一个python2的版本

1
2
3
4
5
6
7
8
9
10
11
12
13
14
15
16
17
18
19
20
21
22
23
24
25
26
27
28
29
30
31
32
33
34
35
36
37
38
39
40
41
42
43
44
45
46
47
48
49
50
51
52
53
54
55
56
57
58
59
60
61
62
63
64
65
66
67
68
69
70
71
72
73
74
75
76
77
78
79
80
81
82
83
84
85
86
87
88
89
90
91
92
93
94
95
96
97
98
#!/usr/bin/env python
# -*- coding: utf-8 -*-
# @Date : 2020-03-23 11:37:56
# @Author : giantbranch
# @Link : http://www.giantbranch.cn/
# @tags :

from FTB.Signatures.CrashInfo import CrashInfo
from FTB.ProgramConfiguration import ProgramConfiguration
from Collector.Collector import Collector
import subprocess

binary = "./src/upx.out_x86-64"
binaryArgs = "./afl_out/crashes/id:000000,sig:11,src:000120,op:arith8,pos:16168,val:+2"

FTB_GDB_SCRIPT_PATH = "/usr/local/lib/python2.7/dist-packages/FTB/Running/GDB.py"

configuration = ProgramConfiguration.fromBinary(binary)
print("configuration:")
print(configuration.product, configuration.platform)

gdbArgs = [
"--batch",
"-ex",
"source %s" % FTB_GDB_SCRIPT_PATH,
"-ex",
"run %s" % binaryArgs
]

gdbArgs.extend([
"-ex", "set pagination 0",
"-ex", "set backtrace limit 128",
"-ex", "bt",
"-ex", "python printImportantRegisters()",
"-ex", "x/2i $pc",
"-ex", "quit",
])

cmdArgs = []
# cmd = ["gdb " + binary + " -ex \"r ./afl_out/crashes/id:000000,sig:11,src:000120,op:arith8,pos:16168,val:+2\""]

cmdArgs.append("gdb")
cmdArgs.extend(gdbArgs)
cmdArgs.append(binary)

print cmdArgs

process = subprocess.Popen(
cmdArgs,
stdin=subprocess.PIPE,
stdout=subprocess.PIPE,
stderr=subprocess.PIPE,
)


(stdout, stderr) = (process.stdout.read(), process.stderr.read())
# 假如不是传文件路径,是标准输入的,可能需要下面代码,input就是要传入的标准输入
# try:
# stdout, stderr = process.communicate(input)
# except:
# process.kill()
# process.wait()

# print "===============stdoutstdout==============================="
# print stdout

# Detect where the GDB trace starts/ends
traceStart = stdout.rfind("Program received signal SIG")
traceStop = stdout.rfind("A debugging session is active")

# Alternative GDB start version when using core dumps
if traceStart < 0:
traceStart = stdout.rfind("Program terminated with signal")

if traceStop < 0:
traceStop = len(stdout)

# Move the trace from stdout to auxCrashData
auxCrashData = stdout[traceStart:traceStop]
stdout = stdout[:traceStart] + stdout[traceStop:]

# print "==============stdout============="
# print stdout.splitlines()


# print "==============stderr============="
# print auxCrashData.splitlines()

crashInfo = CrashInfo.fromRawCrashData(stdout.splitlines(), auxCrashData.splitlines(), configuration)
print(crashInfo)

testcase = binaryArgs
(testCaseData, isBinary) = Collector.read_testcase(testcase)
crashInfo.testcase = testCaseData

collector = Collector(tool="afl")

collector.submit(crashInfo, testcase)

https://github.com/MozillaSecurity/FuzzManager
https://www.fuzzingbook.org/html/FuzzingInTheLarge.html

假如你看不到评论,可能是你访问Disqus被墙了,请使用代理访问


文章来源: https://www.giantbranch.cn/2020/03/18/FuzzManager%E9%85%8D%E7%BD%AE%E4%B8%8E%E4%BD%BF%E7%94%A8/
如有侵权请联系:admin#unsafe.sh